Cart
0
You may also like


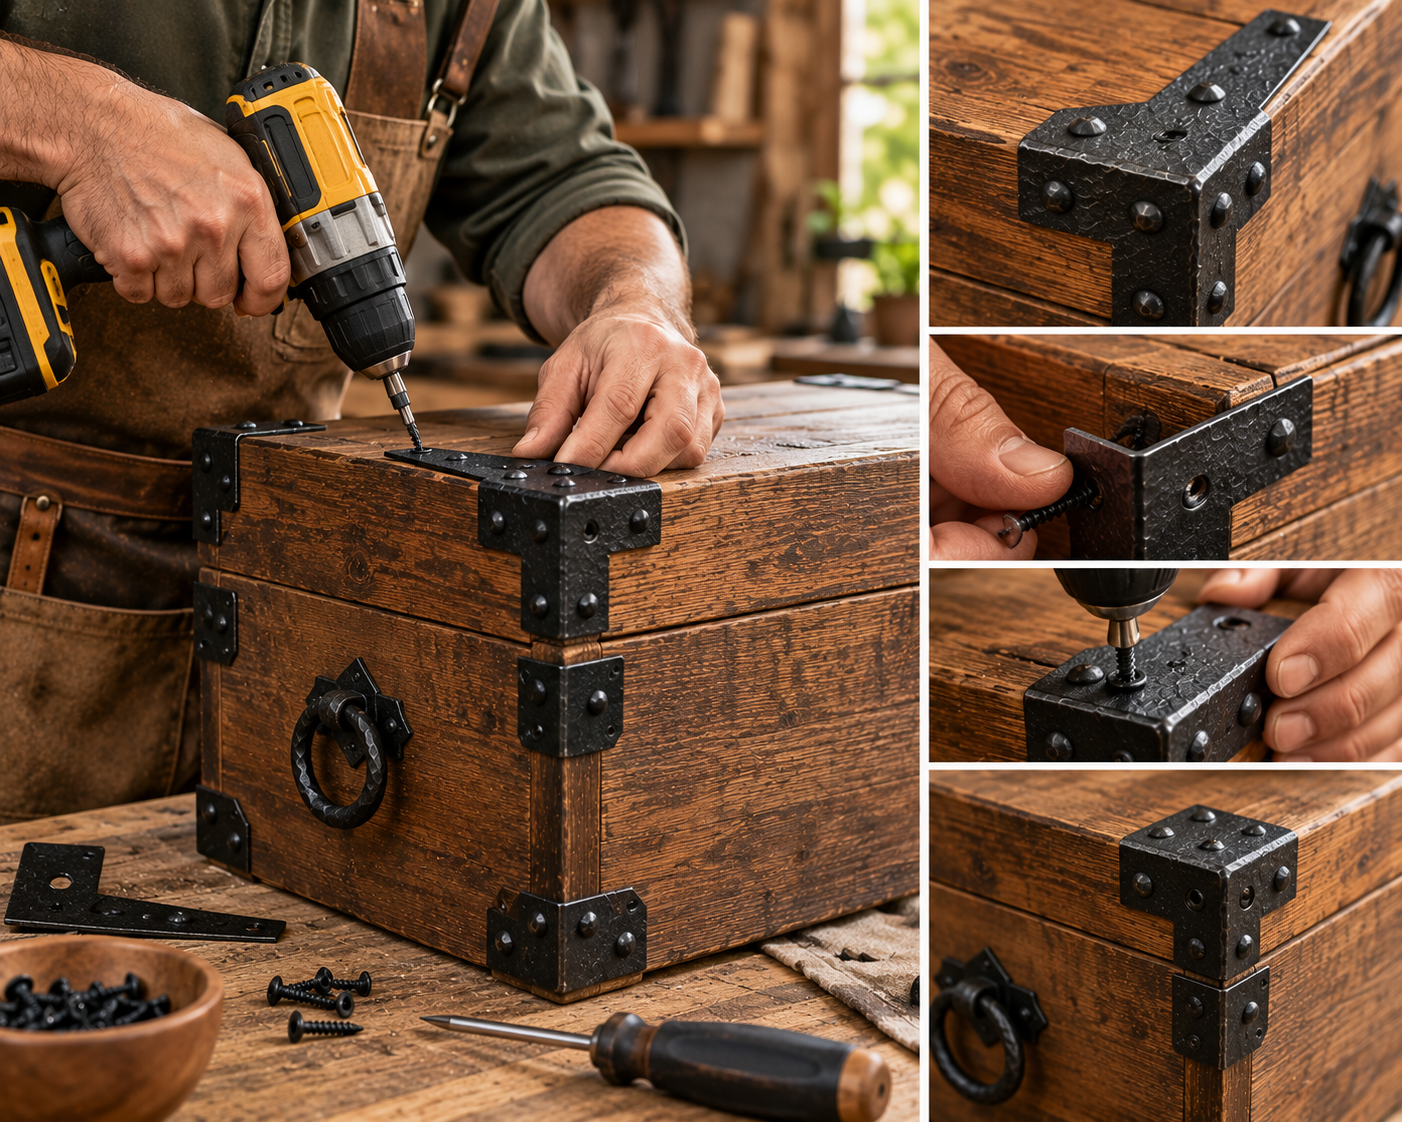
To install corner straps on a wooden chest, hold each strap tight into the corner, mark the screw or nail holes, pre-drill them, and fasten the strap with fasteners that are shorter than the wood is thick. Start with the front corners so the pattern looks even, then work around the box. The whole job takes about an hour and needs only a few basic tools.
Corner straps wrap around the corners of a wooden chest, trunk, box or cabinet. They protect the corners from dings and wear, and they reinforce the joints where wood is most likely to split or loosen. They also give the piece the classic hand-forged look of an antique trunk. You can browse our full range of corner protector straps to see the shapes and sizes.
If you are still deciding which style to buy, our complete guide to metal corner straps and protectors explains the options.
· Corner straps and the fasteners that suit them
· A pencil and a measuring tape
· A drill with a bit slightly smaller than your fastener
· A hammer or screwdriver, depending on the fasteners
· Masking tape (for depth control and layout)
· A clean cloth and finish if the wood needs refinishing first
1. Prepare the wood. Sand rough corners and finish or stain the box before you attach hardware. It is much easier to refinish the wood first than to work around metal.
2. Test the fit. Hold a strap against a corner. It should sit flat on both faces of the box with no gap. If the corner is rounded or uneven, sand it lightly so the strap seats properly.
3. Mark the hole positions. With the strap in place, mark each hole with a pencil. Check that the straps on matching corners sit at the same distance from the edges so the set looks even.
4. Pre-drill the holes. Use a bit slightly smaller than the fastener. Wrap a piece of masking tape around the bit as a depth stop so you do not drill through the wood.
5. Fasten the strap. Start with the hole nearest the corner point, then the others. Drive each fastener until the strap sits flat without crushing the wood or bending the metal.
6. Repeat on every corner. Work in a pattern, such as the four front corners first and then the back, and check alignment as you go.
7. Wipe and protect. Clean off pencil marks and finger oils. Our guide on how to care for hand-forged iron hardware explains how to keep the iron looking good.
This is the mistake that ruins most first projects. A fastener that is too long pokes through the inside of the box. As a rule, choose fasteners shorter than the thickness of the wood. For example, on a board about three-quarters of an inch thick, use fasteners well under that length. On thin wood, test on a scrap piece first.
· Screws give the strongest hold and let you remove the straps later. They work well on hardwood and on pieces you may want to take apart.
· Small nails give the most traditional look and are fine on softer woods.
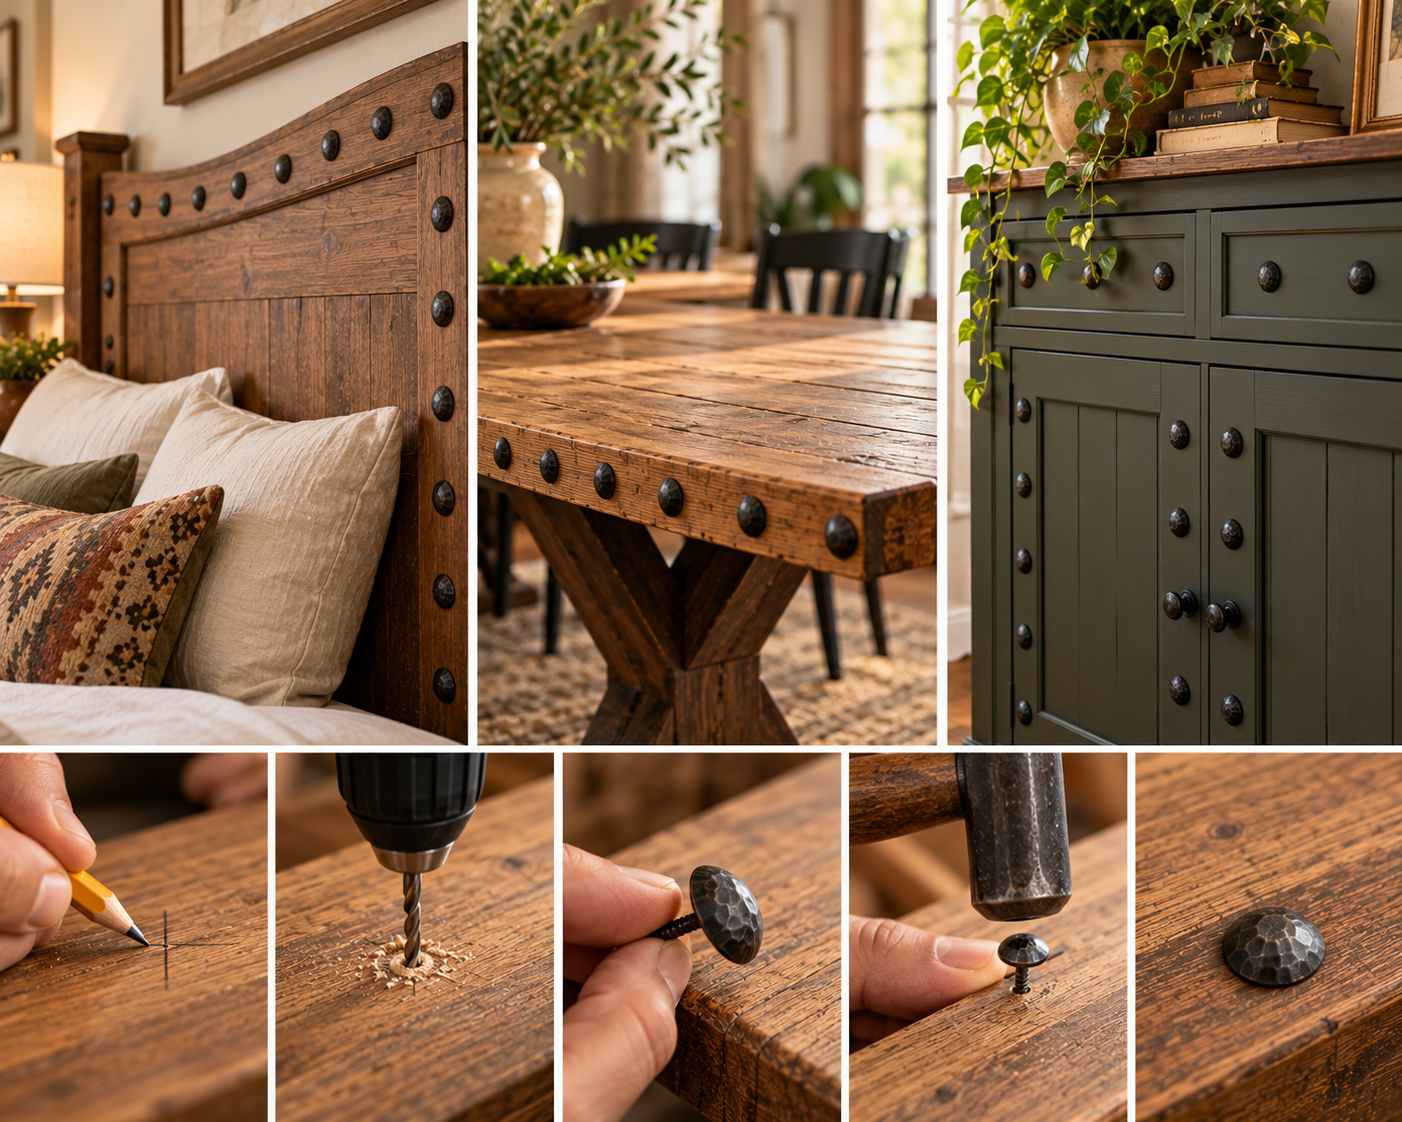
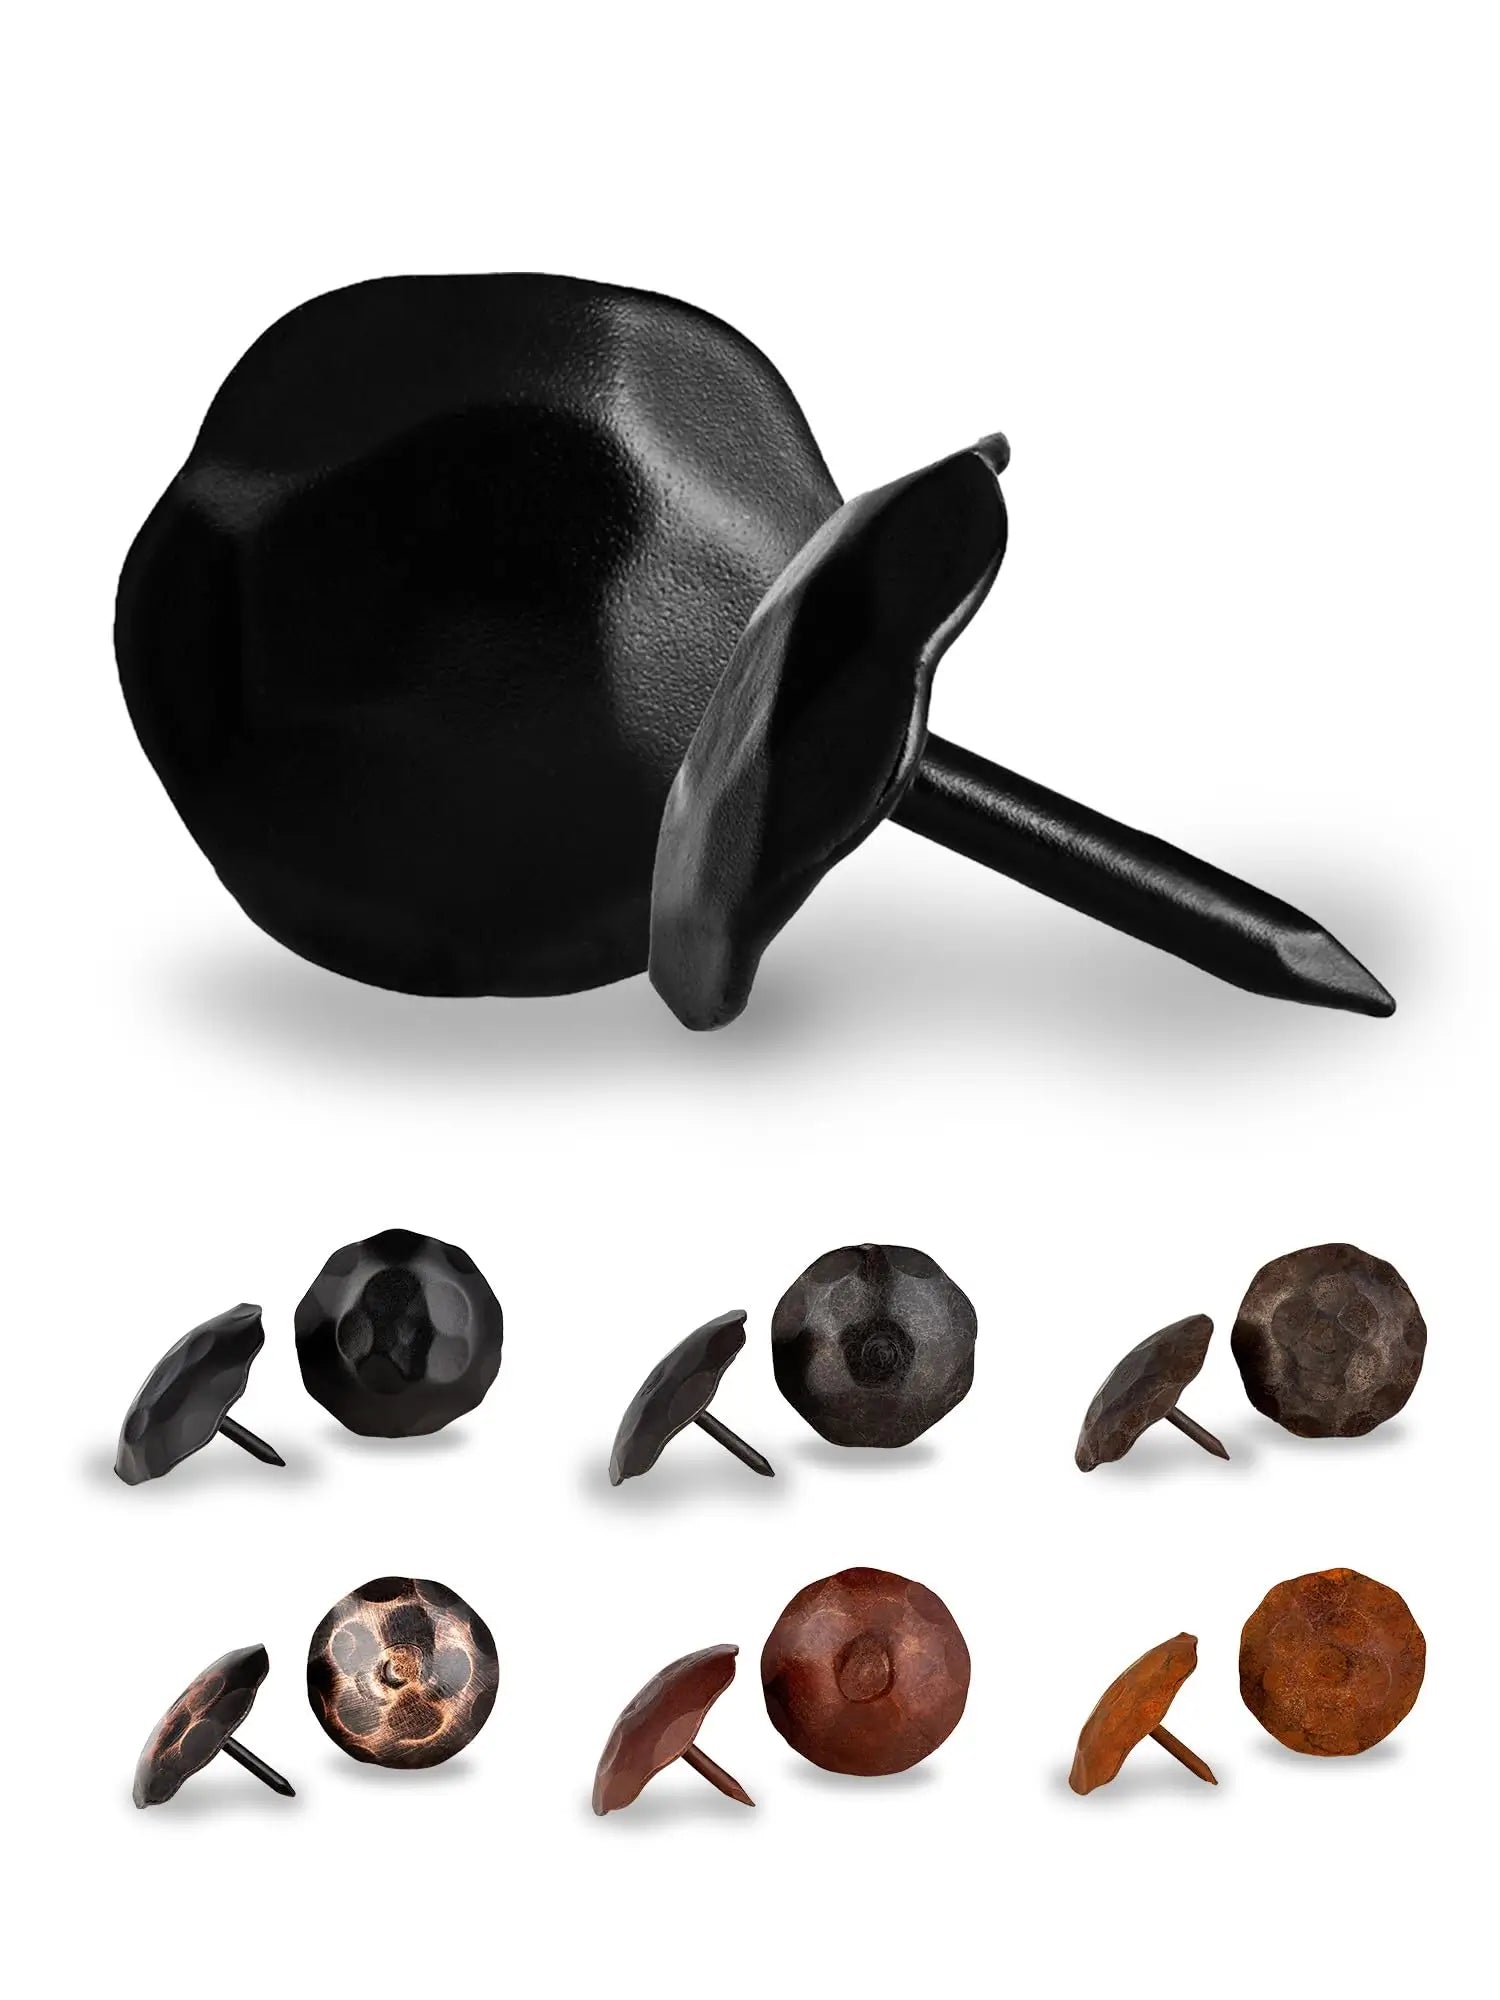
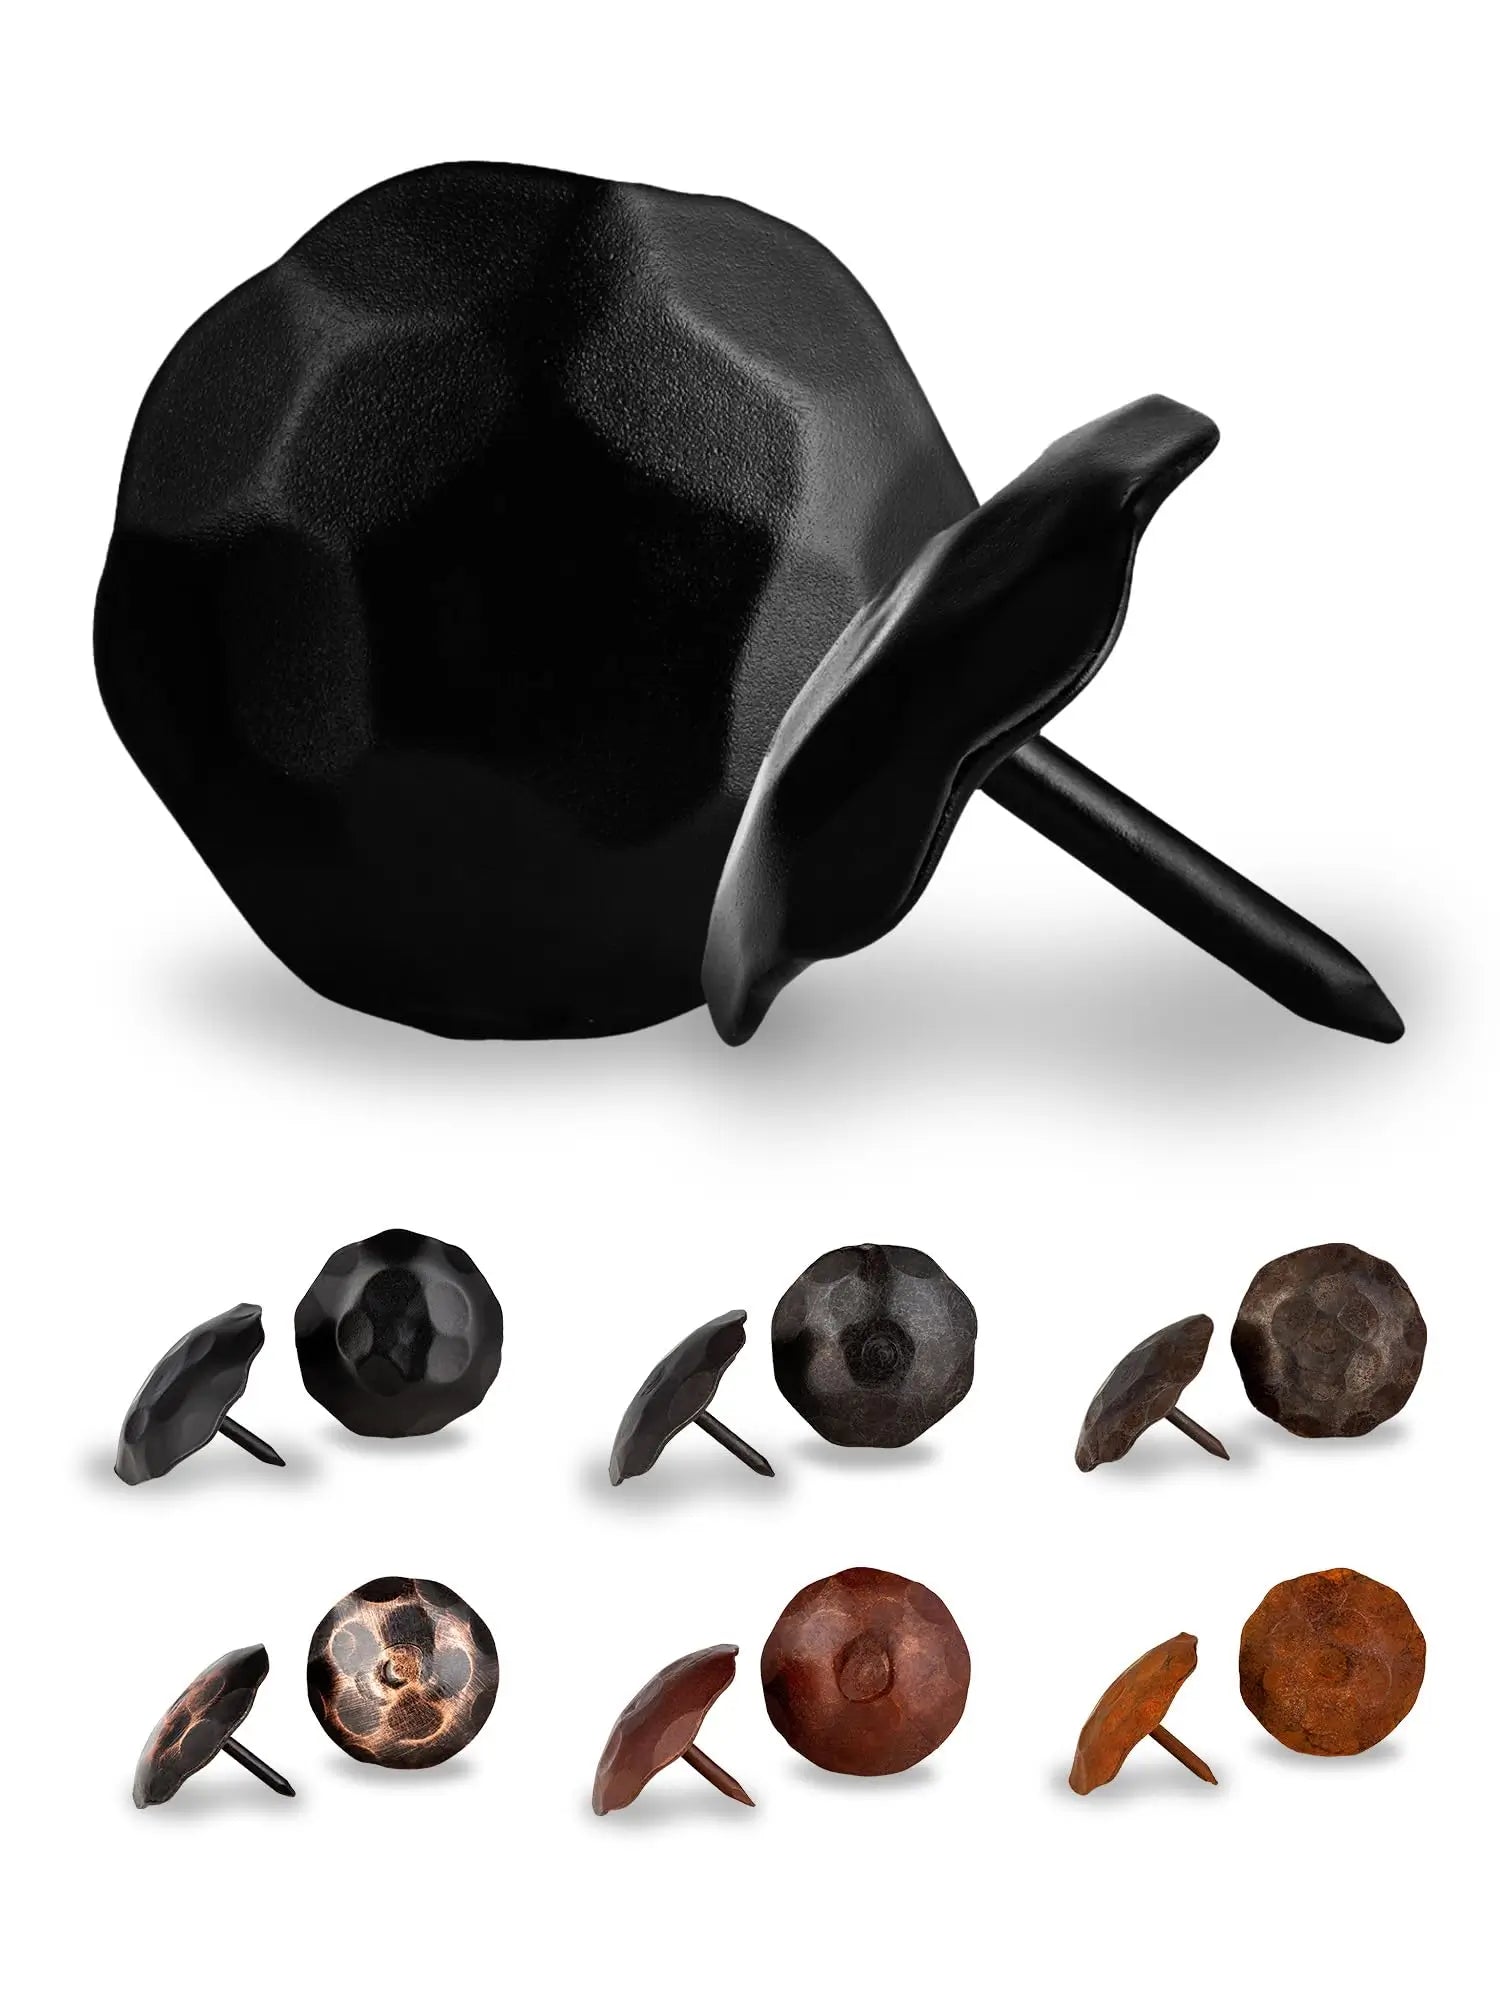
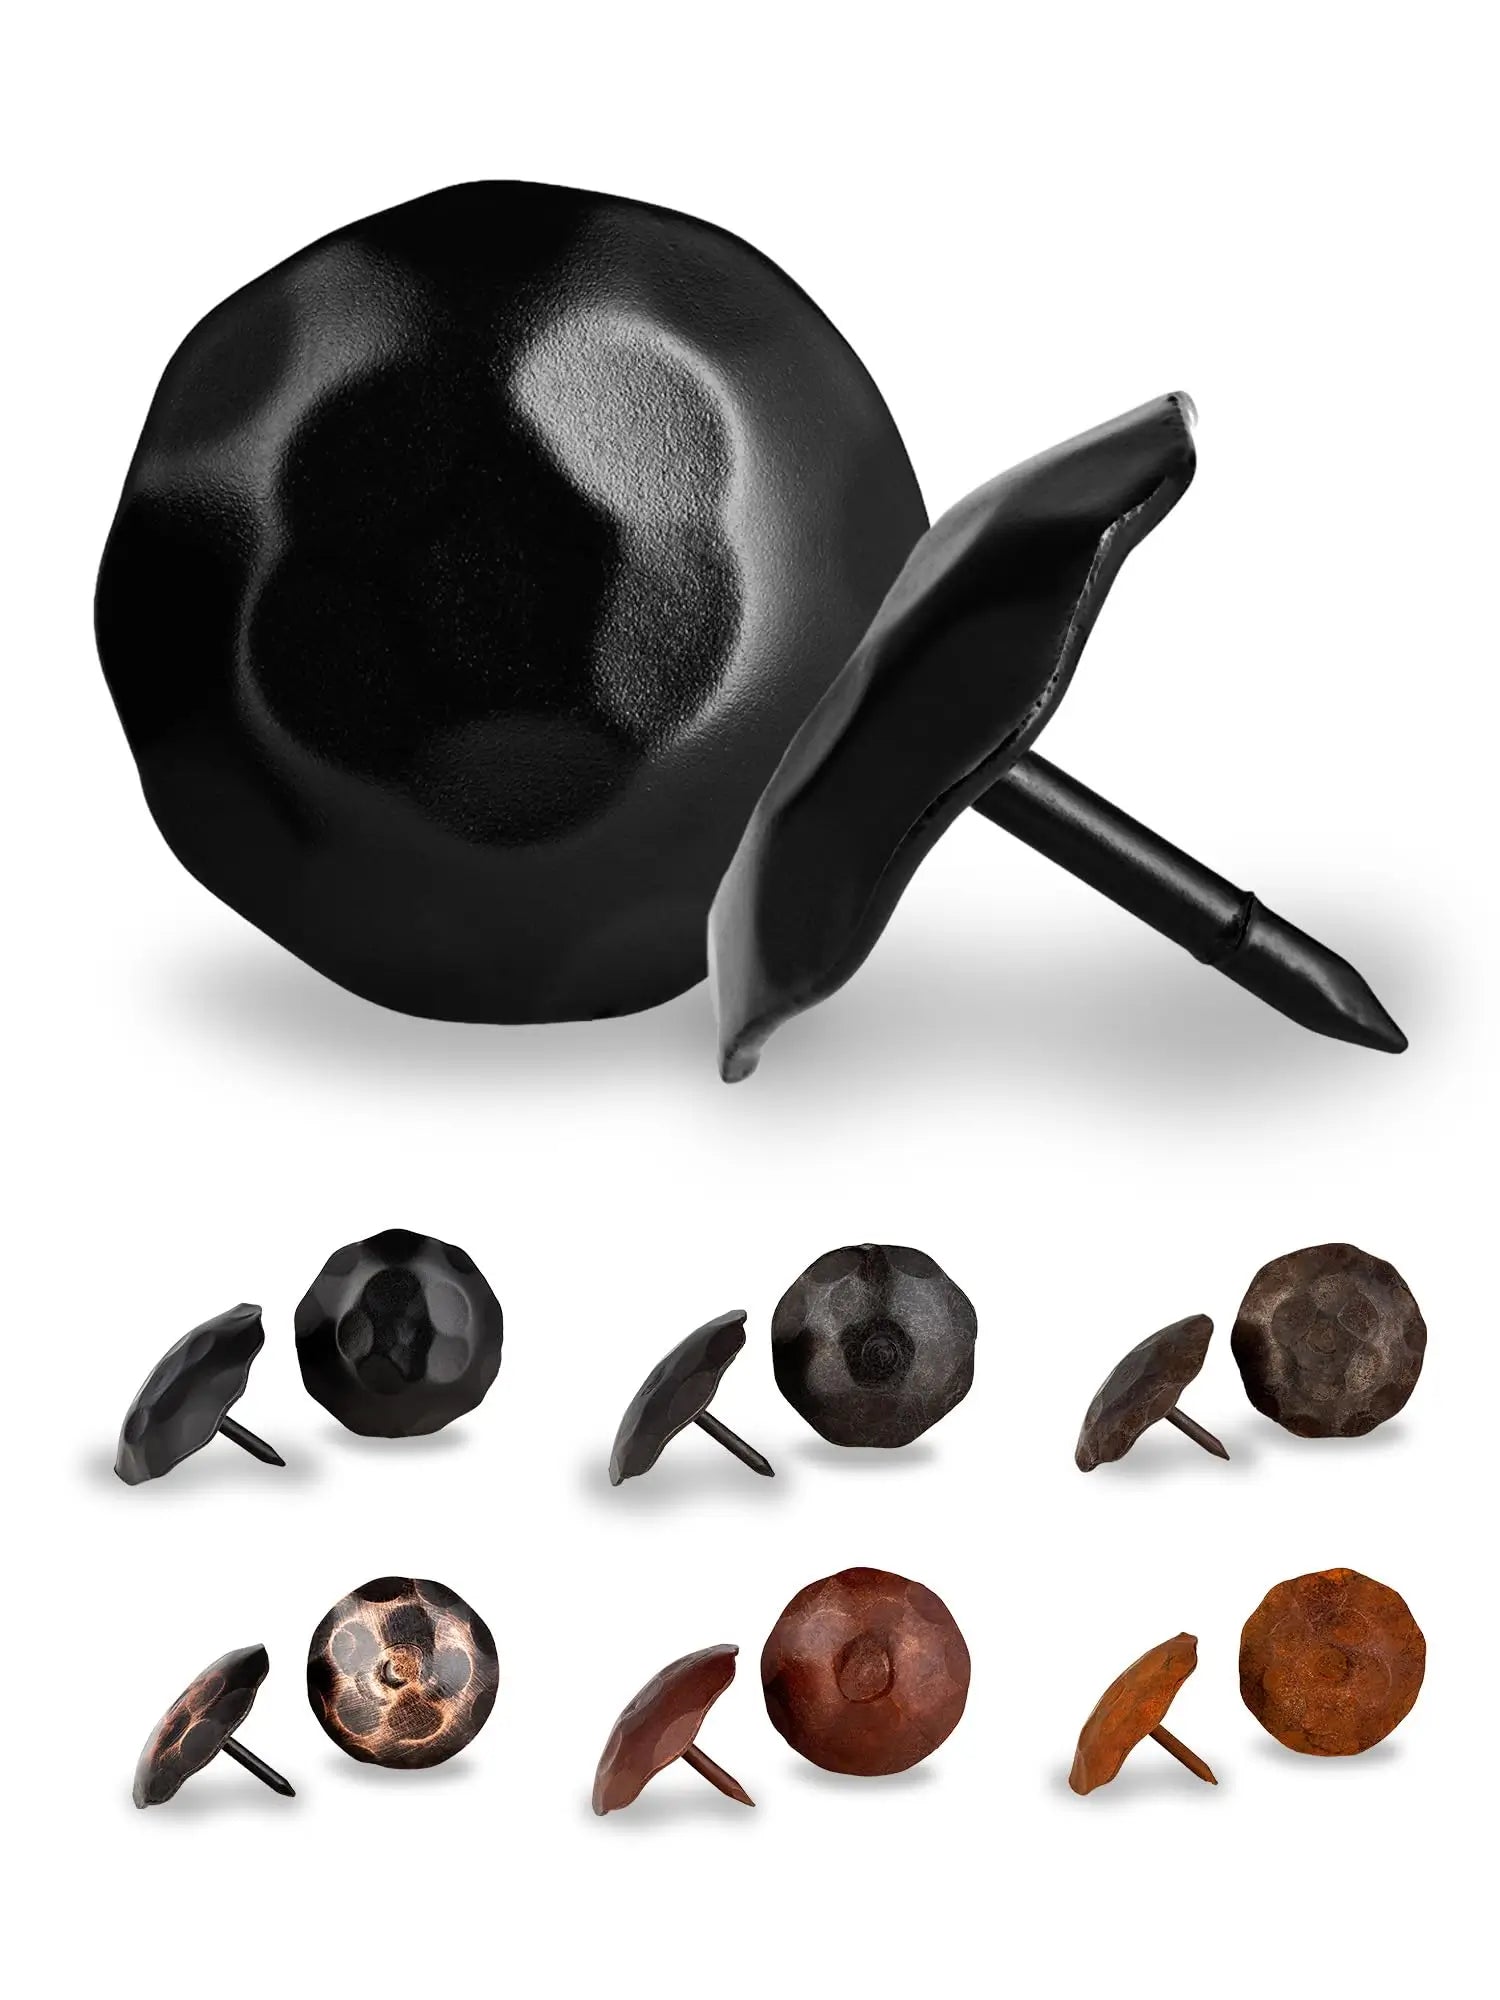
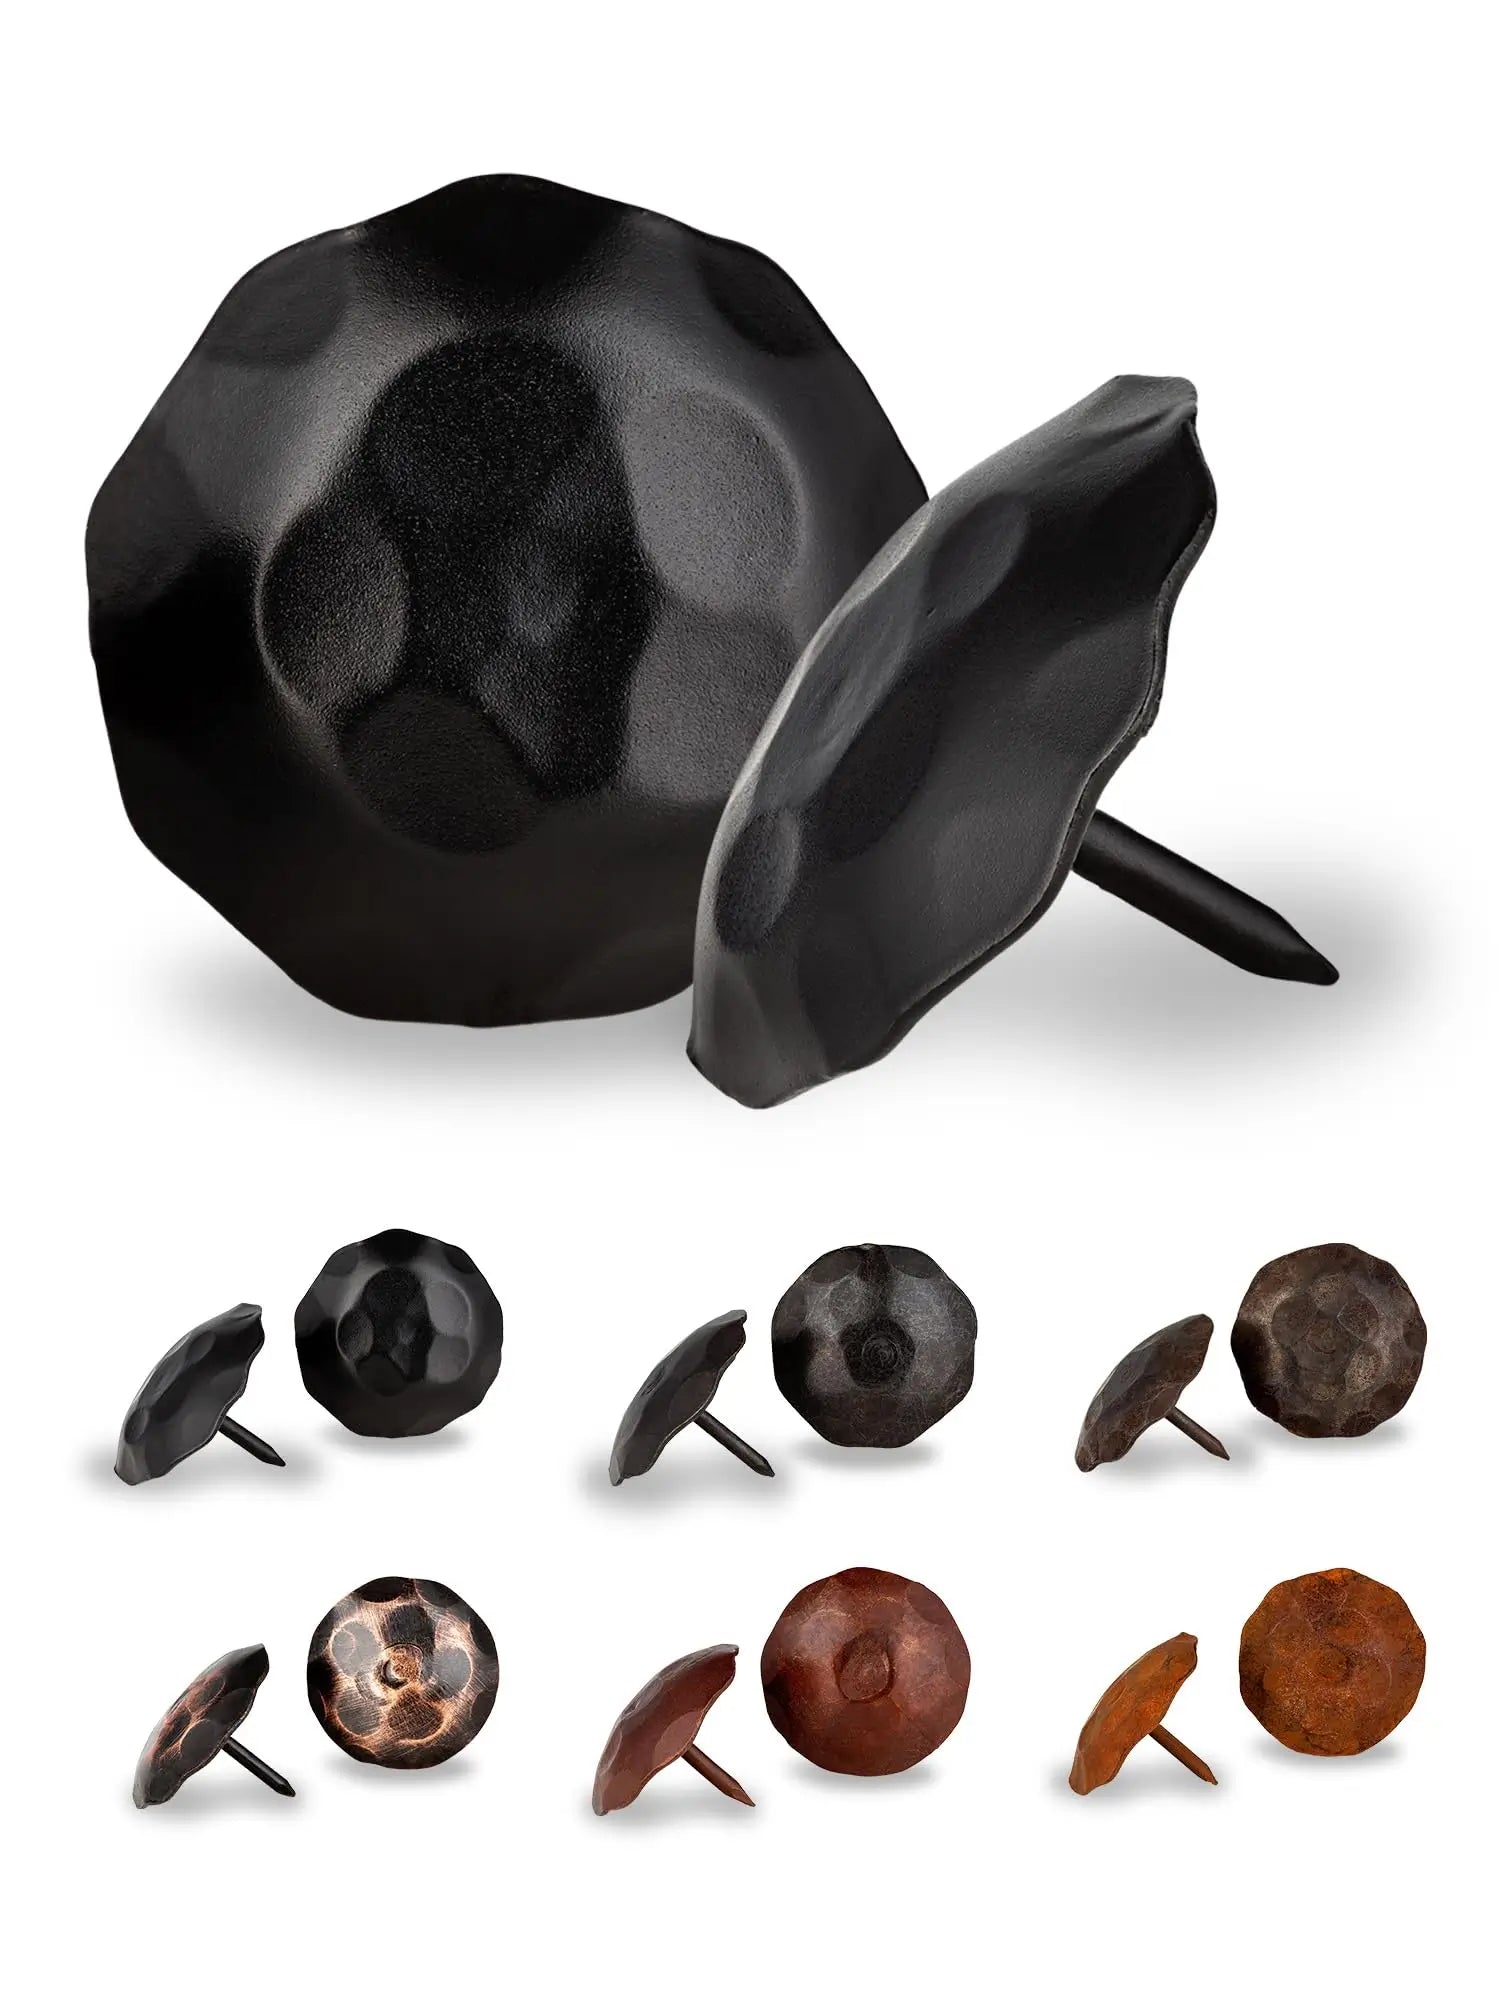
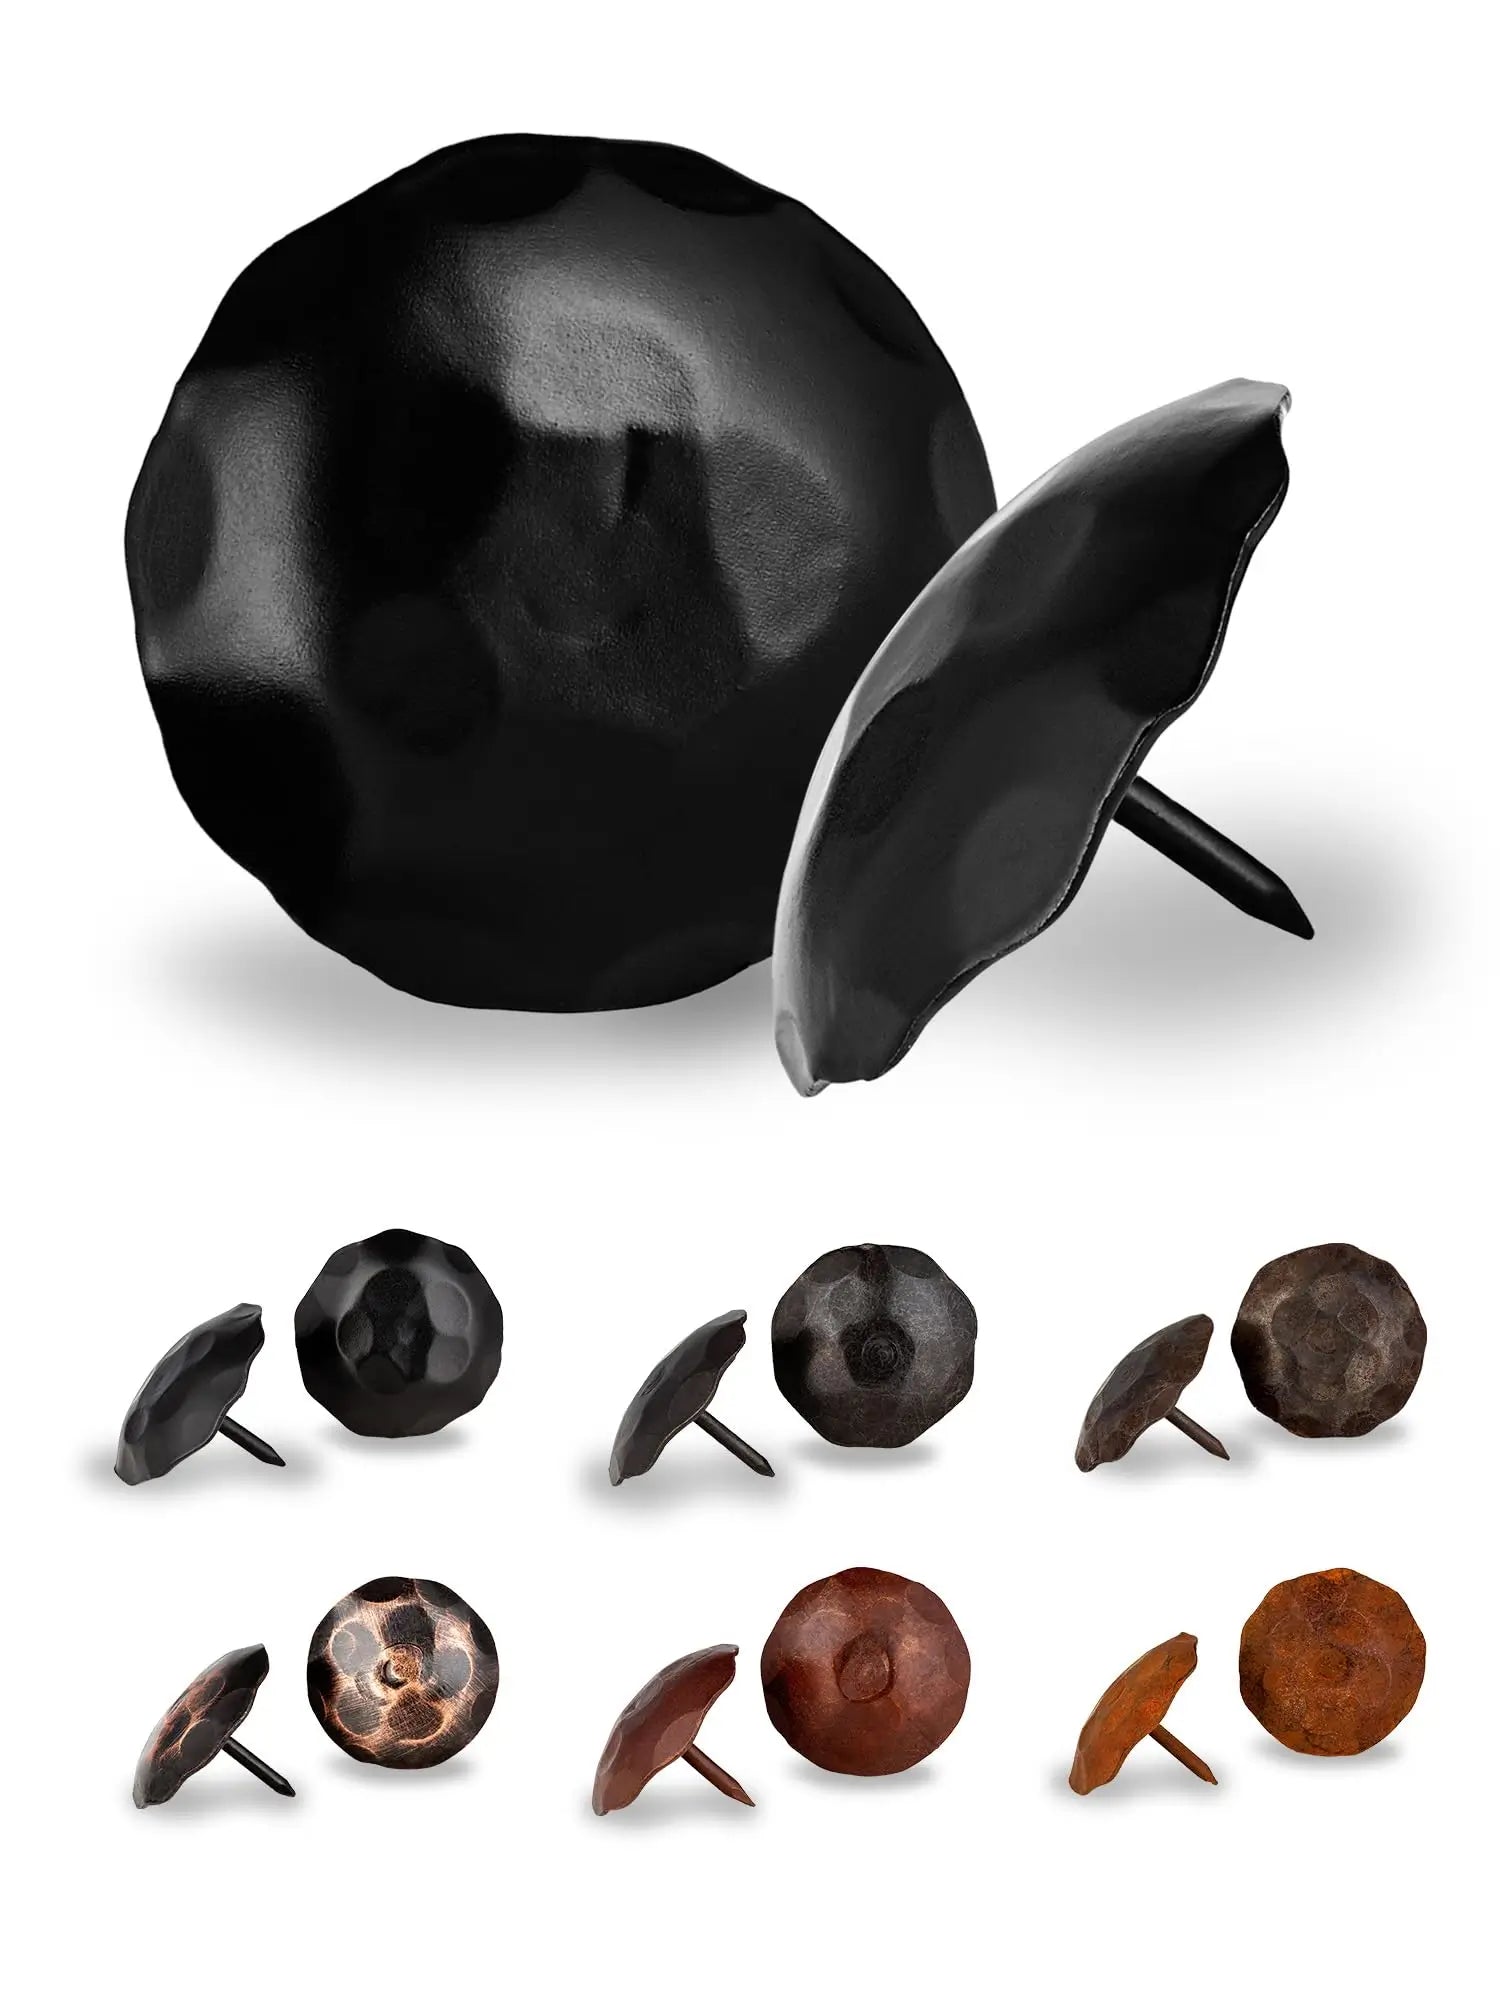
· Clavos (decorative nail heads) add extra detail along the strap. See our guide to what clavos are, or follow our step-by-step clavos installation guide.
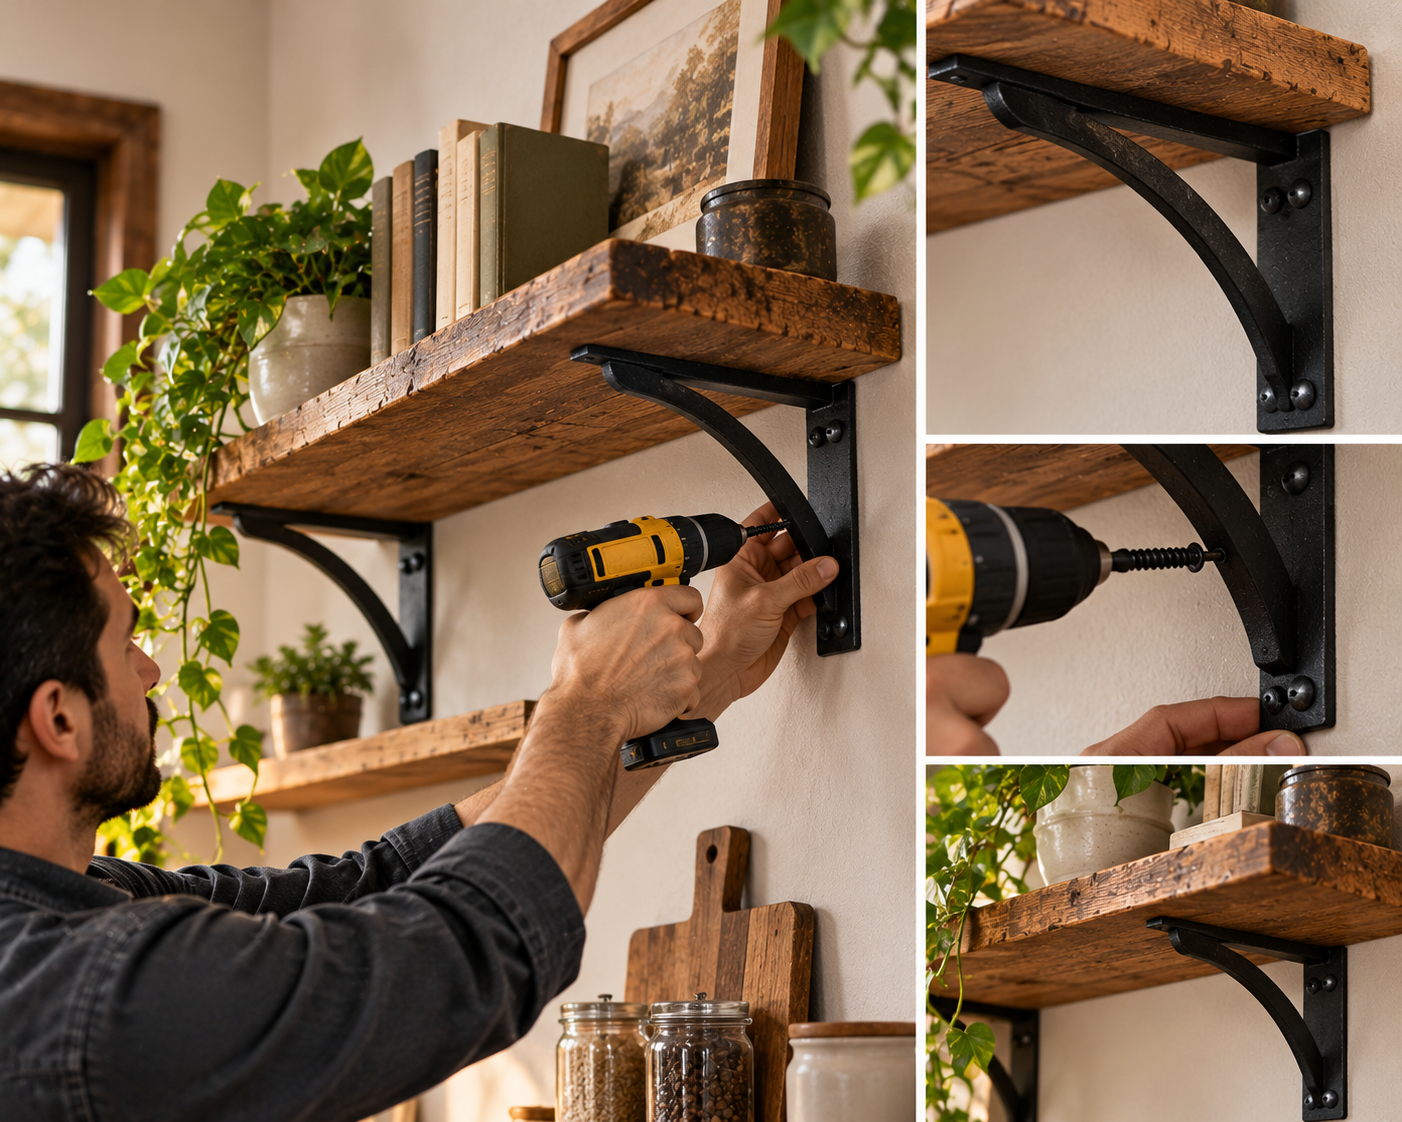
Different straps do different jobs. Corner protectors wrap a full corner of a box. L-straps and T-straps reinforce flat joints. Our guide to decorative corner brackets: T-strap vs L-strap vs corner protector shows how to choose. For cabinets, see the decorative cabinet corner protectors buying guide.
If you are refinishing a vintage chest, the same steps apply, with one extra: remove the old hardware first and clean out the old holes. Fill damaged holes with wood filler or glued dowels before you redrill. Our guide to trunk and chest hardware for refinishing projects walks through the full process.
· Skipping the pilot holes. This is the main cause of split wood.
· Using fasteners that are too long. They show through on the inside.
· Attaching hardware before finishing. Stain and sealer on metal are hard to clean off.
· Placing straps unevenly. Measure each corner, because a few millimeters of difference are visible.
Do I need to pre-drill holes for corner straps?
Yes. Pre-drilling prevents the wood from splitting, especially near corners and in hardwood.
What size fasteners should I use for corner straps?
Use fasteners shorter than the thickness of the wood so they do not come through the other side. Test on scrap wood if you are unsure.
Should I stain the box before or after attaching straps?
Before. Finish the wood first and attach the hardware afterward so the metal stays clean.
Can I install corner straps on a thin plywood box?
You can, but choose short fasteners and pre-drill carefully. Thin plywood splits easily, so always test on scrap first.
Can corner straps be removed later?
If you used screws, yes. Nails are harder to remove cleanly, so choose screws for pieces you may restyle.
Our corner straps are hand-forged by real blacksmiths and made for the kind of projects that last. Browse our corner protector straps and pick the style that fits your chest, trunk or cabinet.