Cart
0
You may also like
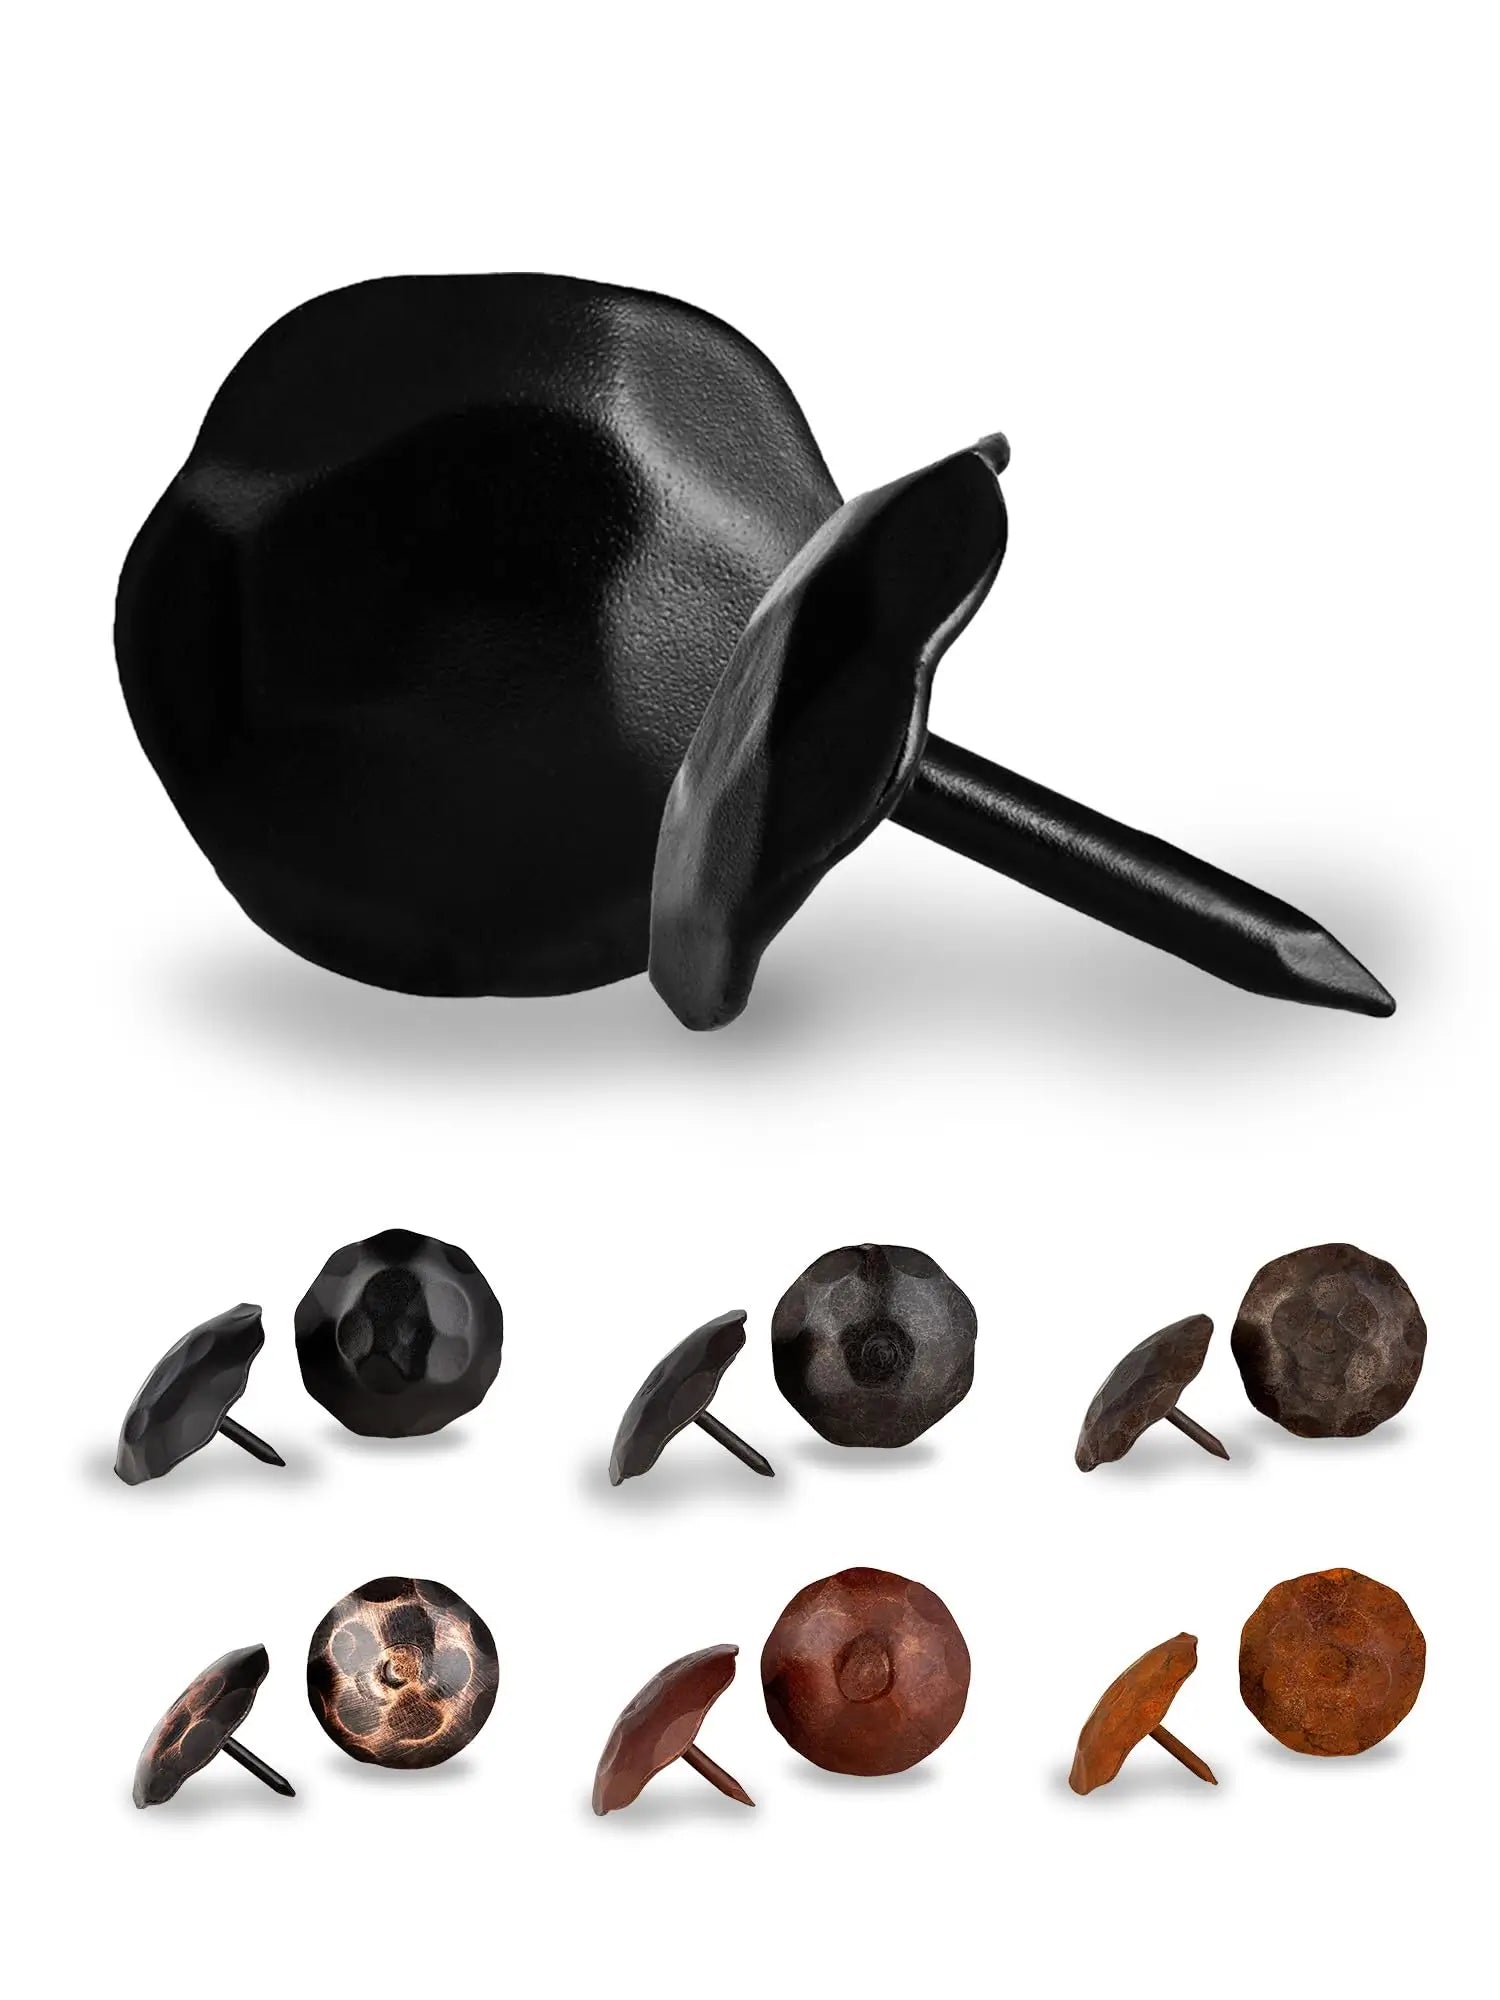
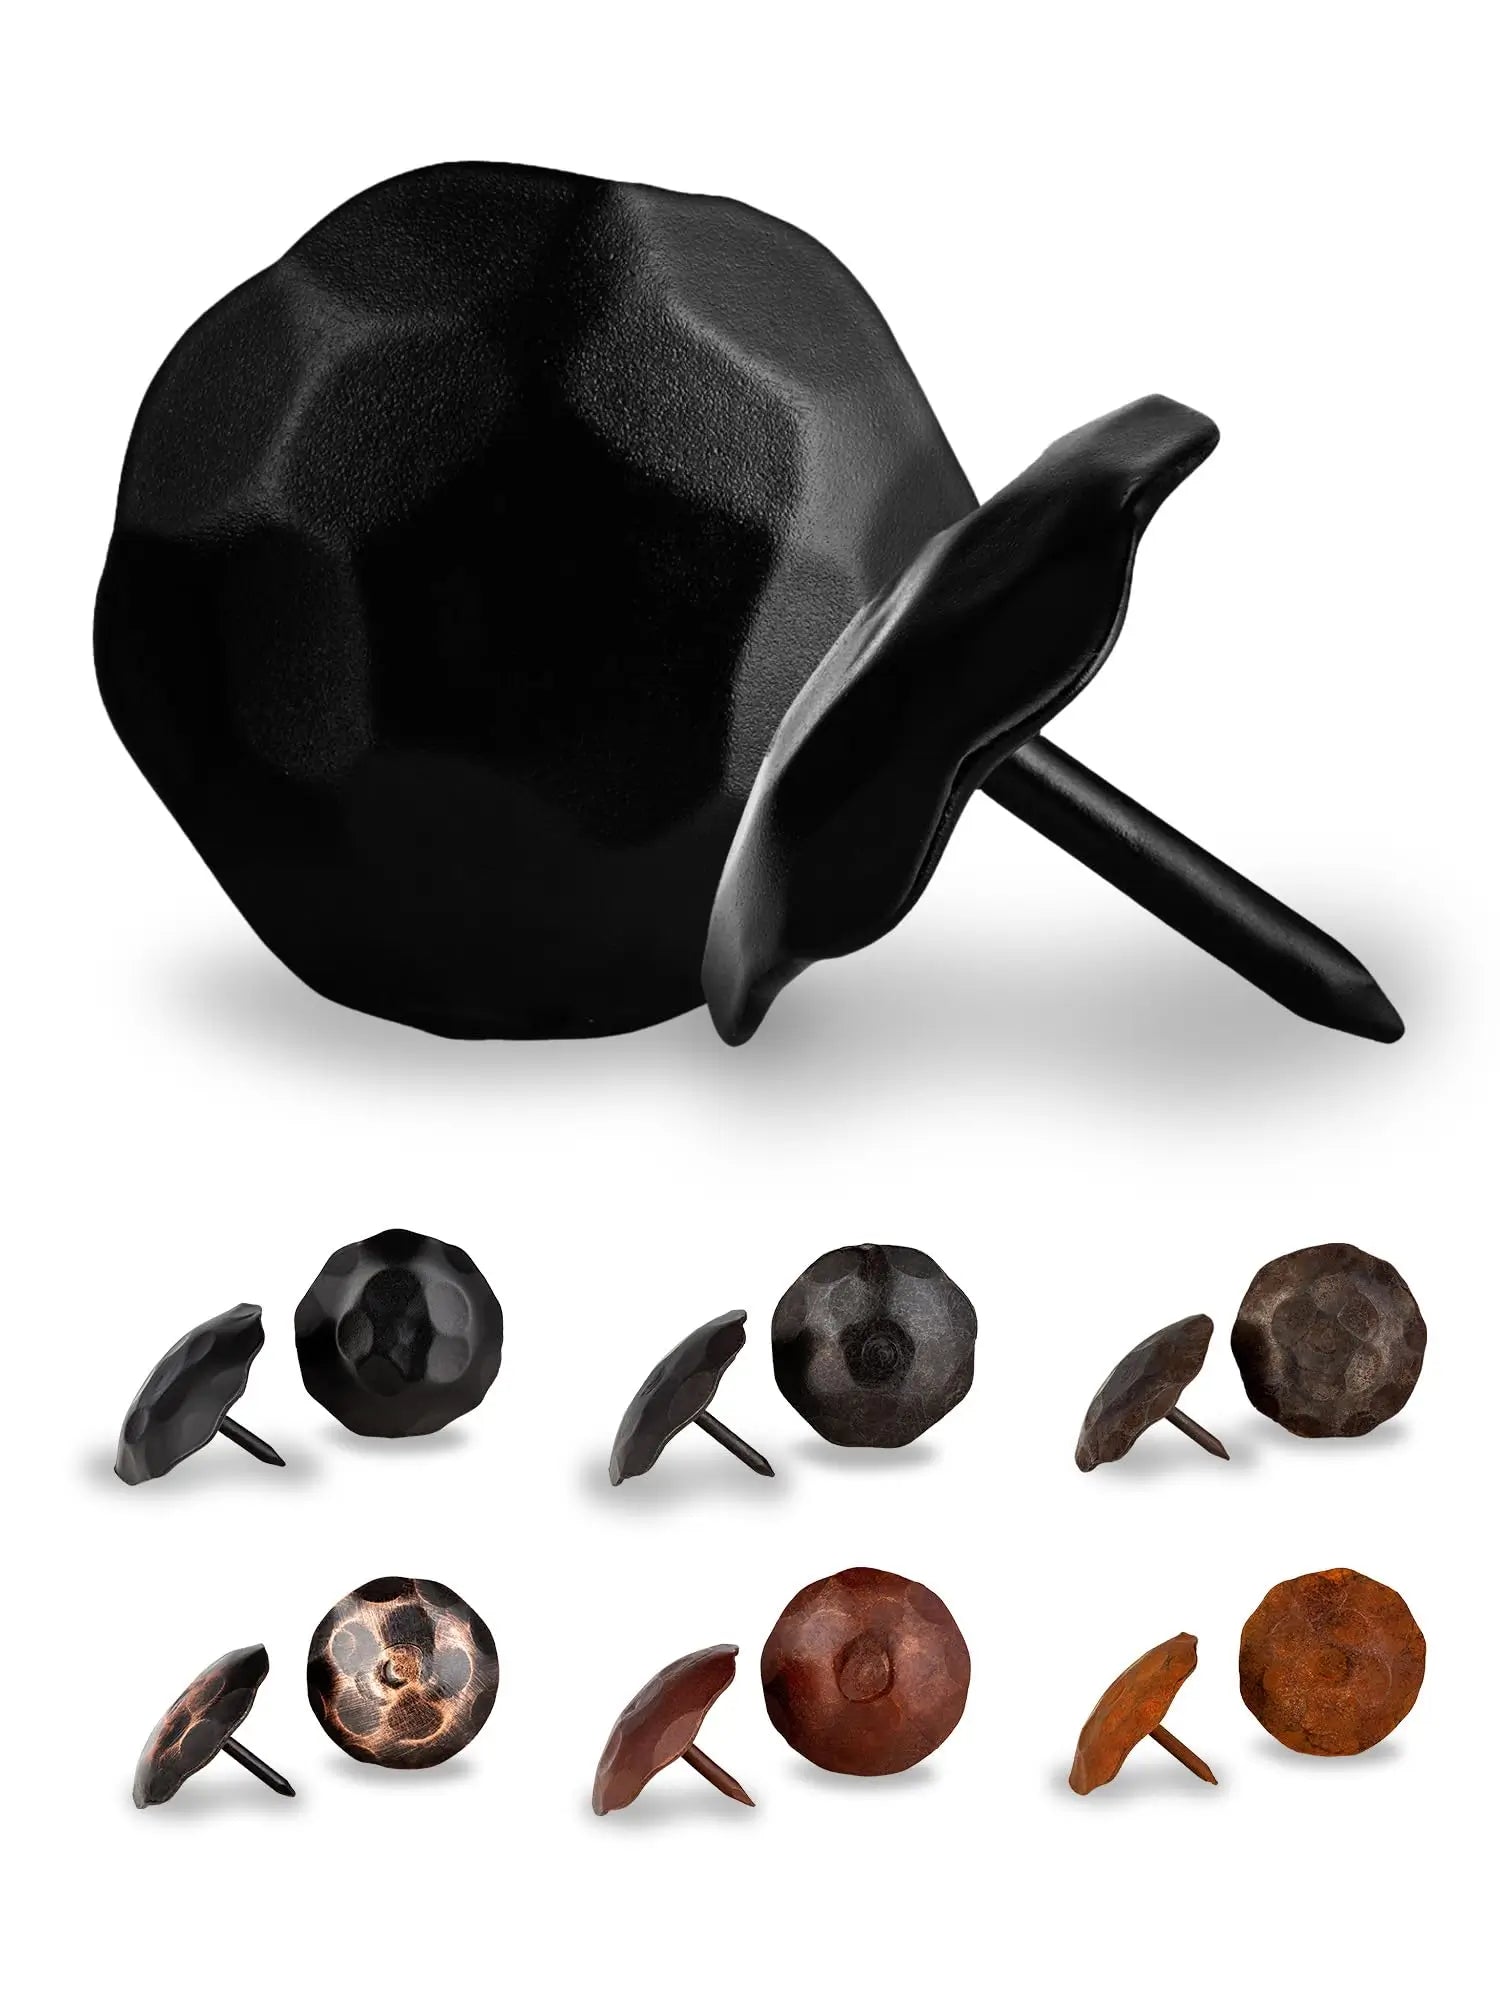
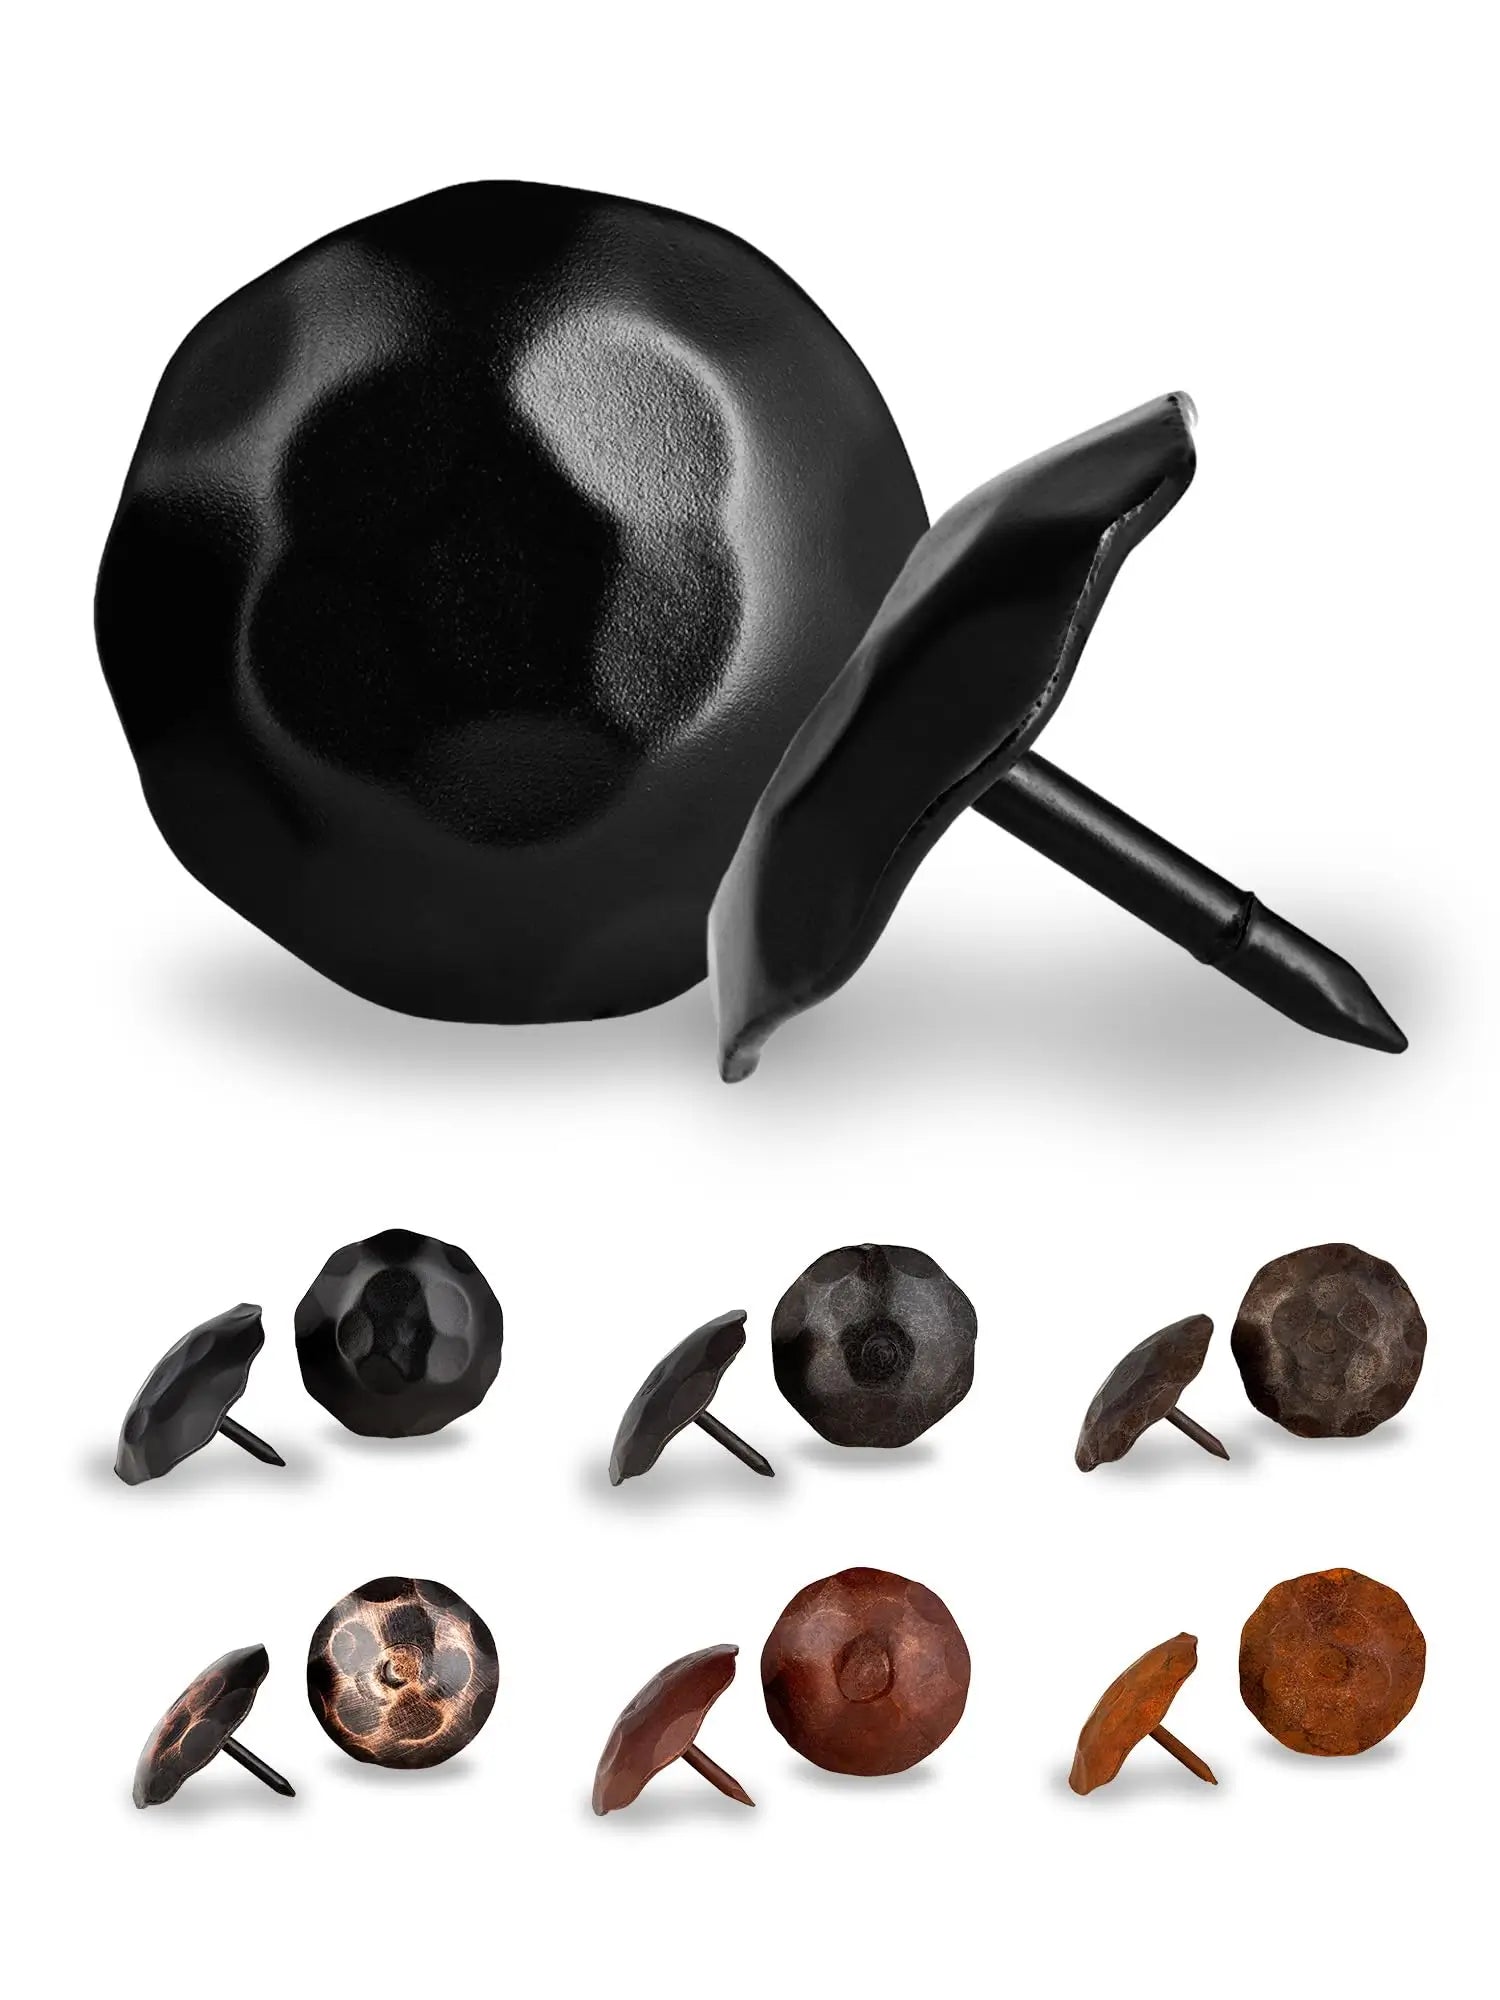
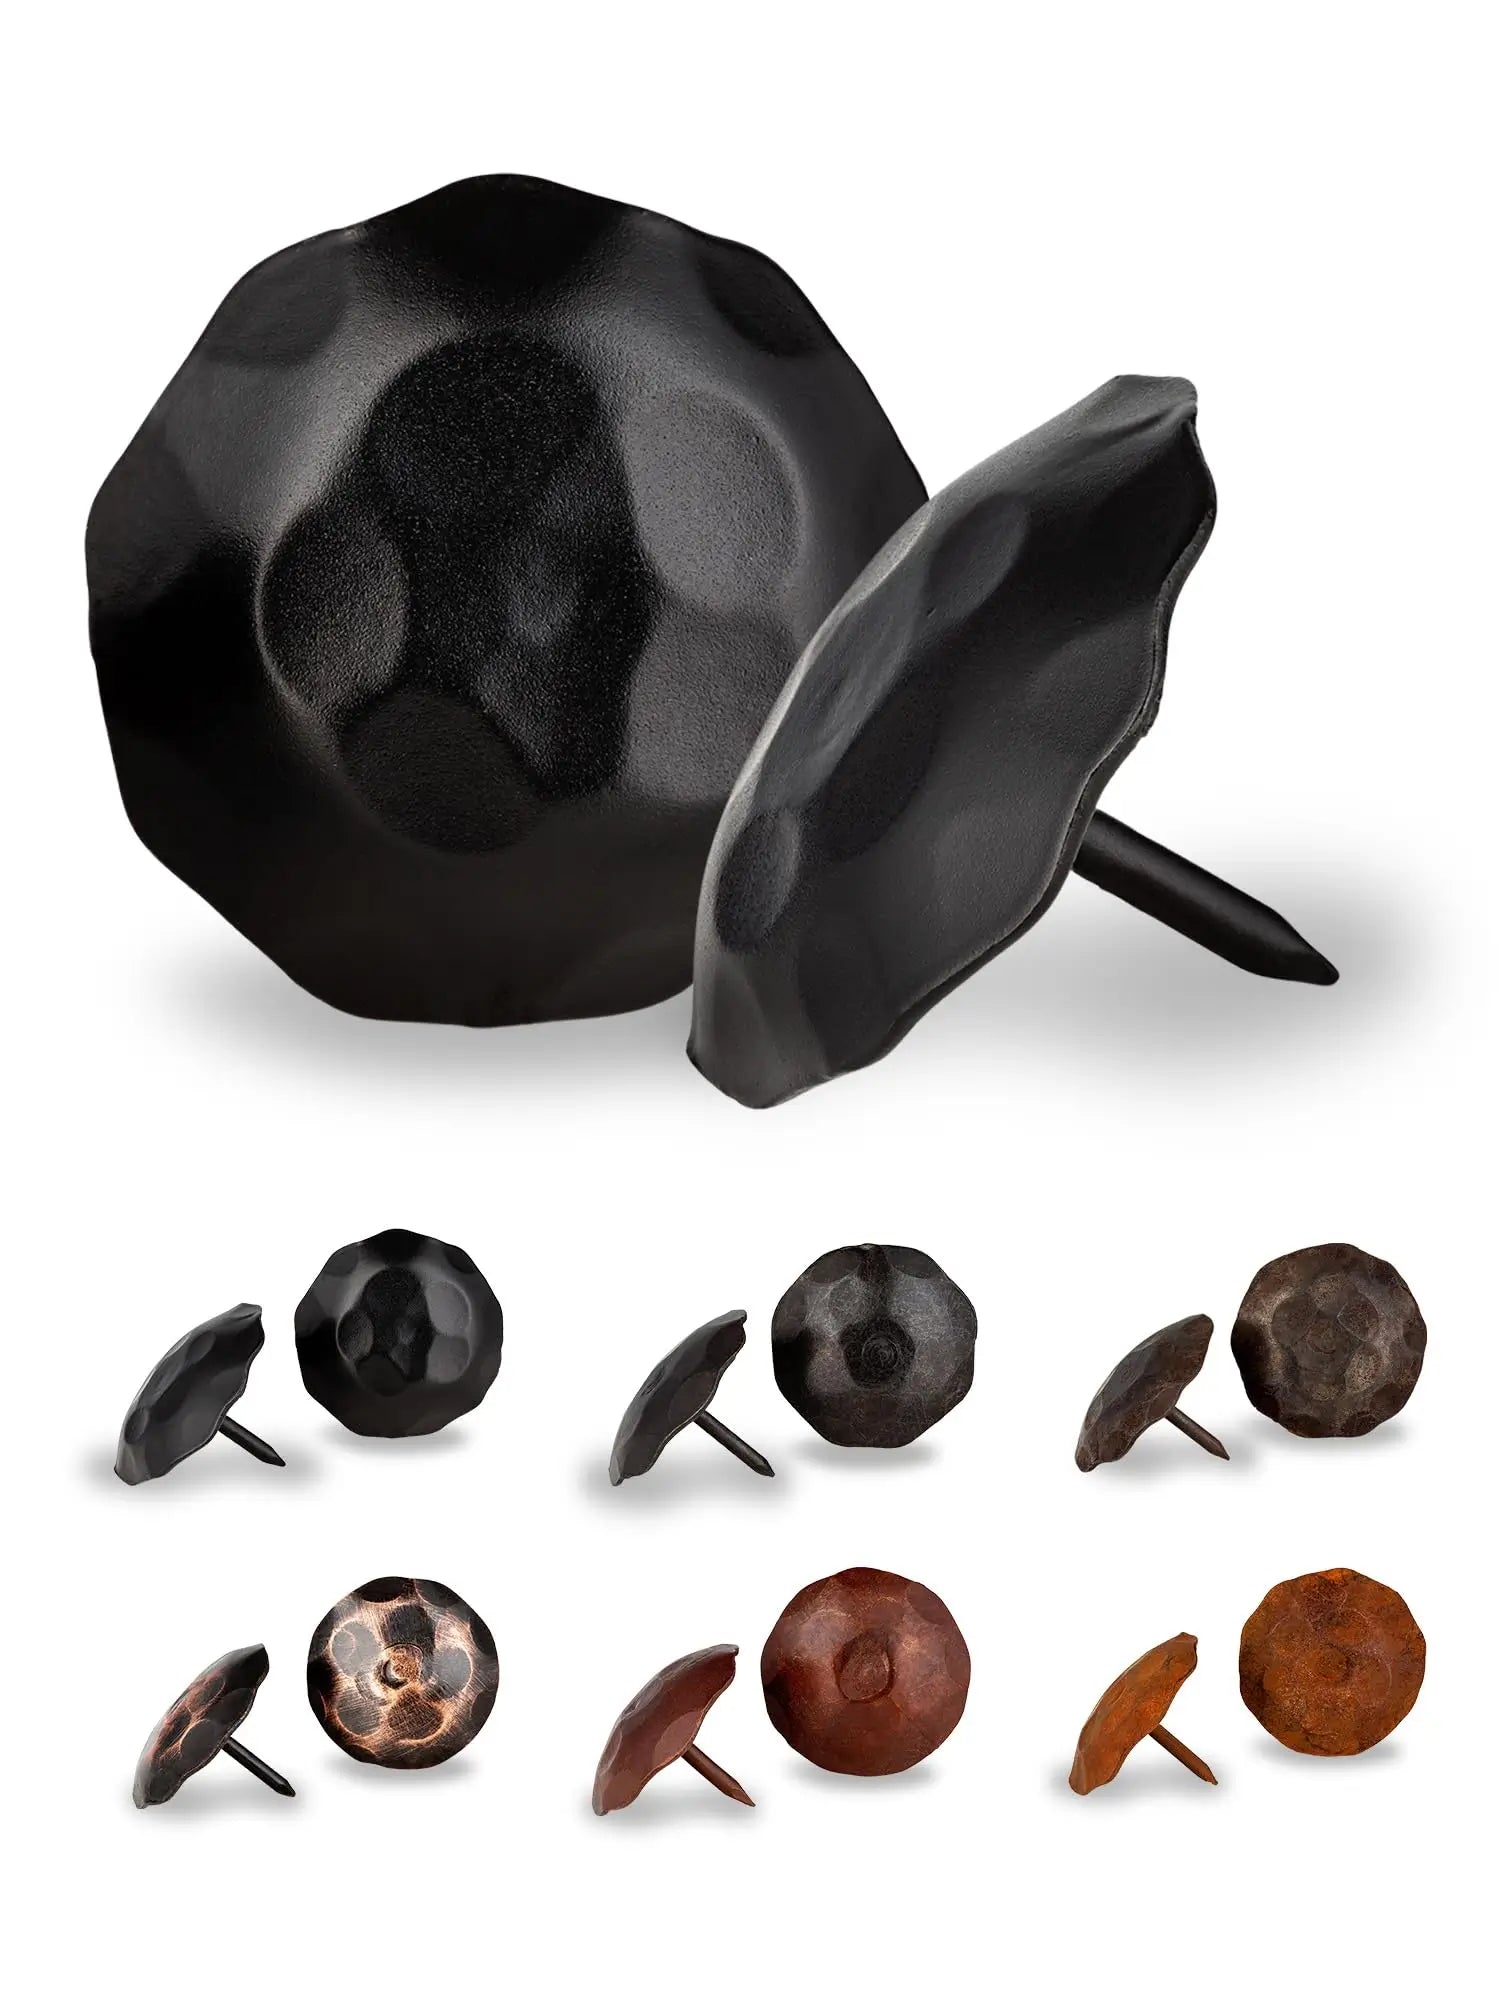
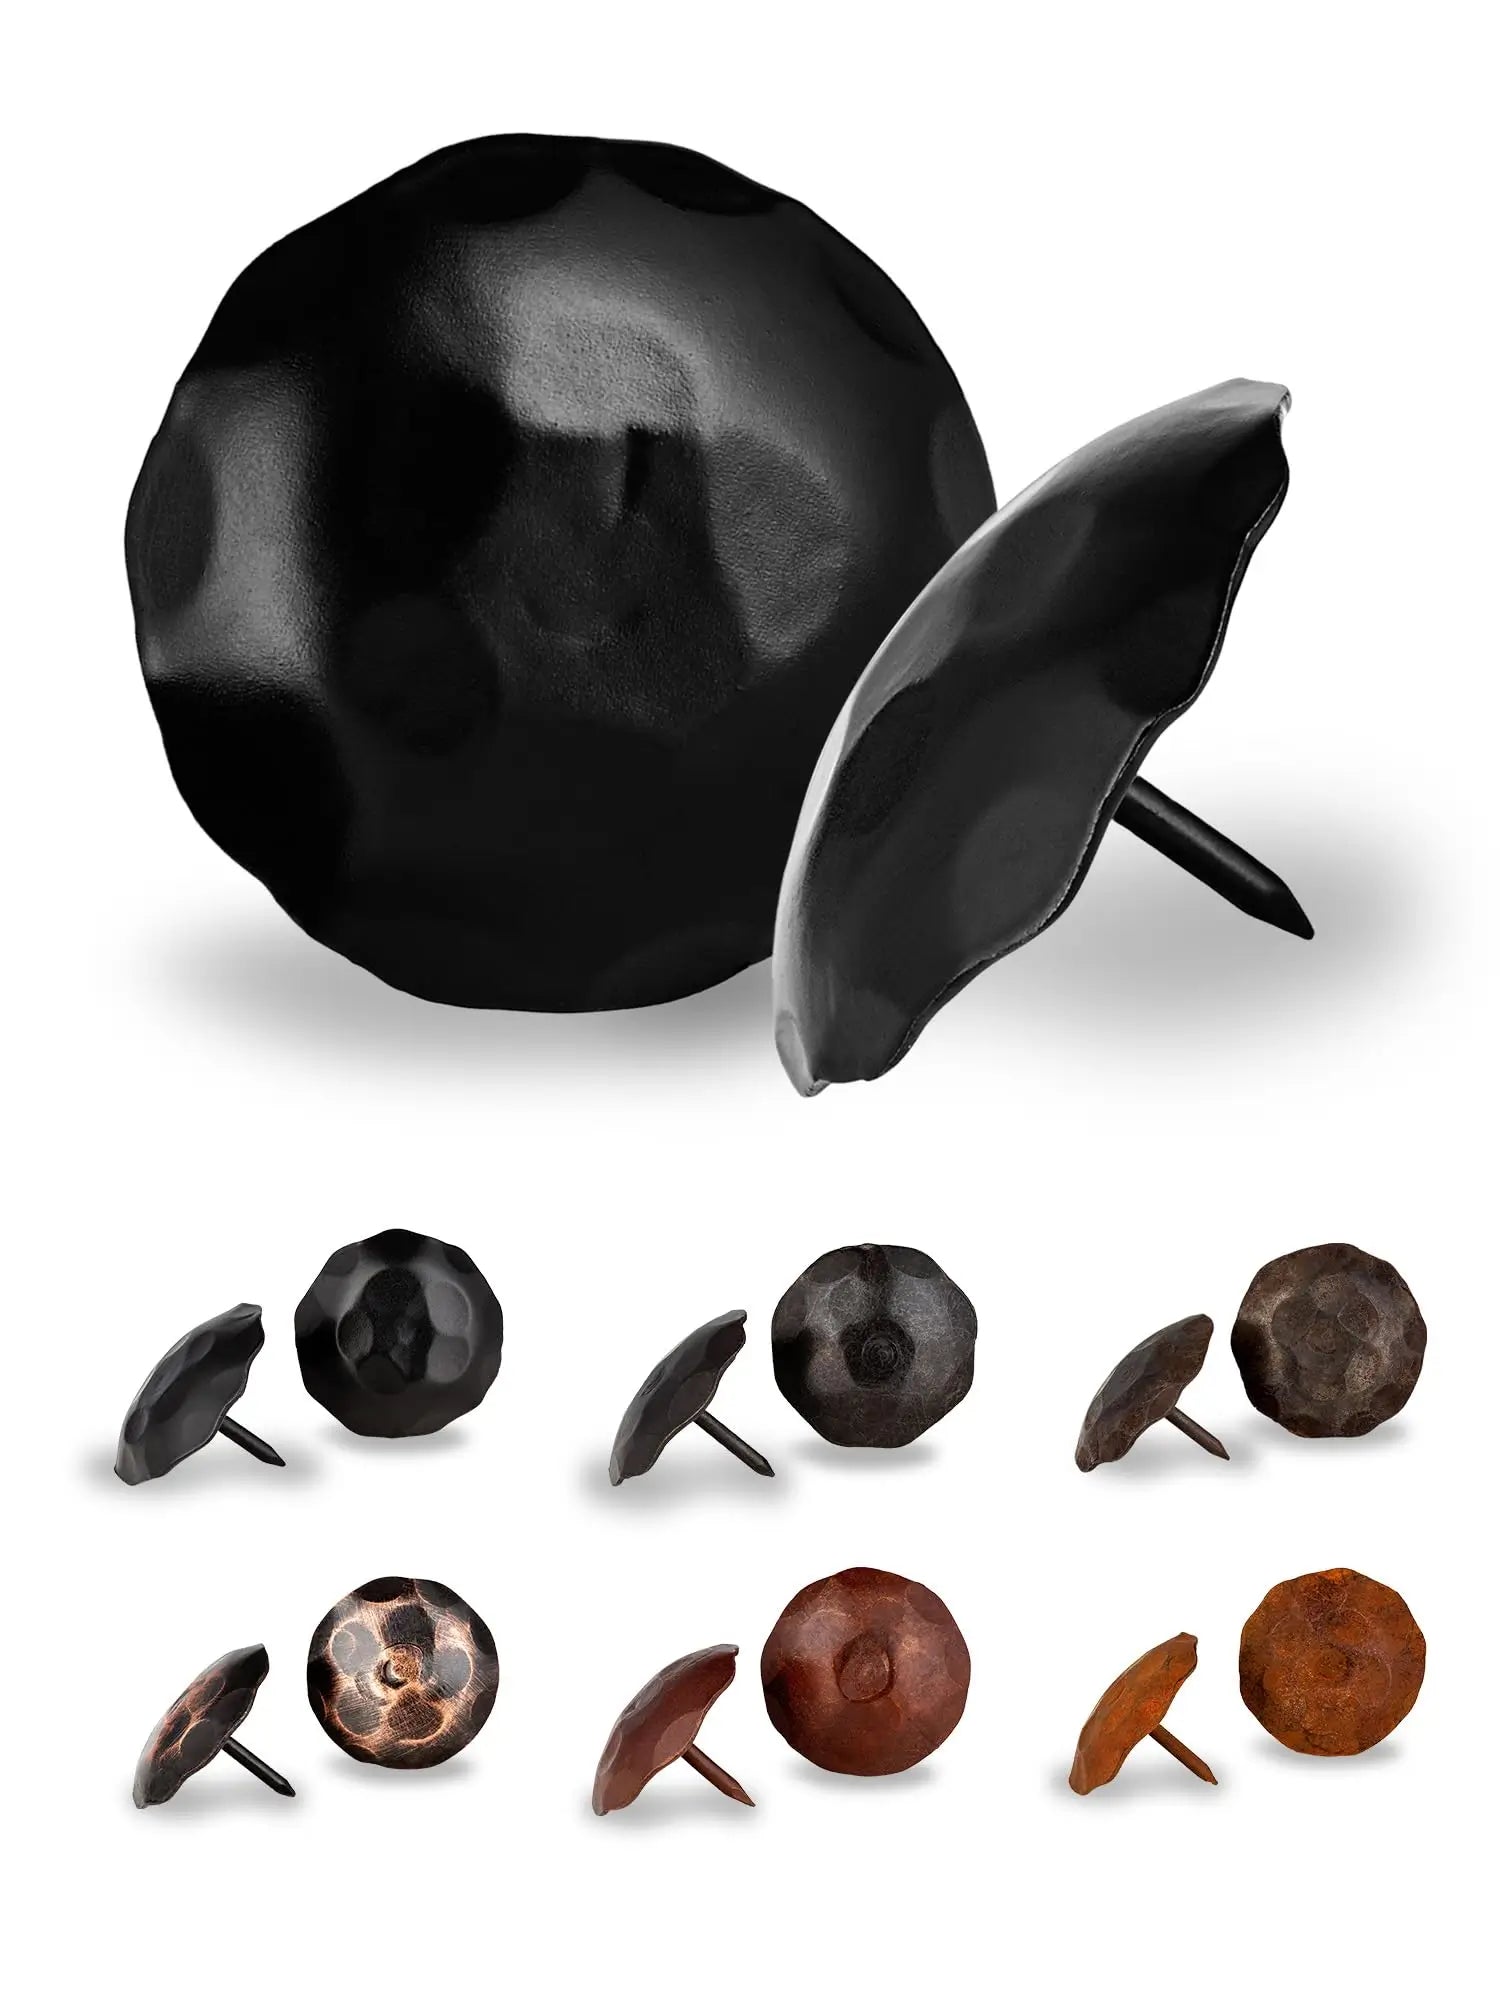


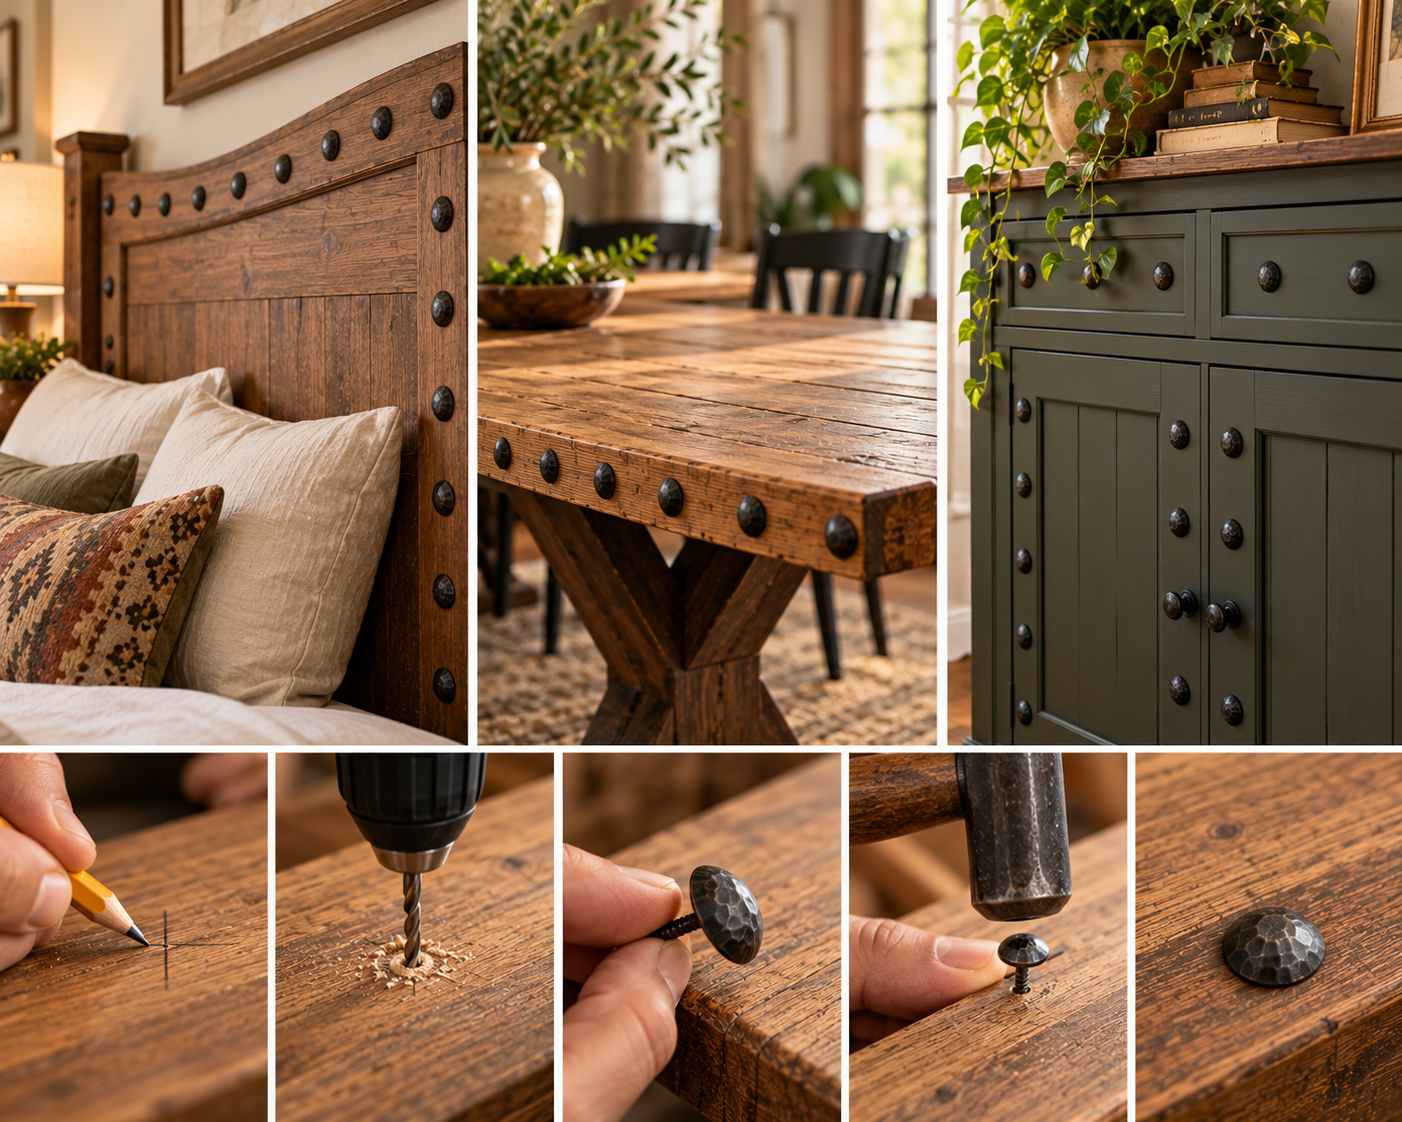
To add clavos to furniture, plan your layout with tape, choose a size that suits the surface, pre-drill the holes and tap each clavo in with a rubber mallet. Smaller clavos in the three-quarter to one-inch range suit cabinets and furniture accents, while larger ones suit a headboard or a big tabletop. With a little planning, this is an easy weekend project that gives plain wood a hand-forged look.
Clavos are decorative nail heads with a wide, hammered head that sits proud of the wood. They add texture and shadow, which is why you see them on antique doors, chests and Spanish Colonial furniture. If you are new to them, start with our guide on what clavos are.
Match the clavo to the size of the surface.
|
Project |
Suggested size |
|
Cabinet doors, small boxes |
0.75 to 1 inch |
|
Headboards, dressers, side tables |
1 to 1.5 inches |
|
Large tabletops, big panels |
1.5 to 2 inches |
Smaller clavos let you place them closer together for a fine, detailed look. Larger clavos make a bolder statement and look best with more space between them. You can compare sizes in our clavos collection.
· Clavos in the size and finish you chose
· A pencil, tape measure and level
· Painter's tape or masking tape
· A drill with a bit slightly smaller than the clavo shank
· A rubber mallet
· A clean cloth
1. Finish the wood first. Sand, stain or paint the piece and let it dry completely. It is much easier to do this before the hardware goes on.
2. Plan the layout. Decide on a pattern, such as a border, a grid or a single row. Use painter's tape to mark the lines, and measure so the spacing is even.
3. Mark each position. Press a small piece of tape or make a light pencil mark where every clavo will sit.
4. Pre-drill the holes. This is the most important step on hardwood. Use masking tape on the bit as a depth stop so you do not drill through the other side.
5. Set the clavos. Tap each clavo in with a rubber mallet using even strokes. A rubber mallet protects the finish and the hammered head.
6. Check alignment as you go. Step back often. Small errors add up across a long row.
7. Clean up. Remove the tape and wipe off dust and fingerprints.
For more detail on technique, see our step-by-step guide to installing decorative clavos.
A headboard is the easiest place to start, because the surface is flat and the pattern is forgiving.
· Choose a border pattern along the edges or a grid across the face.
· Keep clavos 3 to 6 inches apart for a classic look.
· Center the pattern, and measure from the middle outward.
· Use a size large enough to read from across the room.
On a tabletop, keep clavos near the edges or along the legs, so they do not interfere with cups and plates. On a cabinet, a row along the door frame or a few at each corner gives a refined look. Drawer fronts look good with a small clavo at each corner. For corner detail, pair them with corner protector straps for a complete rustic set, and see how to install corner straps on a wooden chest or box.
Count the clavos along each line of your pattern, then add 10 percent for mistakes. As an example, a 60-inch headboard with a border at 4-inch spacing needs about 15 clavos per long edge. Plan the layout first so you know the total before you order. Our guide to clavos on doors: patterns, spacing and layout ideas shows pattern options that work on furniture as well.
· Skipping the pilot hole. Hardwood can split.
· Skipping the layout. Uneven rows are very obvious.
· Using a metal hammer on the head. It dents the surface. Use a rubber mallet.
· Choosing a size that is too large for a small piece. Scale the clavo to the surface.
· Applying hardware before finishing the wood. It is hard to work around metal.
Wipe them with a soft, dry cloth. Indoors, they need very little care. Our guide on how to care for hand-forged iron hardware explains how to keep the finish looking good over time.
Can you put clavos on a headboard?
Yes. A headboard is one of the most popular DIY projects for clavos. Choose a border or grid pattern and keep the spacing even.
What size clavos work best on furniture?
Three-quarter to one-inch clavos suit cabinets and small pieces. One to one-and-a-half inches suit headboards and side tables. Larger sizes suit big surfaces.
Do I need to pre-drill for clavos?
Yes, especially in hardwood. Pre-drilling prevents splitting and makes it easier to set the clavo straight.
What tool do I use to install clavos?
A rubber mallet is the best choice, because it sets the clavo without denting the head or marring the finish.
Can I add clavos to a piece that is already finished?
Yes. Mask the area, mark the layout and pre-drill carefully. Take care not to chip the finish when you set each clavo.
Every clavo we make is hand-forged by real blacksmiths and made to last. Browse our full clavos collection to choose the size and finish for your next project.