Cart
0
You may also like
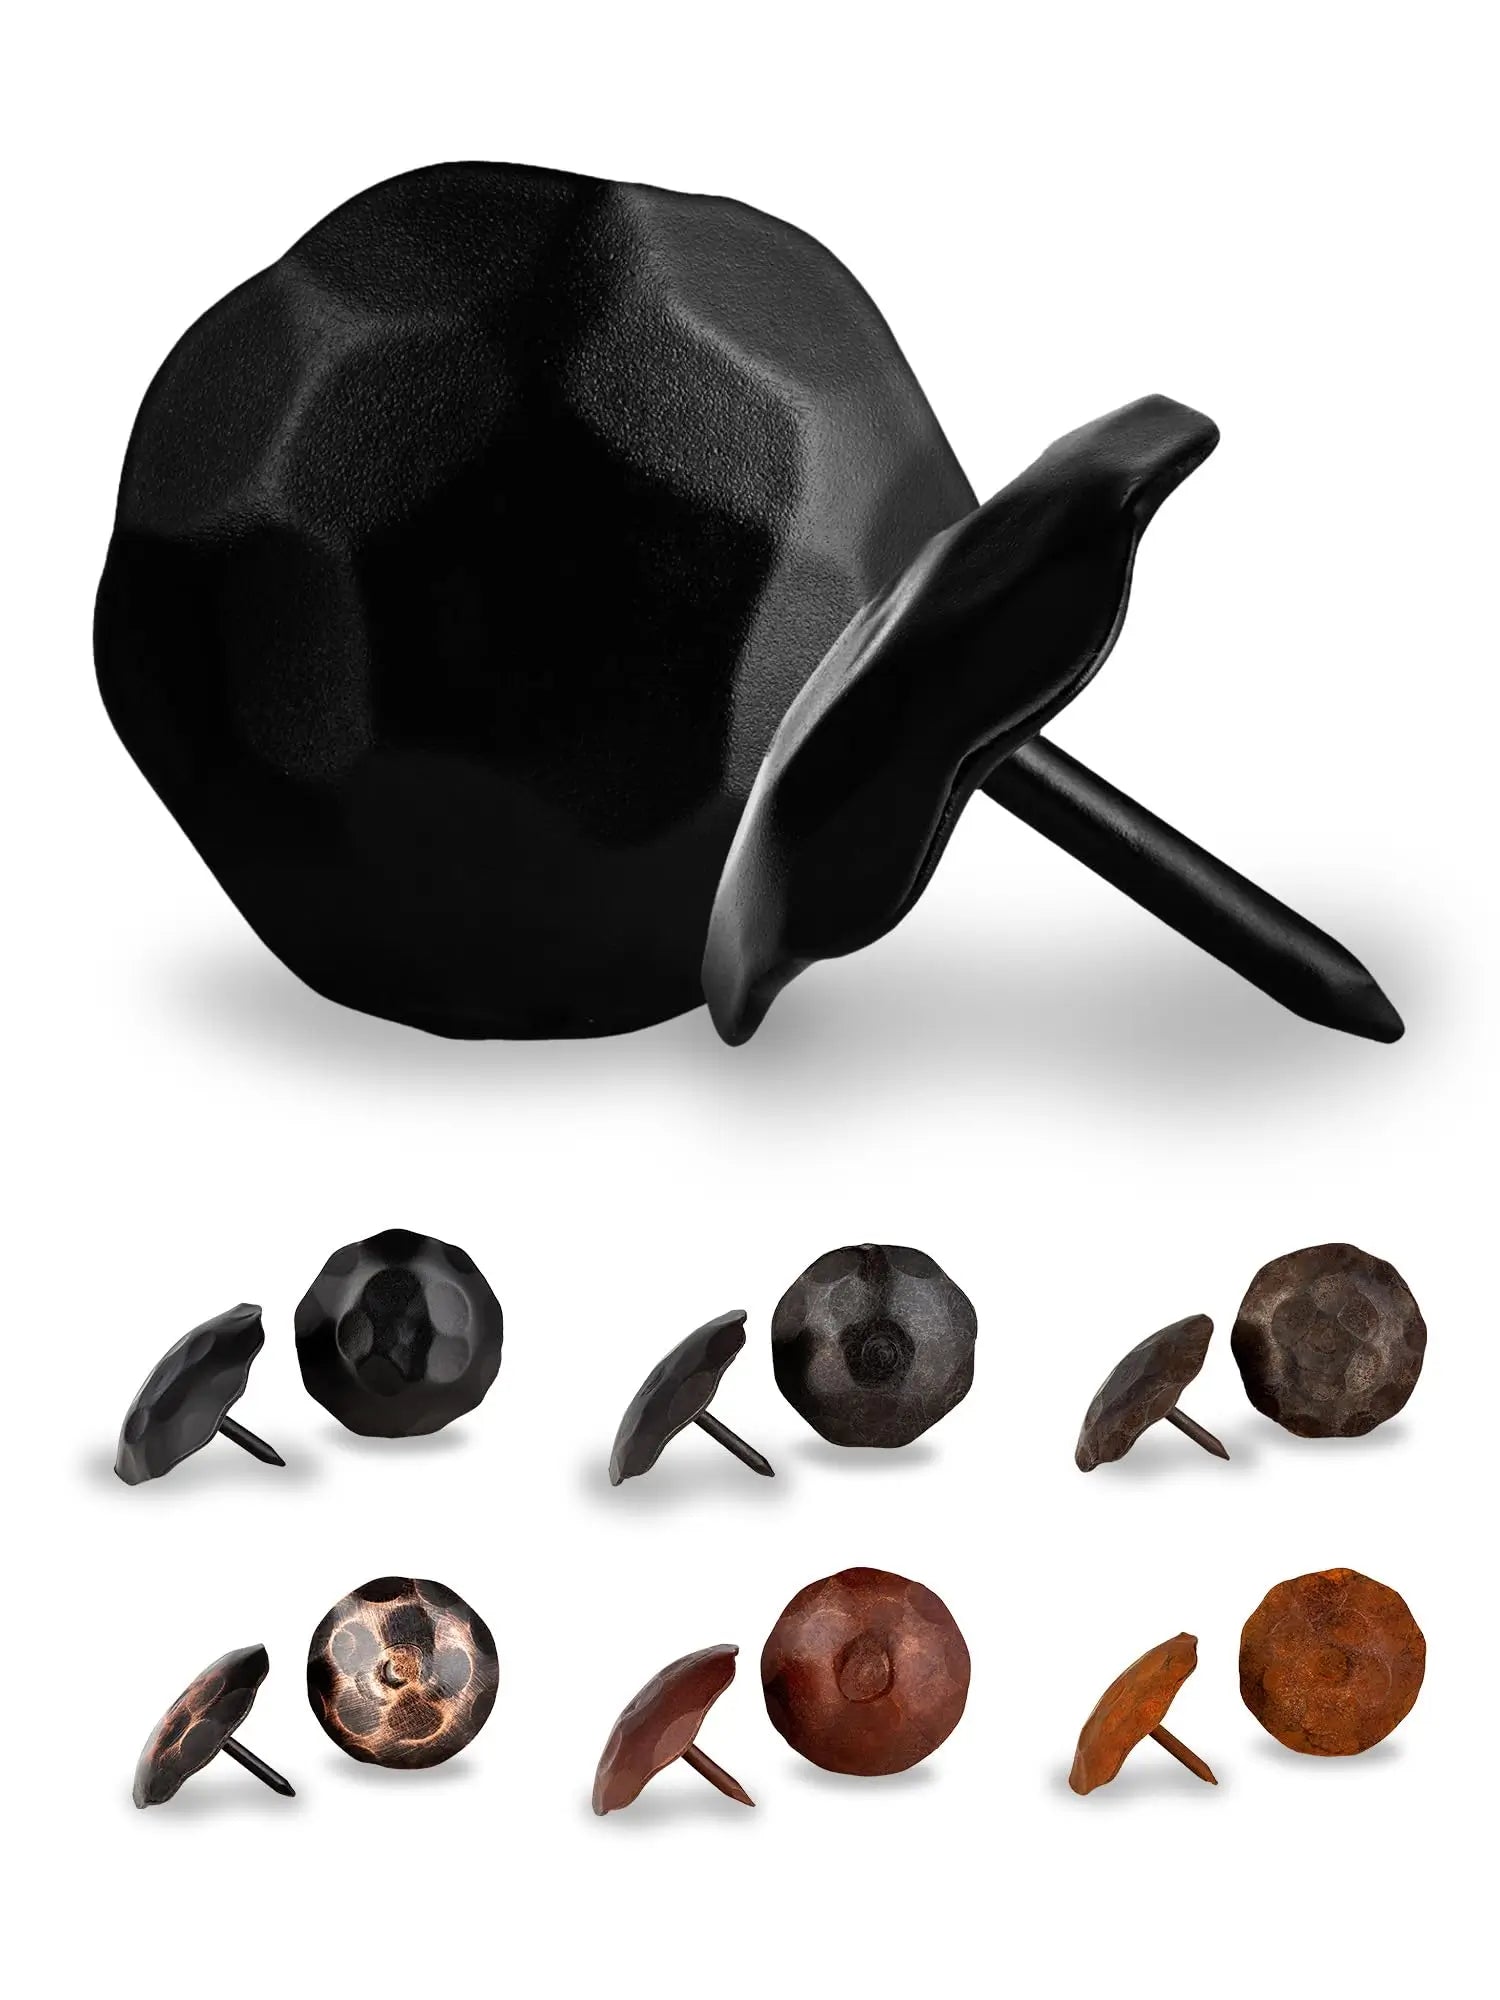
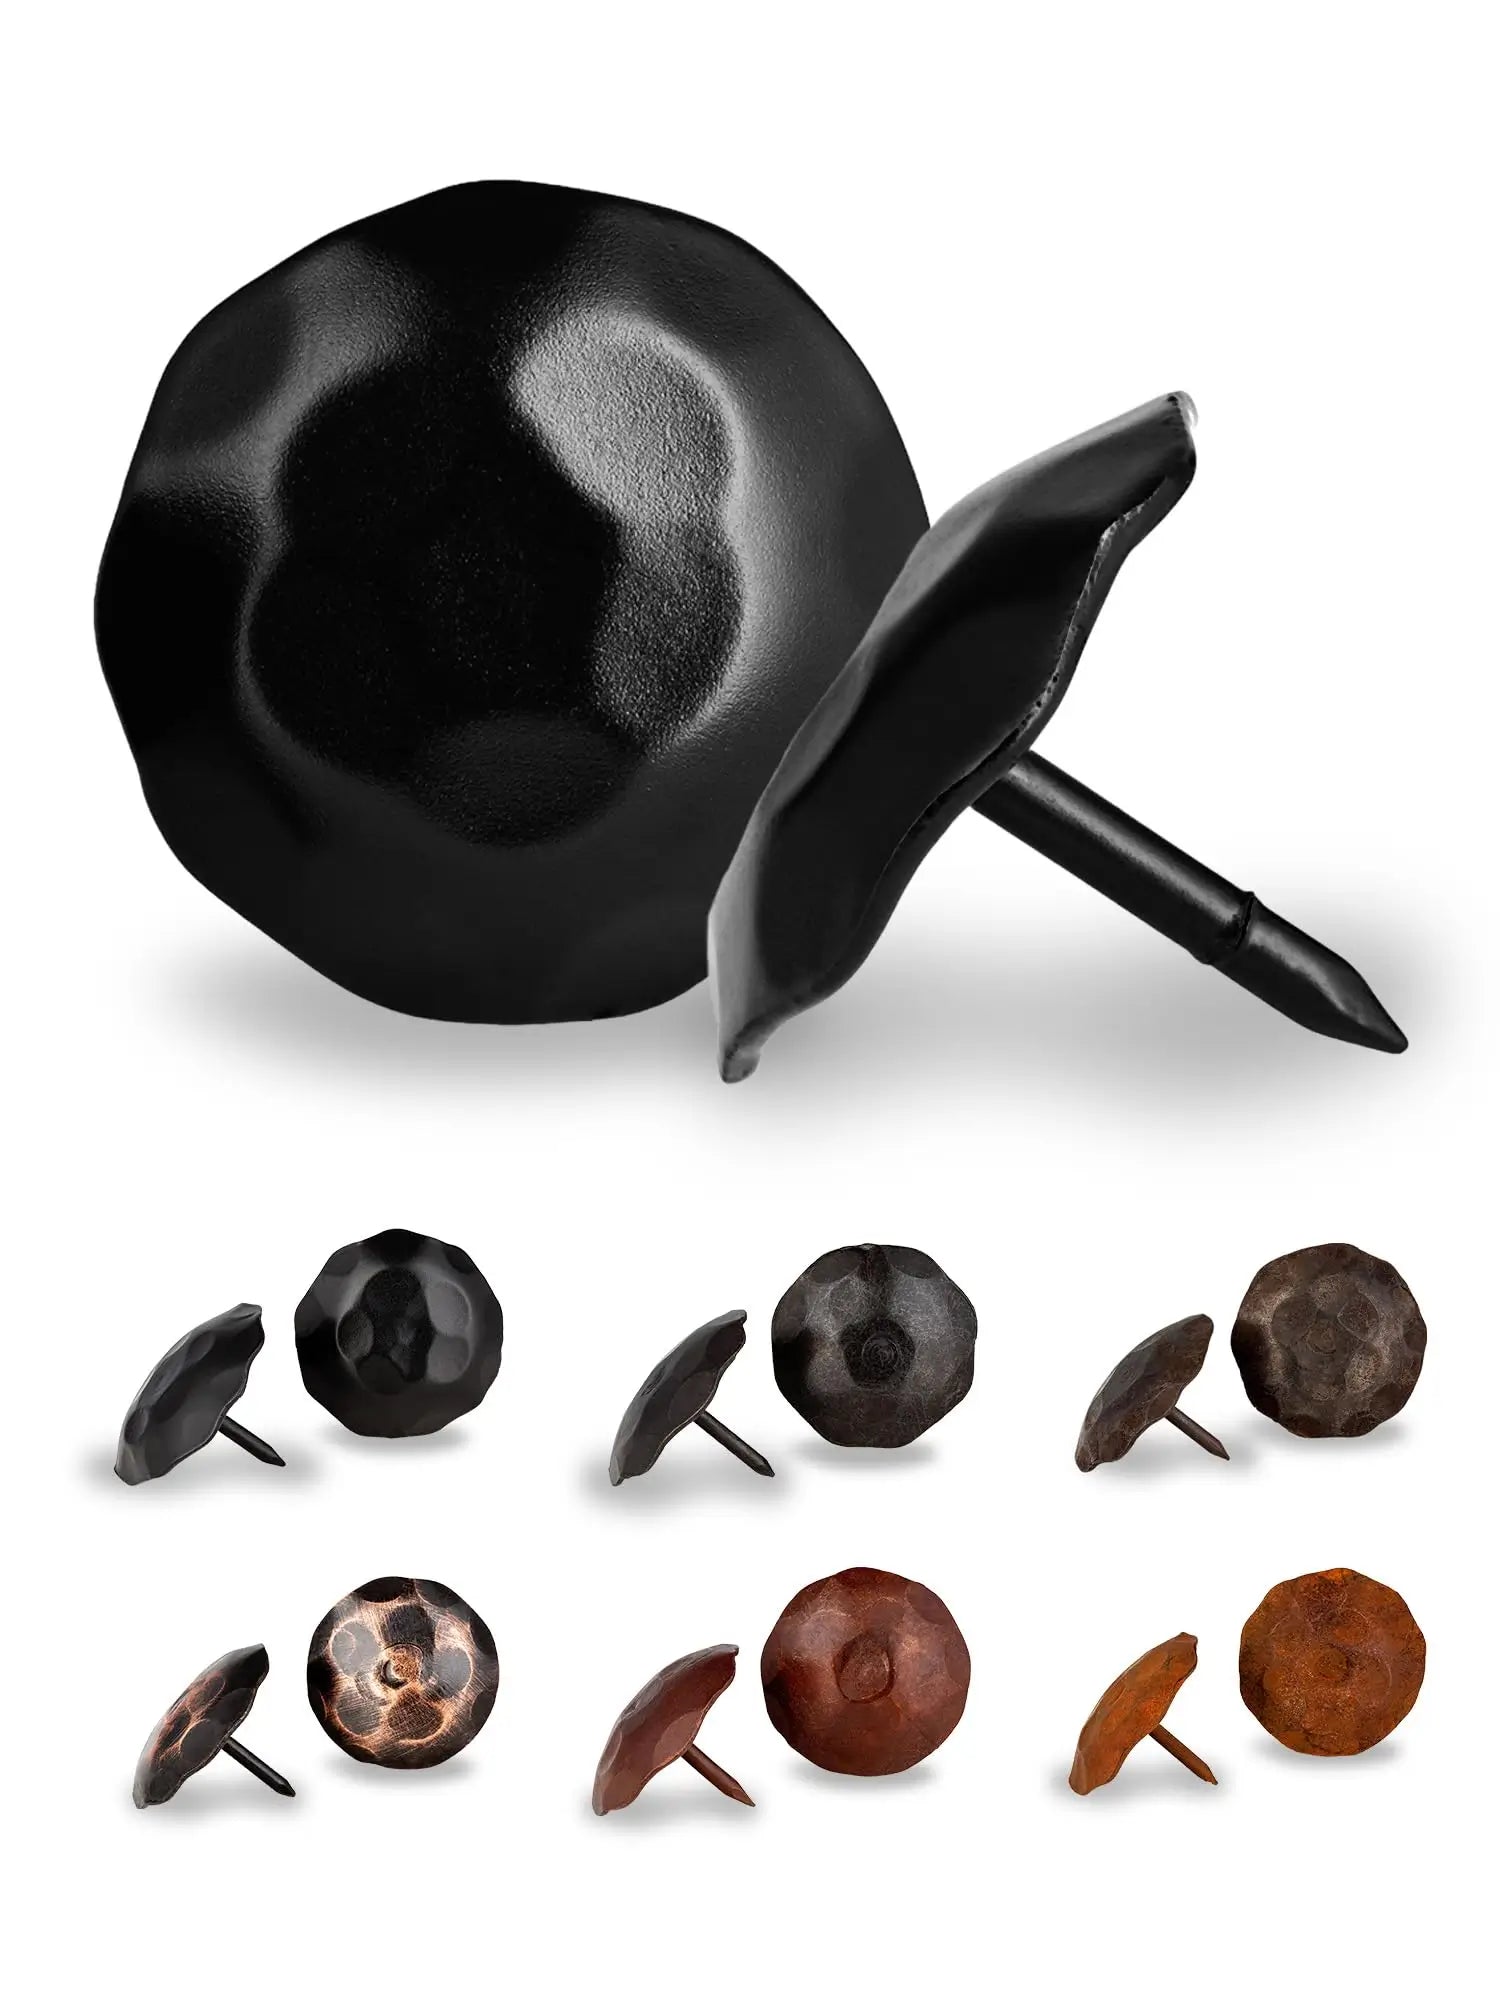
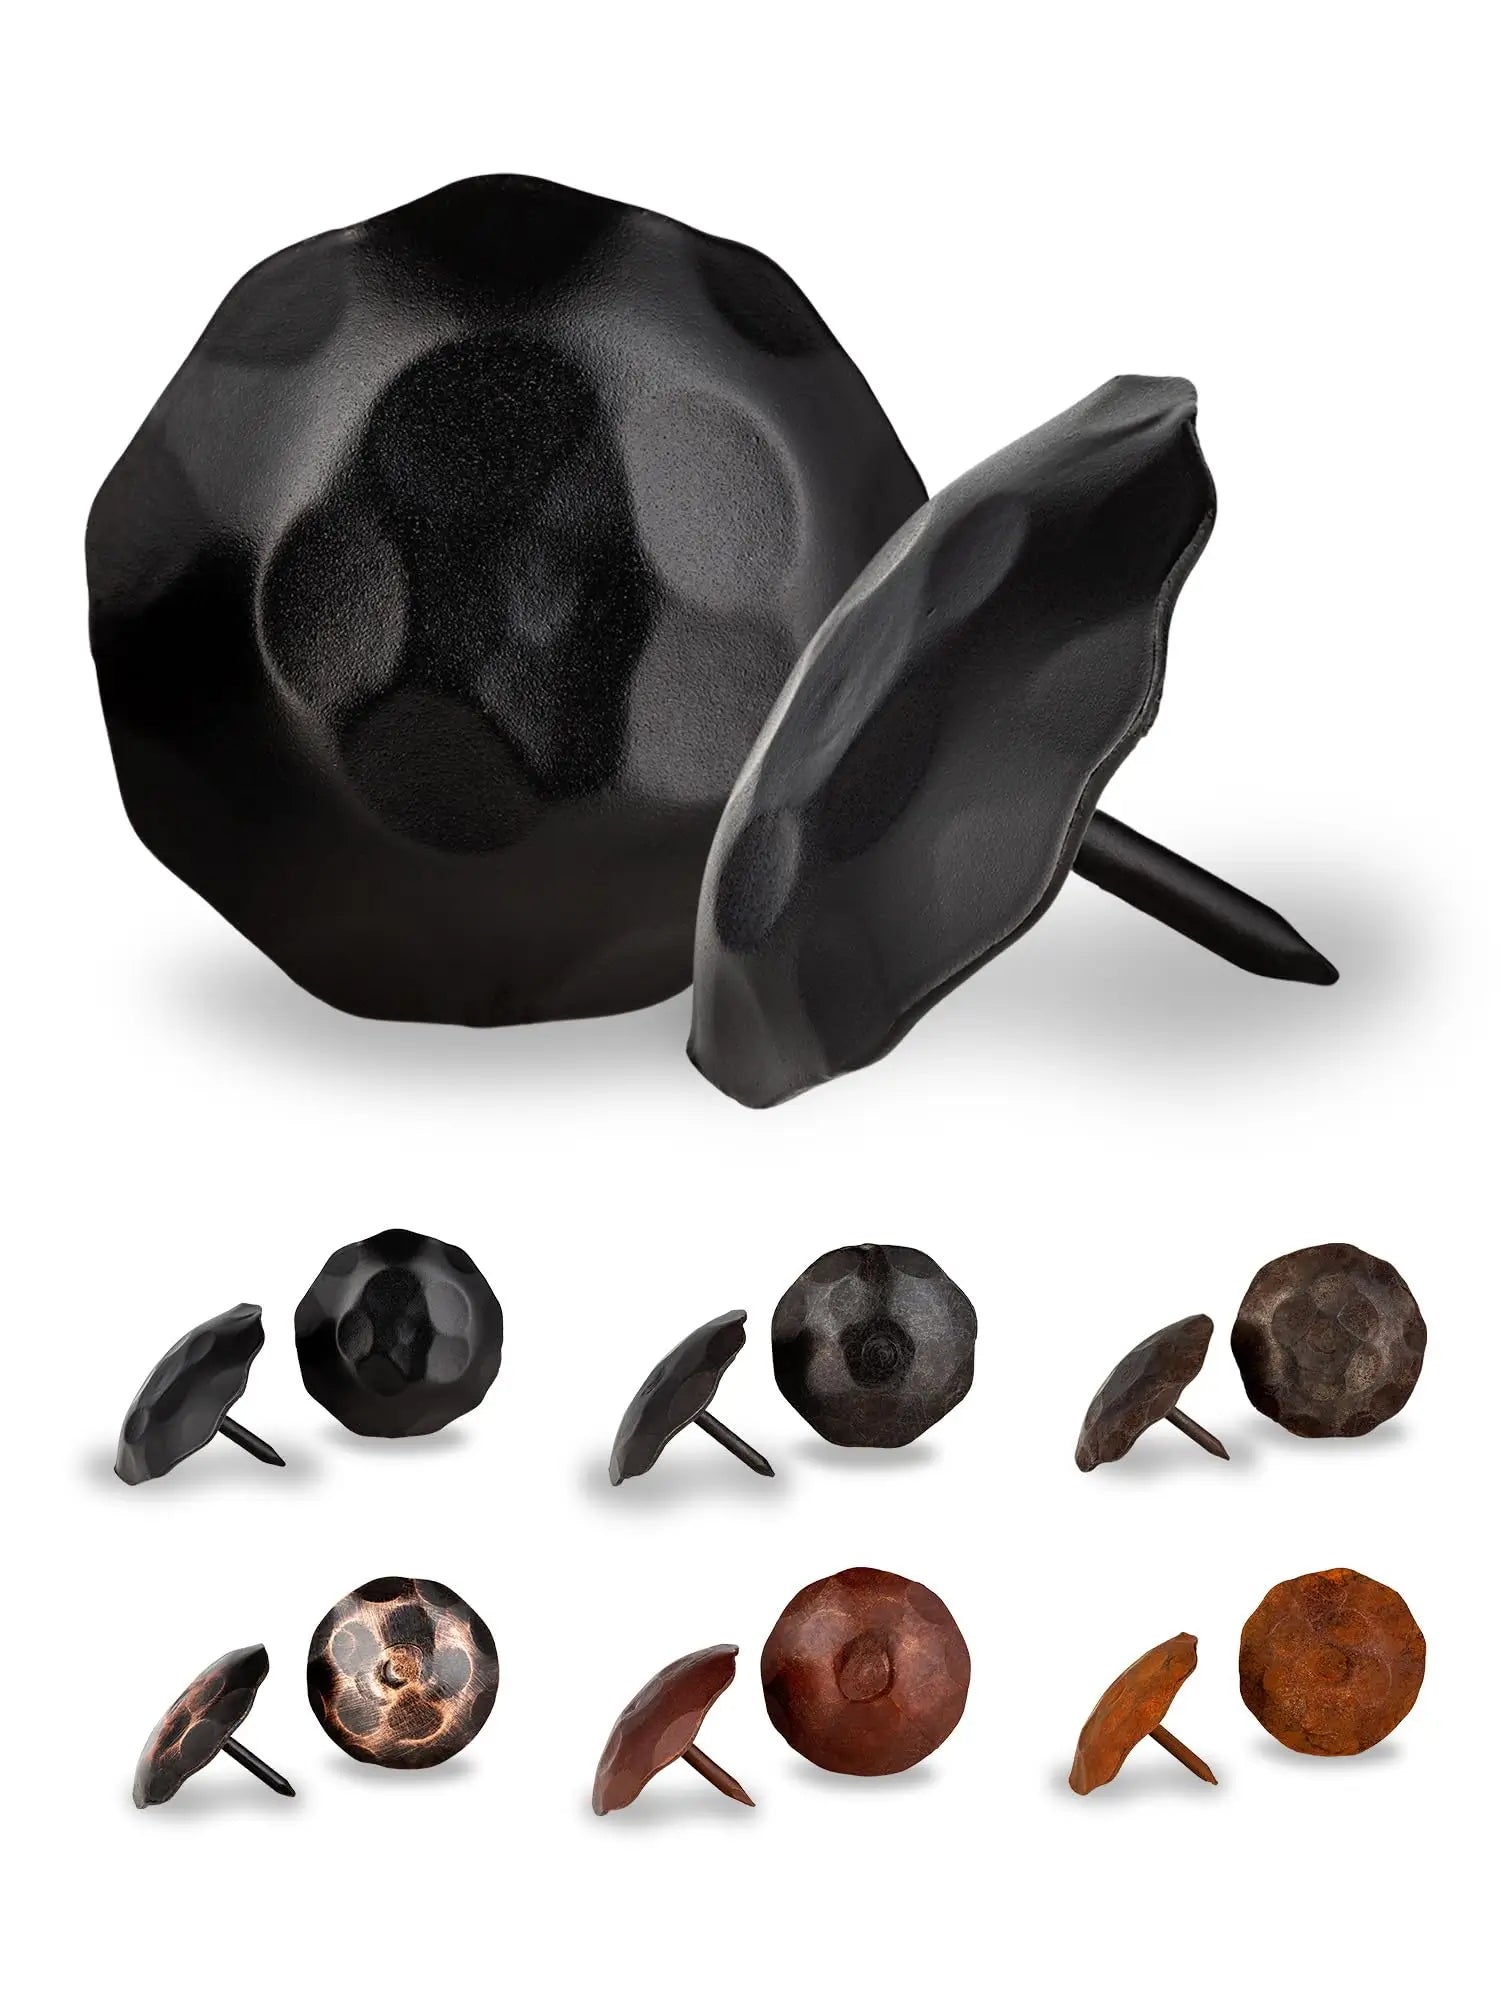
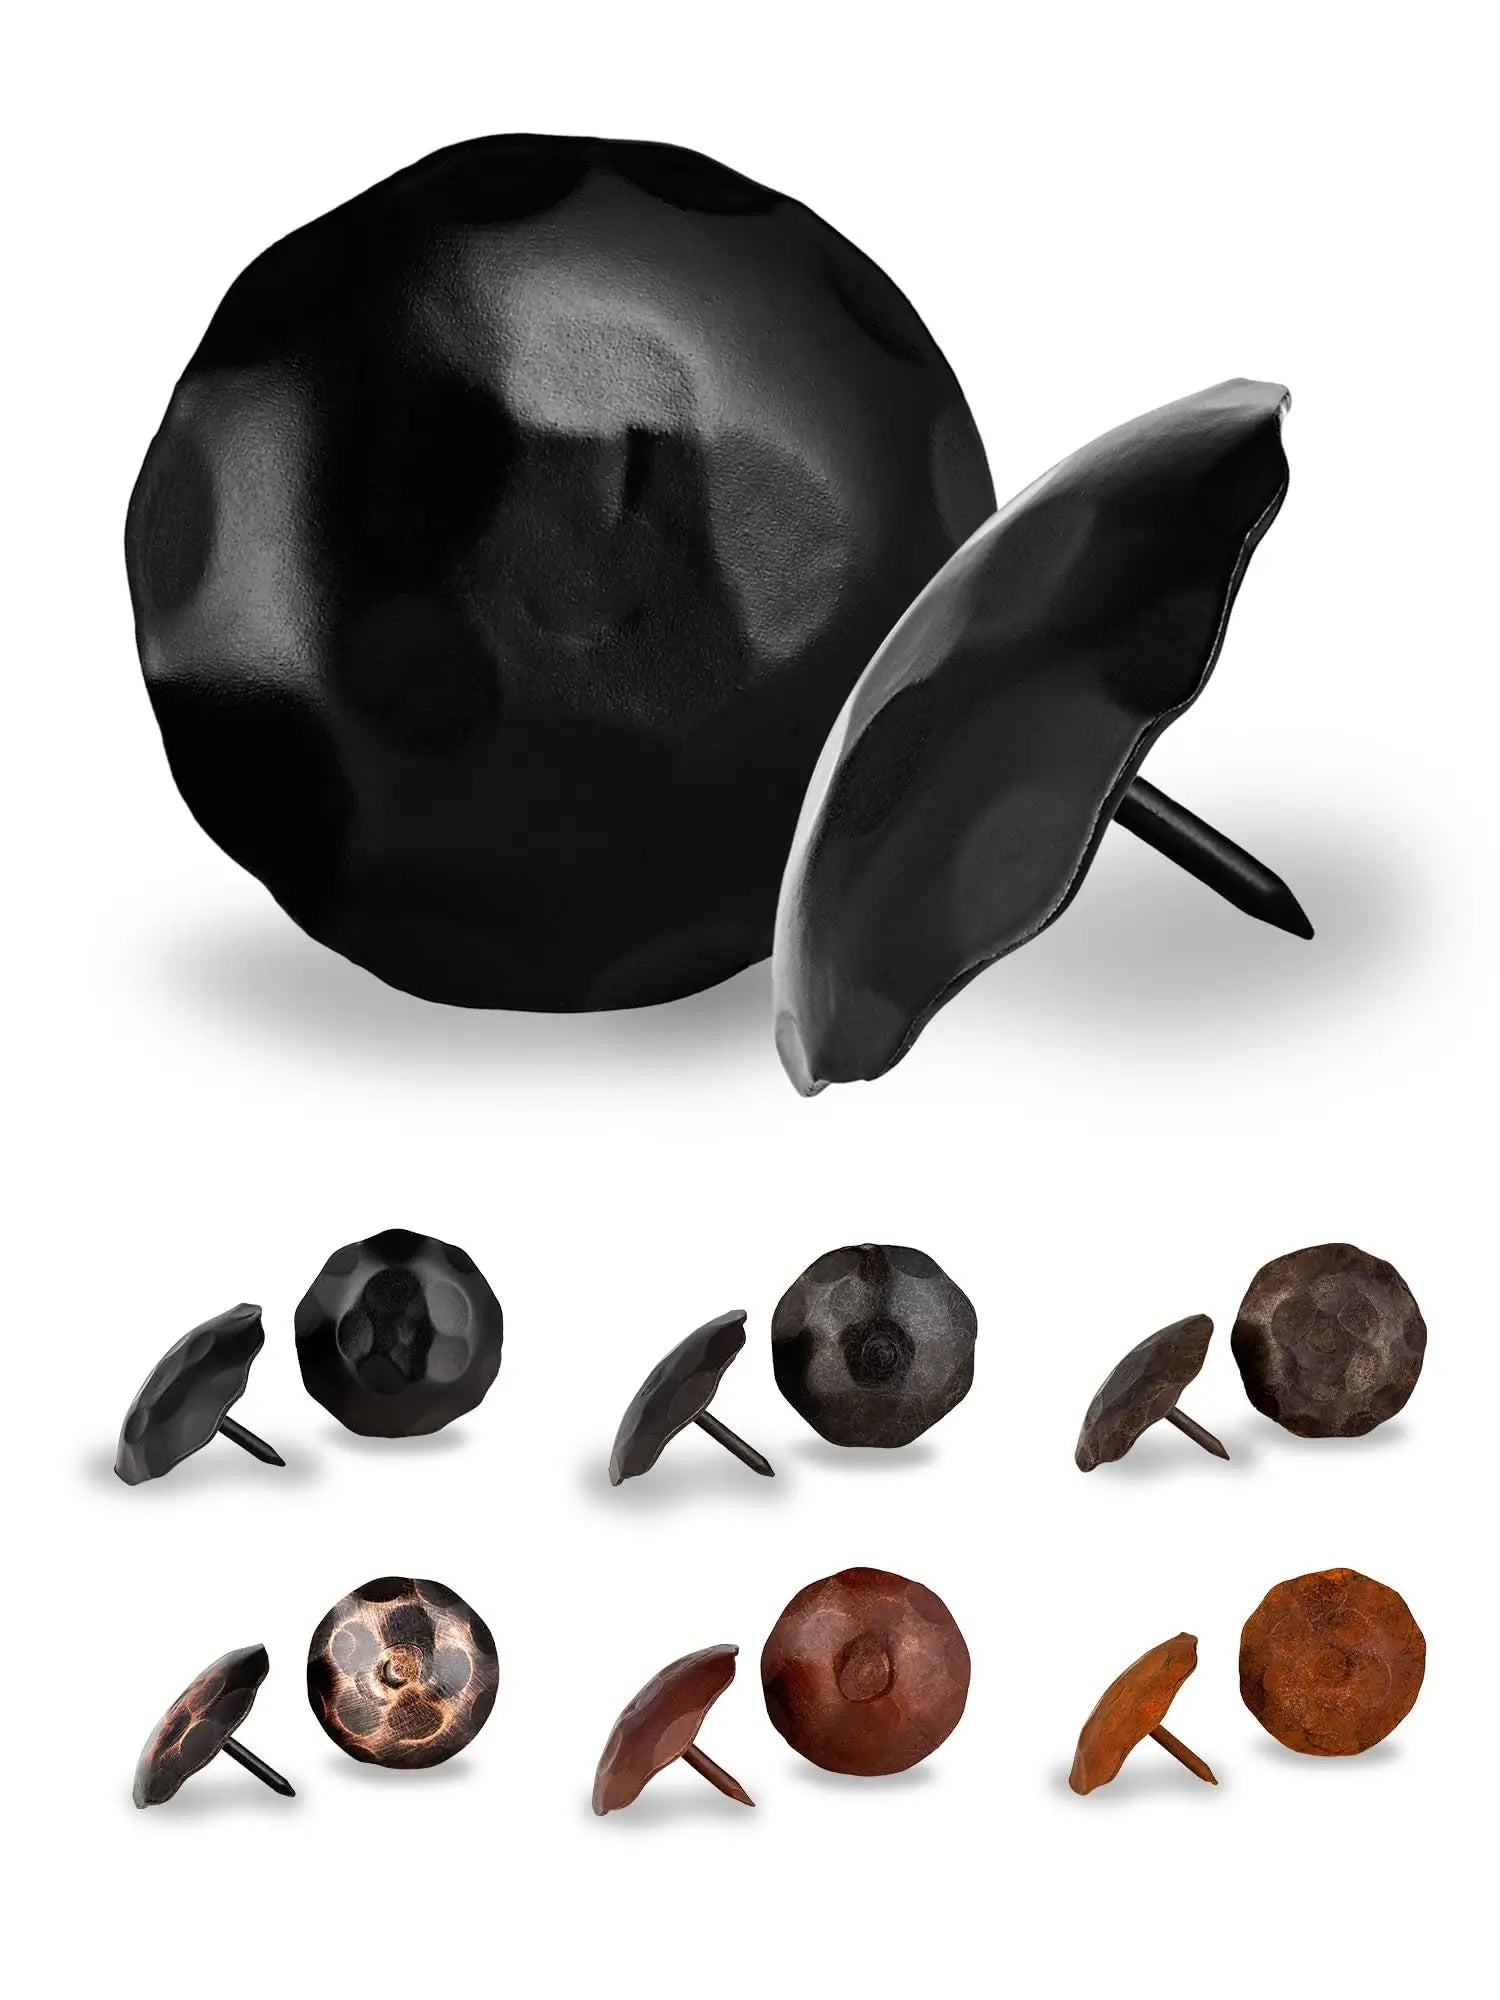


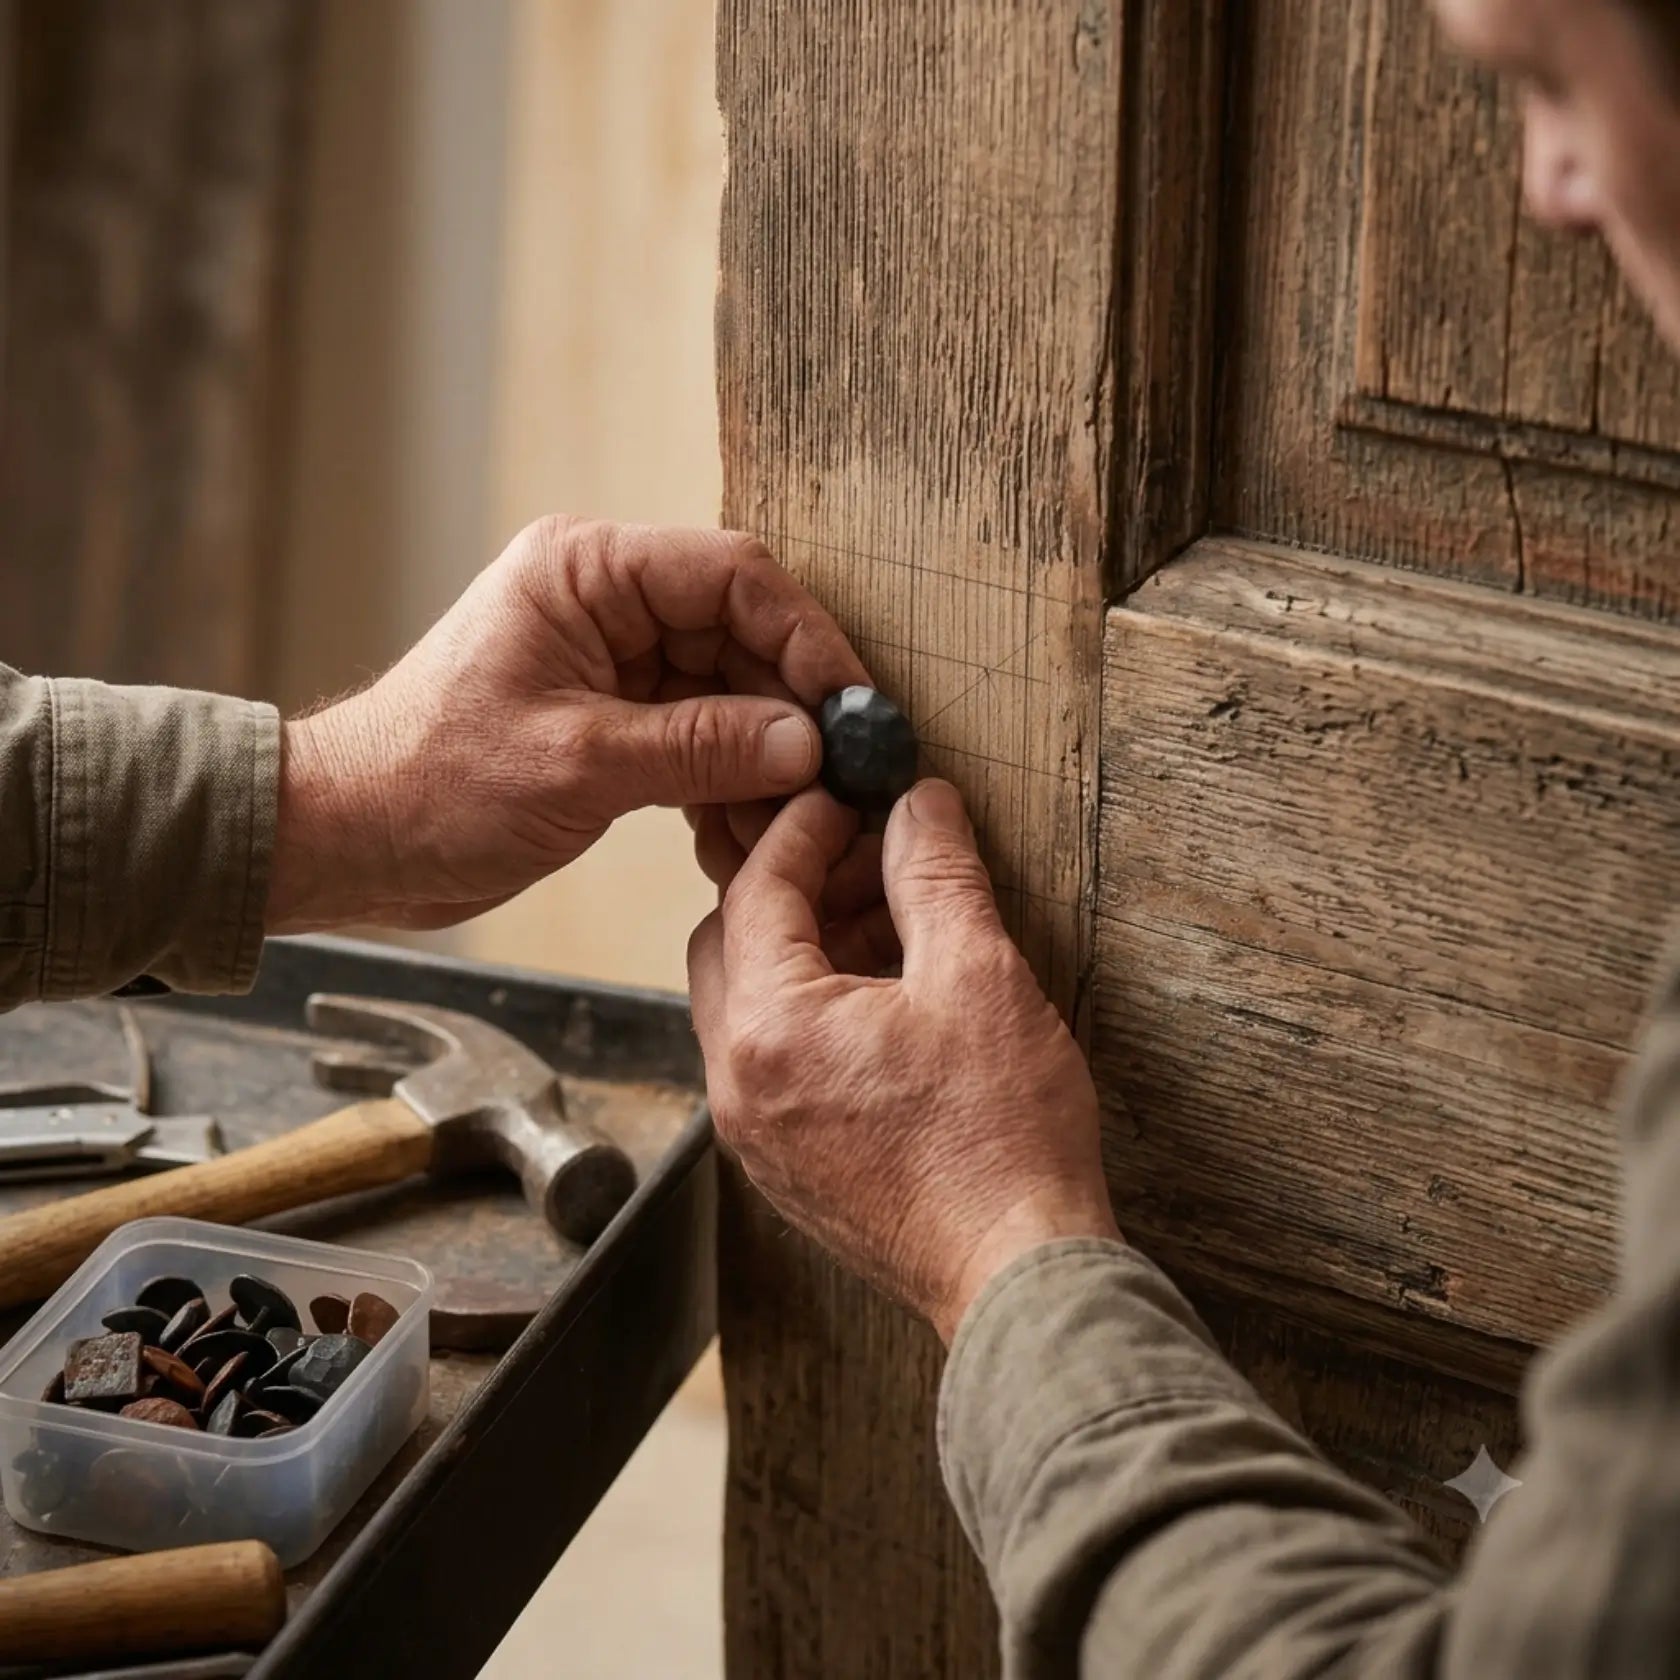
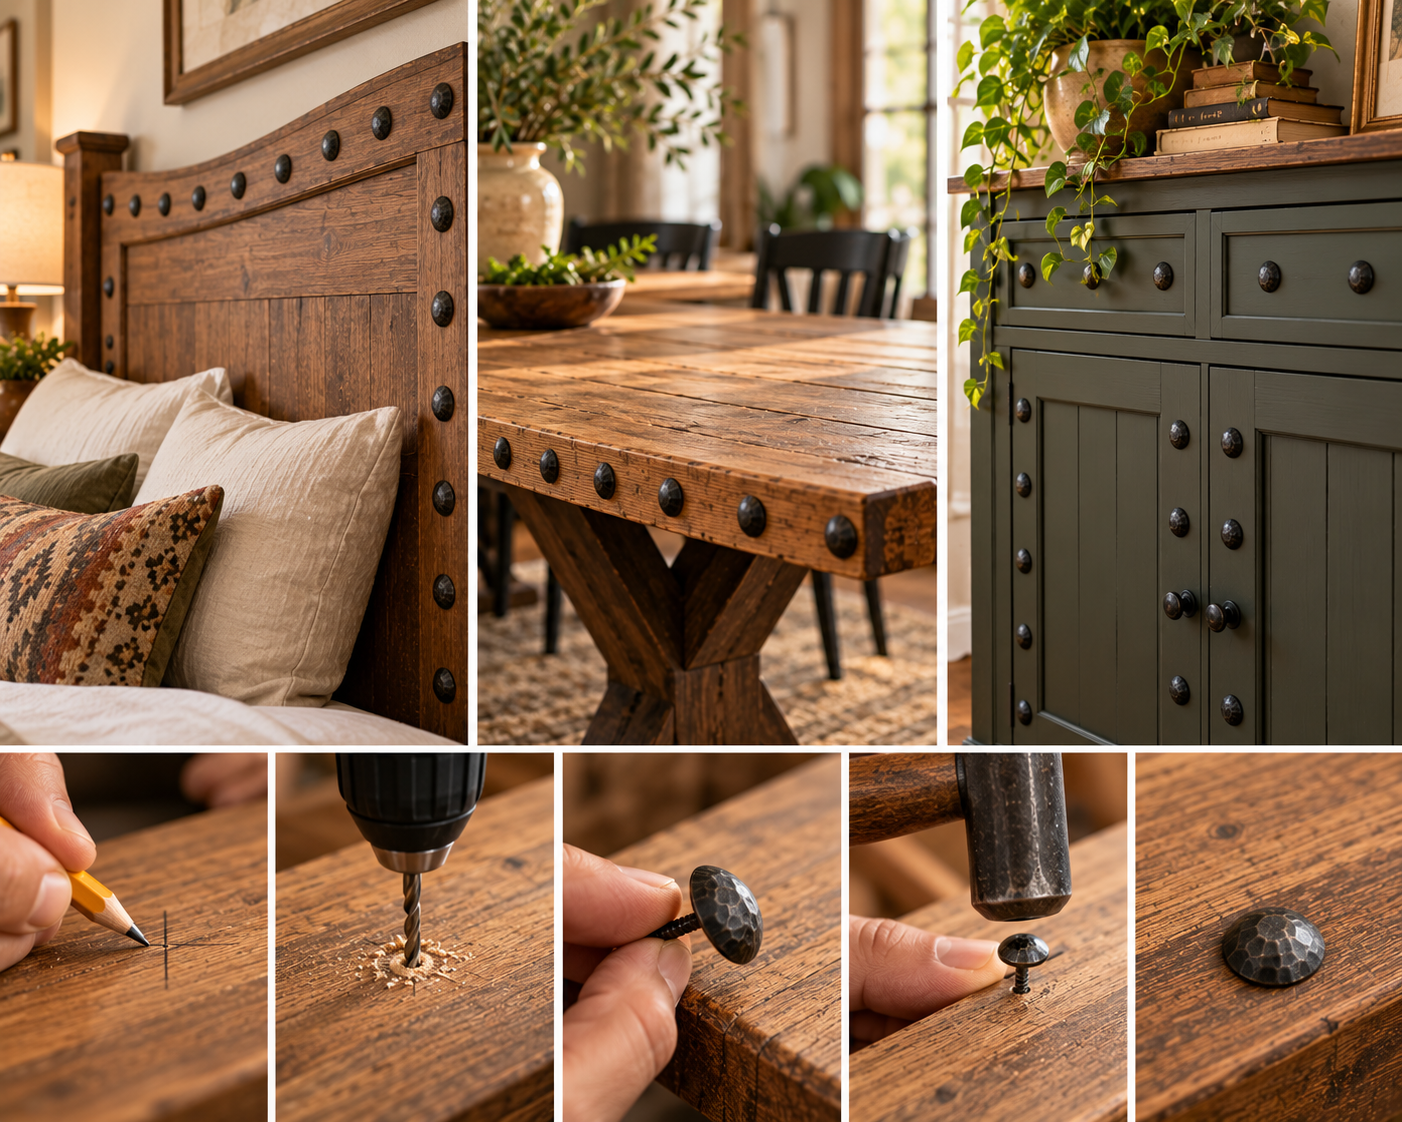
plan your layout, pre-drill a pilot hole slightly smaller than the clavo's shank, set the clavo with a rubber mallet rather than a metal hammer, and check alignment as you go. The whole process is straightforward on any solid wood surface, the part that actually takes planning is the layout, not the installation itself.
Most installation mistakes happen from rushing the layout step, not from the physical work of setting each piece. A few extra minutes with a tape measure and pencil saves a lot of frustration once clavos are actually in the wood.
If you're still deciding on shape and size, check out our guide on what clavos are and how to choose them.
● Tape measure and pencil
● Drill with a bit slightly smaller than the clavo's shank diameter
● Rubber or wooden mallet (not a metal hammer)
● Painter's tape or a cardboard template, for spacing
● Exterior-rated silicone sealant, for outdoor installs
Before drilling anything, lay your clavos out on the surface, dry-fit, to confirm spacing and
pattern. Many doors, gates, and cabinets already have natural panel lines or recessed sections that make good reference points, centering a row of clavos between two existing panel edges tends to look more intentional than placing them freehand. For larger, repetitive patterns, mark your spacing with painter's tape first so you can step back and check the layout before committing to a single hole.
Once you're happy with the layout, mark each clavo's exact position with a pencil. If you're
working on a panel that isn't solid all the way through, measure the panel's thickness against the length of the clavo's shank so you don't drill through to the other side. If the shank is longer than the panel is thick, it's easy enough to trim a small amount off the tip before installing.
Use a drill bit slightly smaller in diameter than the clavo's shank, this keeps the hole tight
enough for a secure fit without forcing it and risking a split, especially in hardwood. A quick reference on decorative nail installation is worth a look if you're working with an unfamiliar wood type. Wrap a piece of tape around the drill bit as a depth guide so you don't drill deeper than necessary, and keep the drill perpendicular to the surface the whole way through.
Position the clavo in the pilot hole and tap it in with a rubber or wooden mallet, never a metal hammer, which can dent or scratch the decorative head. Work slowly and check that the head sits flush or slightly raised, whichever look you're going for, and confirm the clavo is sitting straight before it's fully seated.
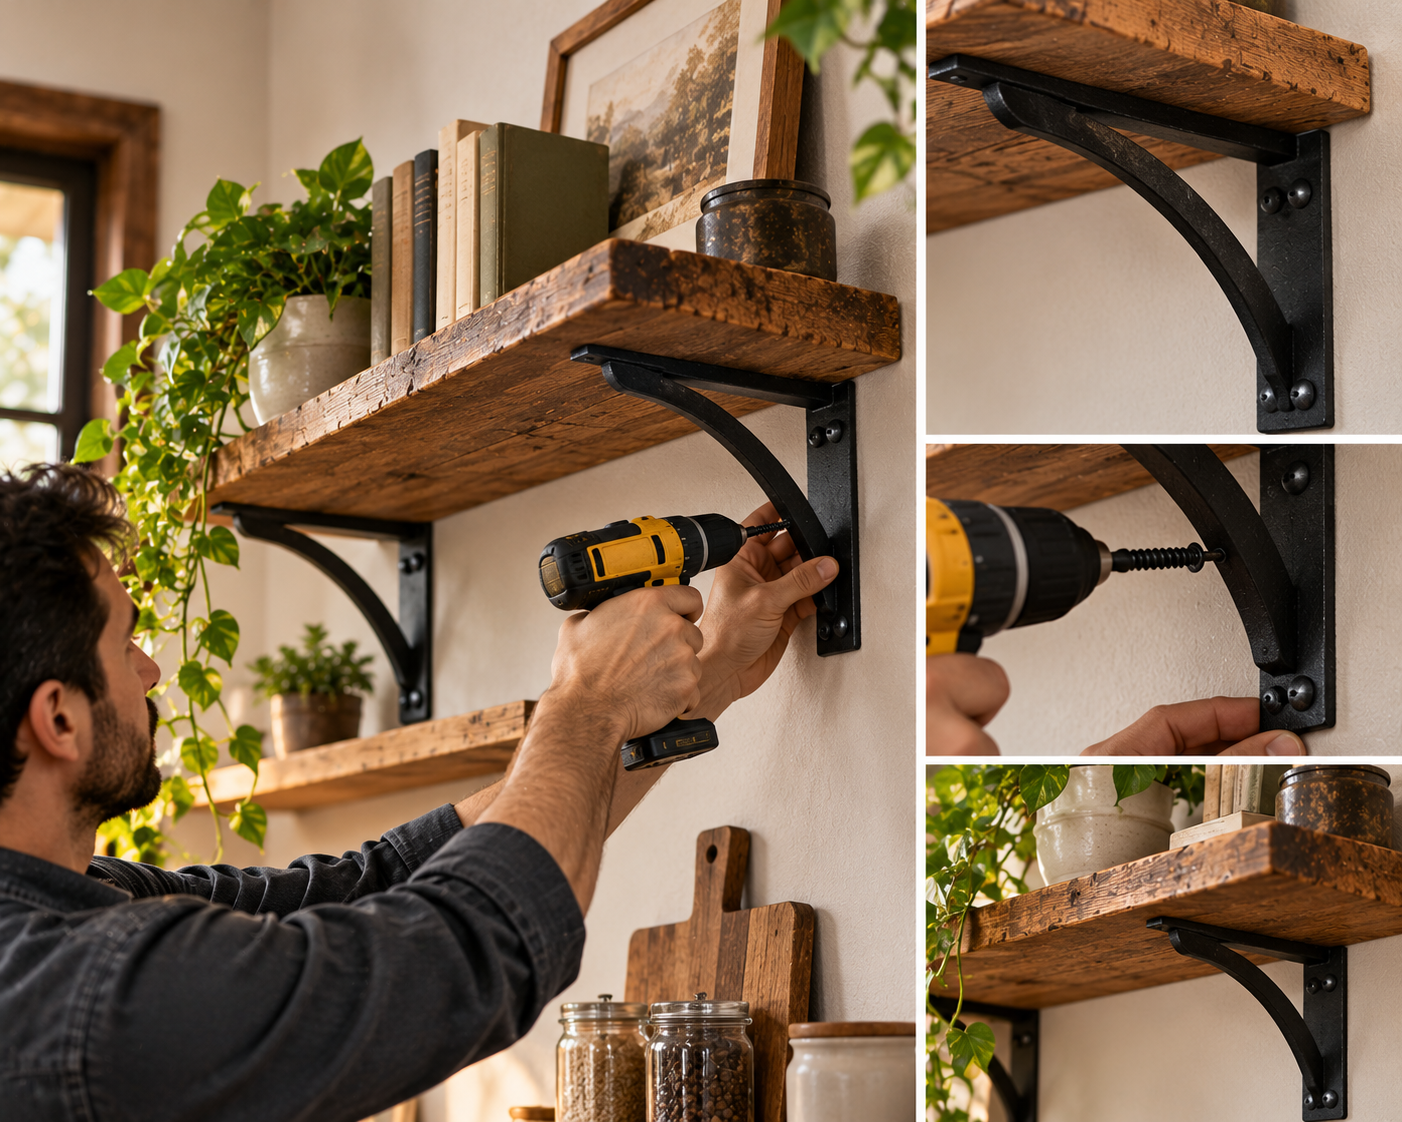
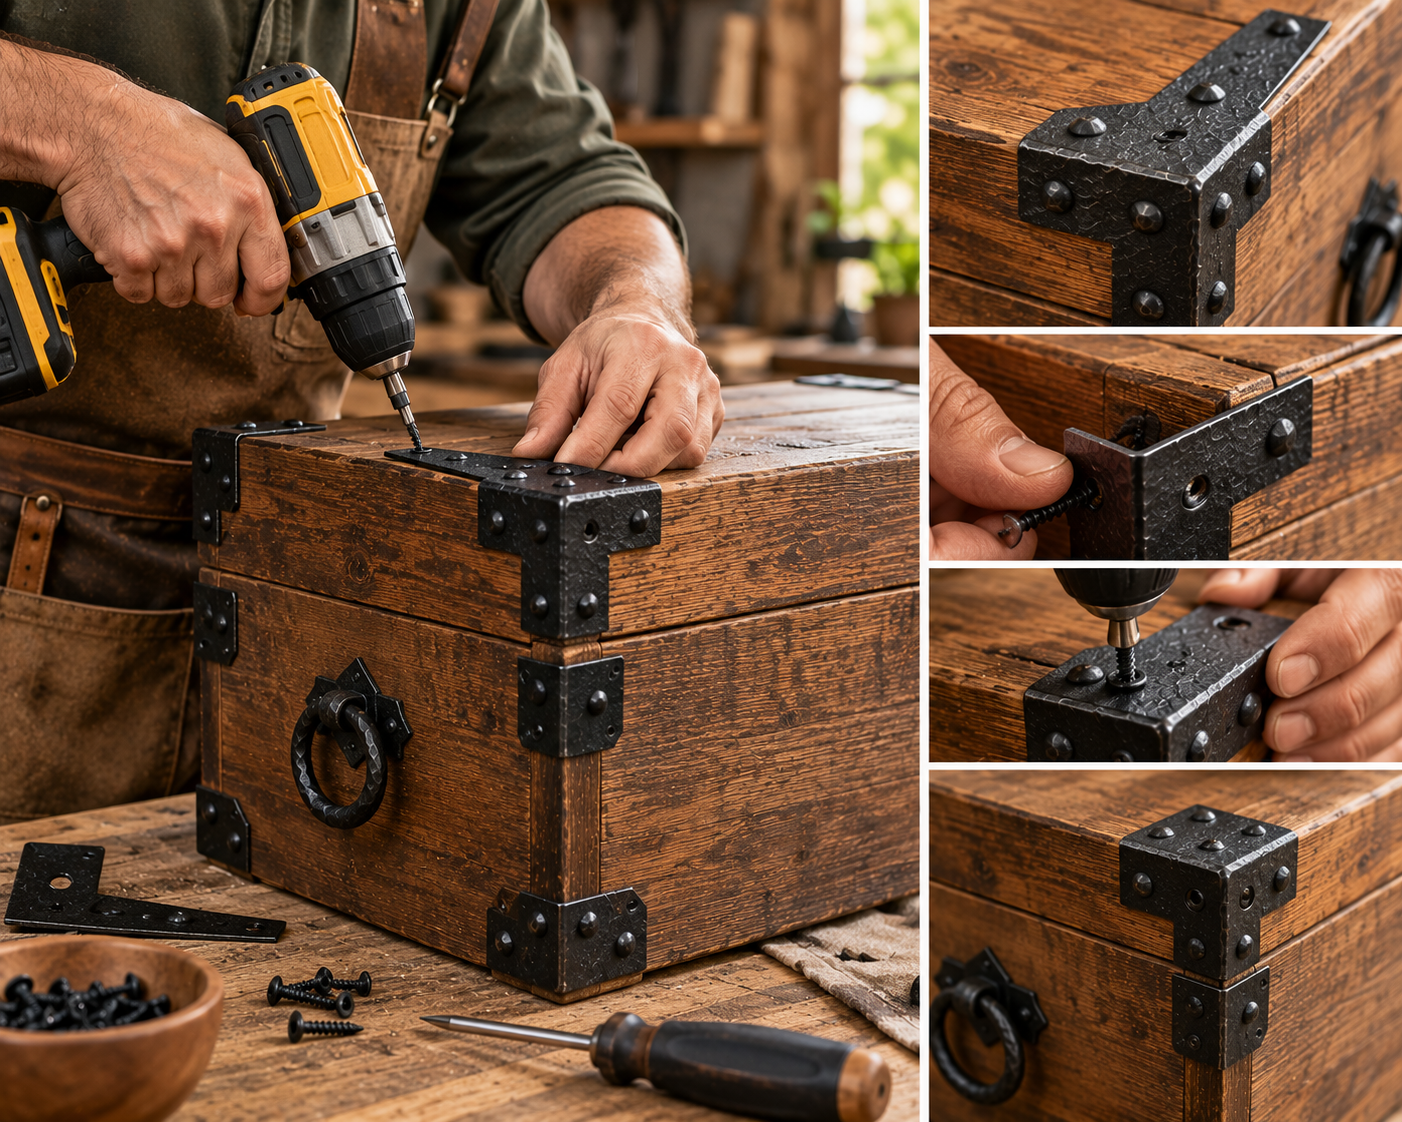
If you're adding clavos to a door or gate that also has strap hinges, make sure any clavo
placement avoids the hinge's moving parts. Mounting clavos to the fixed leaf of the hinge, the part attached to the door or frame rather than the pivoting section, keeps the hinge fully functional while still tying the whole hardware set together visually.
For interior projects, furniture, cabinets, interior doors, a properly sized pilot hole and a secure mallet-tap are usually all you need. For exterior applications, gates, entry doors, barn doors, adding a small amount of exterior-rated silicone into the pilot hole before setting the clavo helps seal out moisture and adds extra holding strength against weather and temperature changes over time.
If you're adding clavos to a door or gate that also has strap hinges, make sure any clavo placement avoids the hinge's moving parts.
Most decorative clavos use a nail-style shank and follow the drill-and-mallet process above, but adhesive-backed versions exist for surfaces where drilling isn't practical, like a finished piece of furniture you don't want to puncture, or a rental property where permanent changes aren't an option. Adhesive clavos still benefit from careful layout planning, but skip the drilling step entirely: clean the surface, apply firm pressure for the recommended cure time, and avoid load-bearing or high-contact areas where the adhesive bond could be stressed over time.
● Skipping the dry-fit: drilling before confirming layout is the single most common source
of uneven spacing. A few minutes with tape saves redoing holes later.
● Using a drill bit that's too large: a pilot hole that's too loose won't hold the clavo
securely, even with a snug-looking fit at first.
● Forcing an angled clavo straight: if a clavo starts going in crooked, back it out and
re-check the pilot hole rather than trying to correct the angle mid-installation, which
usually damages the surrounding wood.
Do I need to pre-drill before installing a clavo?
Yes, especially on hardwood. A pilot hole slightly smaller than the clavo's shank prevents
splitting and keeps the clavo going in straight.
Can I use a regular hammer to install clavos?
It's not recommended. A metal hammer can dent or scratch the decorative head. A rubber or wooden mallet gives enough force without damaging the finish.
How do I space clavos evenly across a door?
Dry-fit the full layout with painter's tape or a cardboard template before drilling anything, and use existing panel lines as reference points where possible for a more intentional, symmetrical look.
Do outdoor clavos need anything extra during installation?
A small amount of exterior-rated silicone in the pilot hole before setting the clavo helps seal out moisture and adds holding strength for gates, entry doors, and other exterior applications.
Ready to Start Your Project
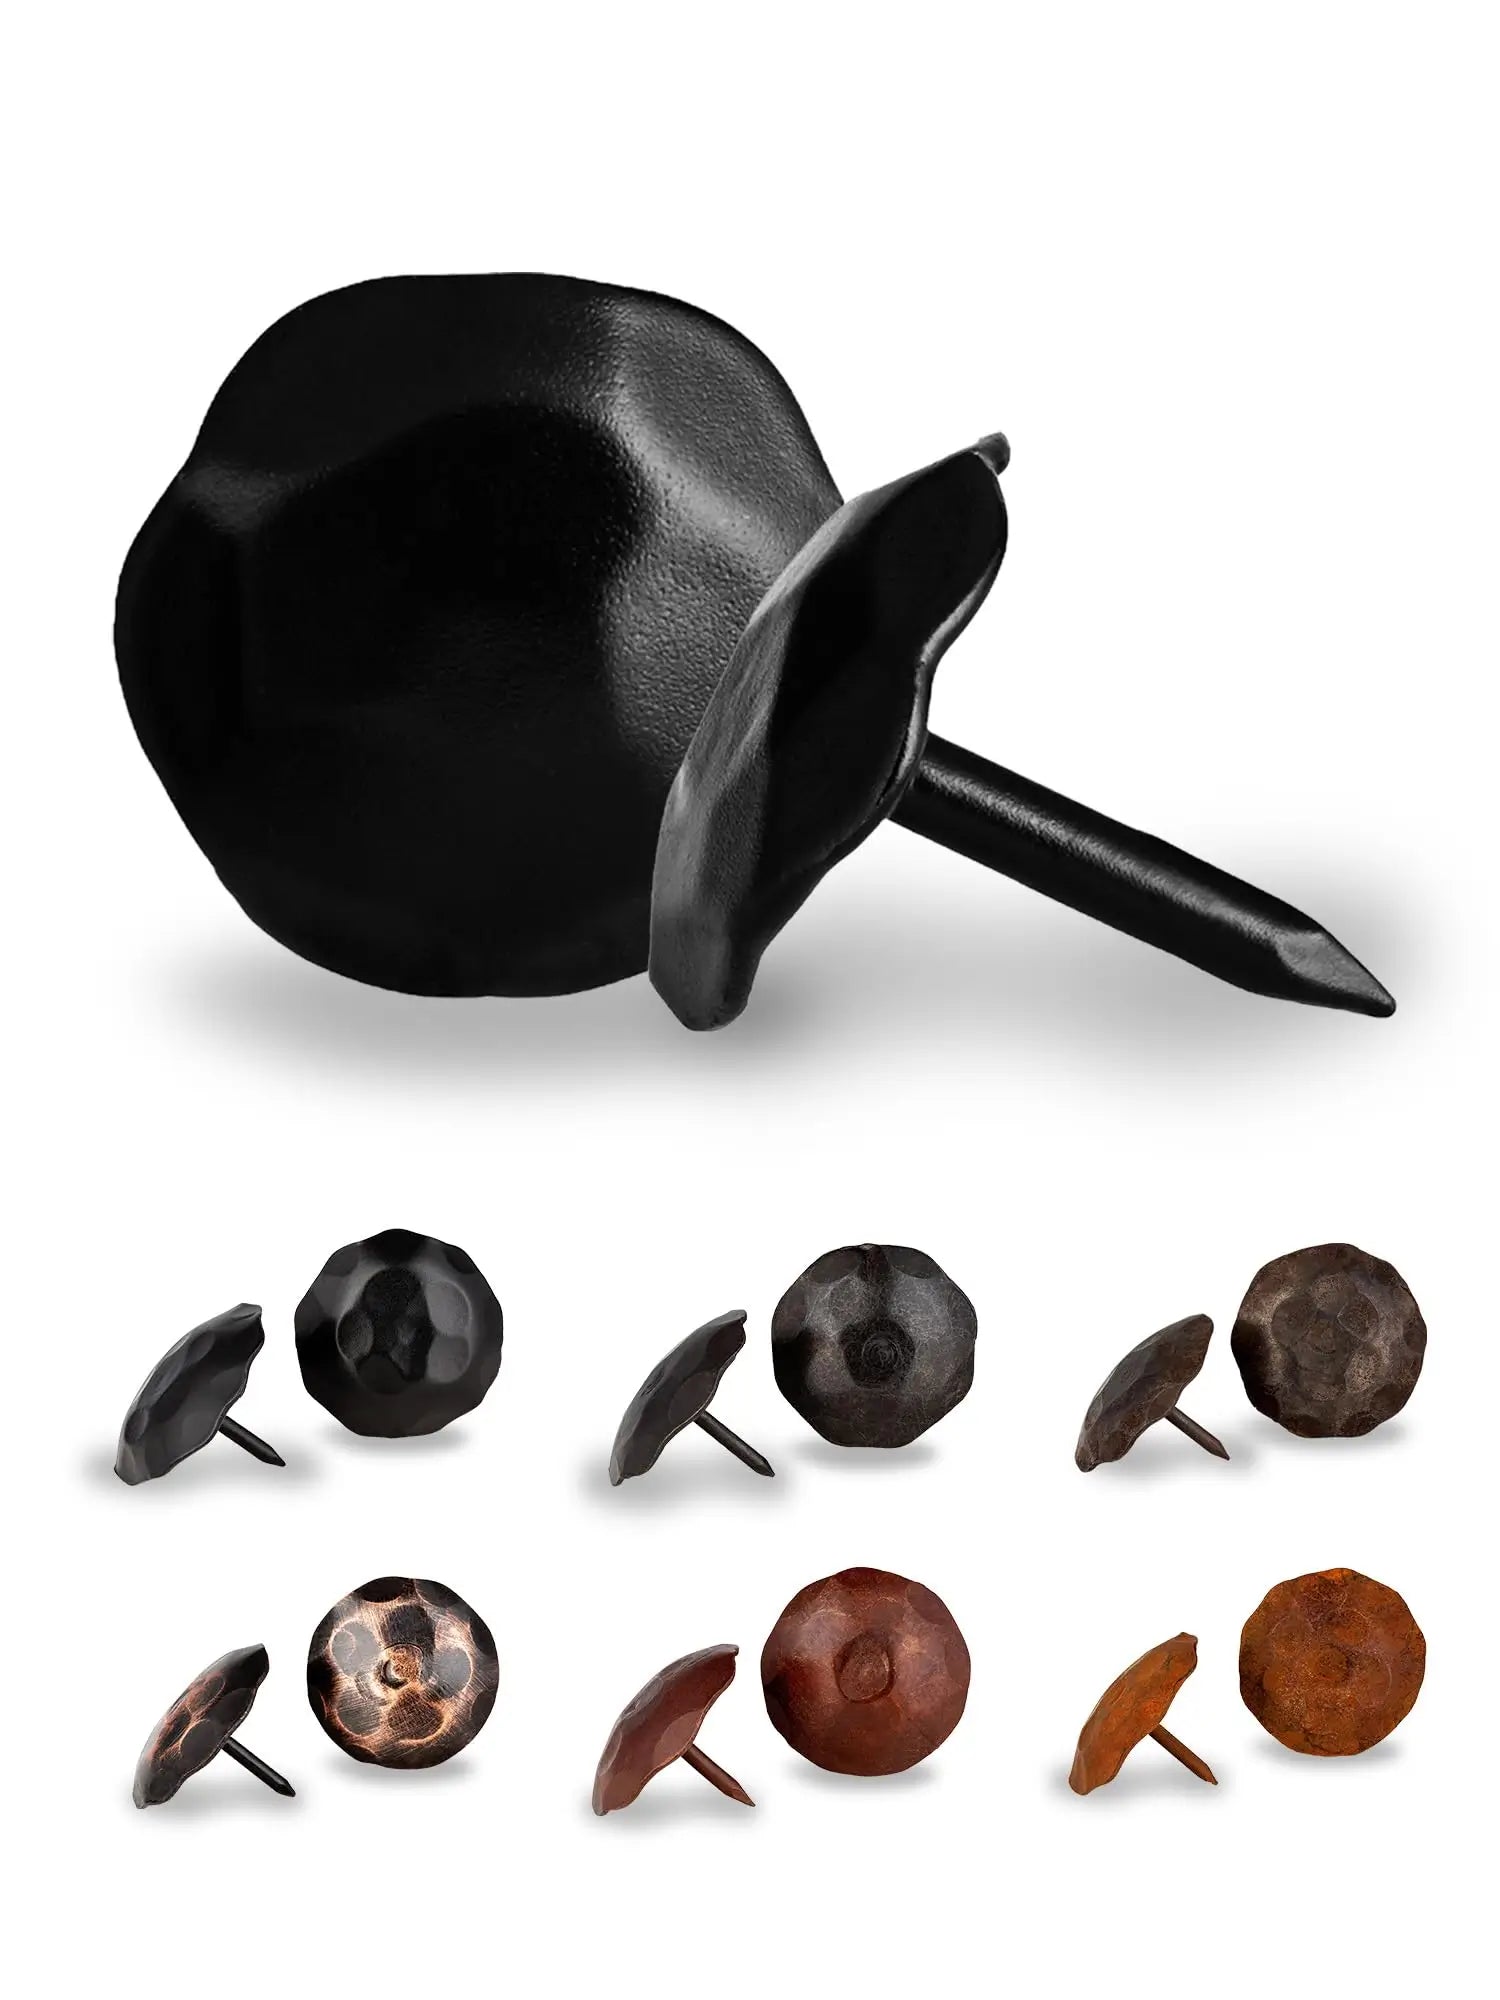
Every clavo we make is hand-forged solid iron, sized and shanked for straightforward installation. Browse our full clavos collection to find the shape and size for your project.