Cart
0
You may also like
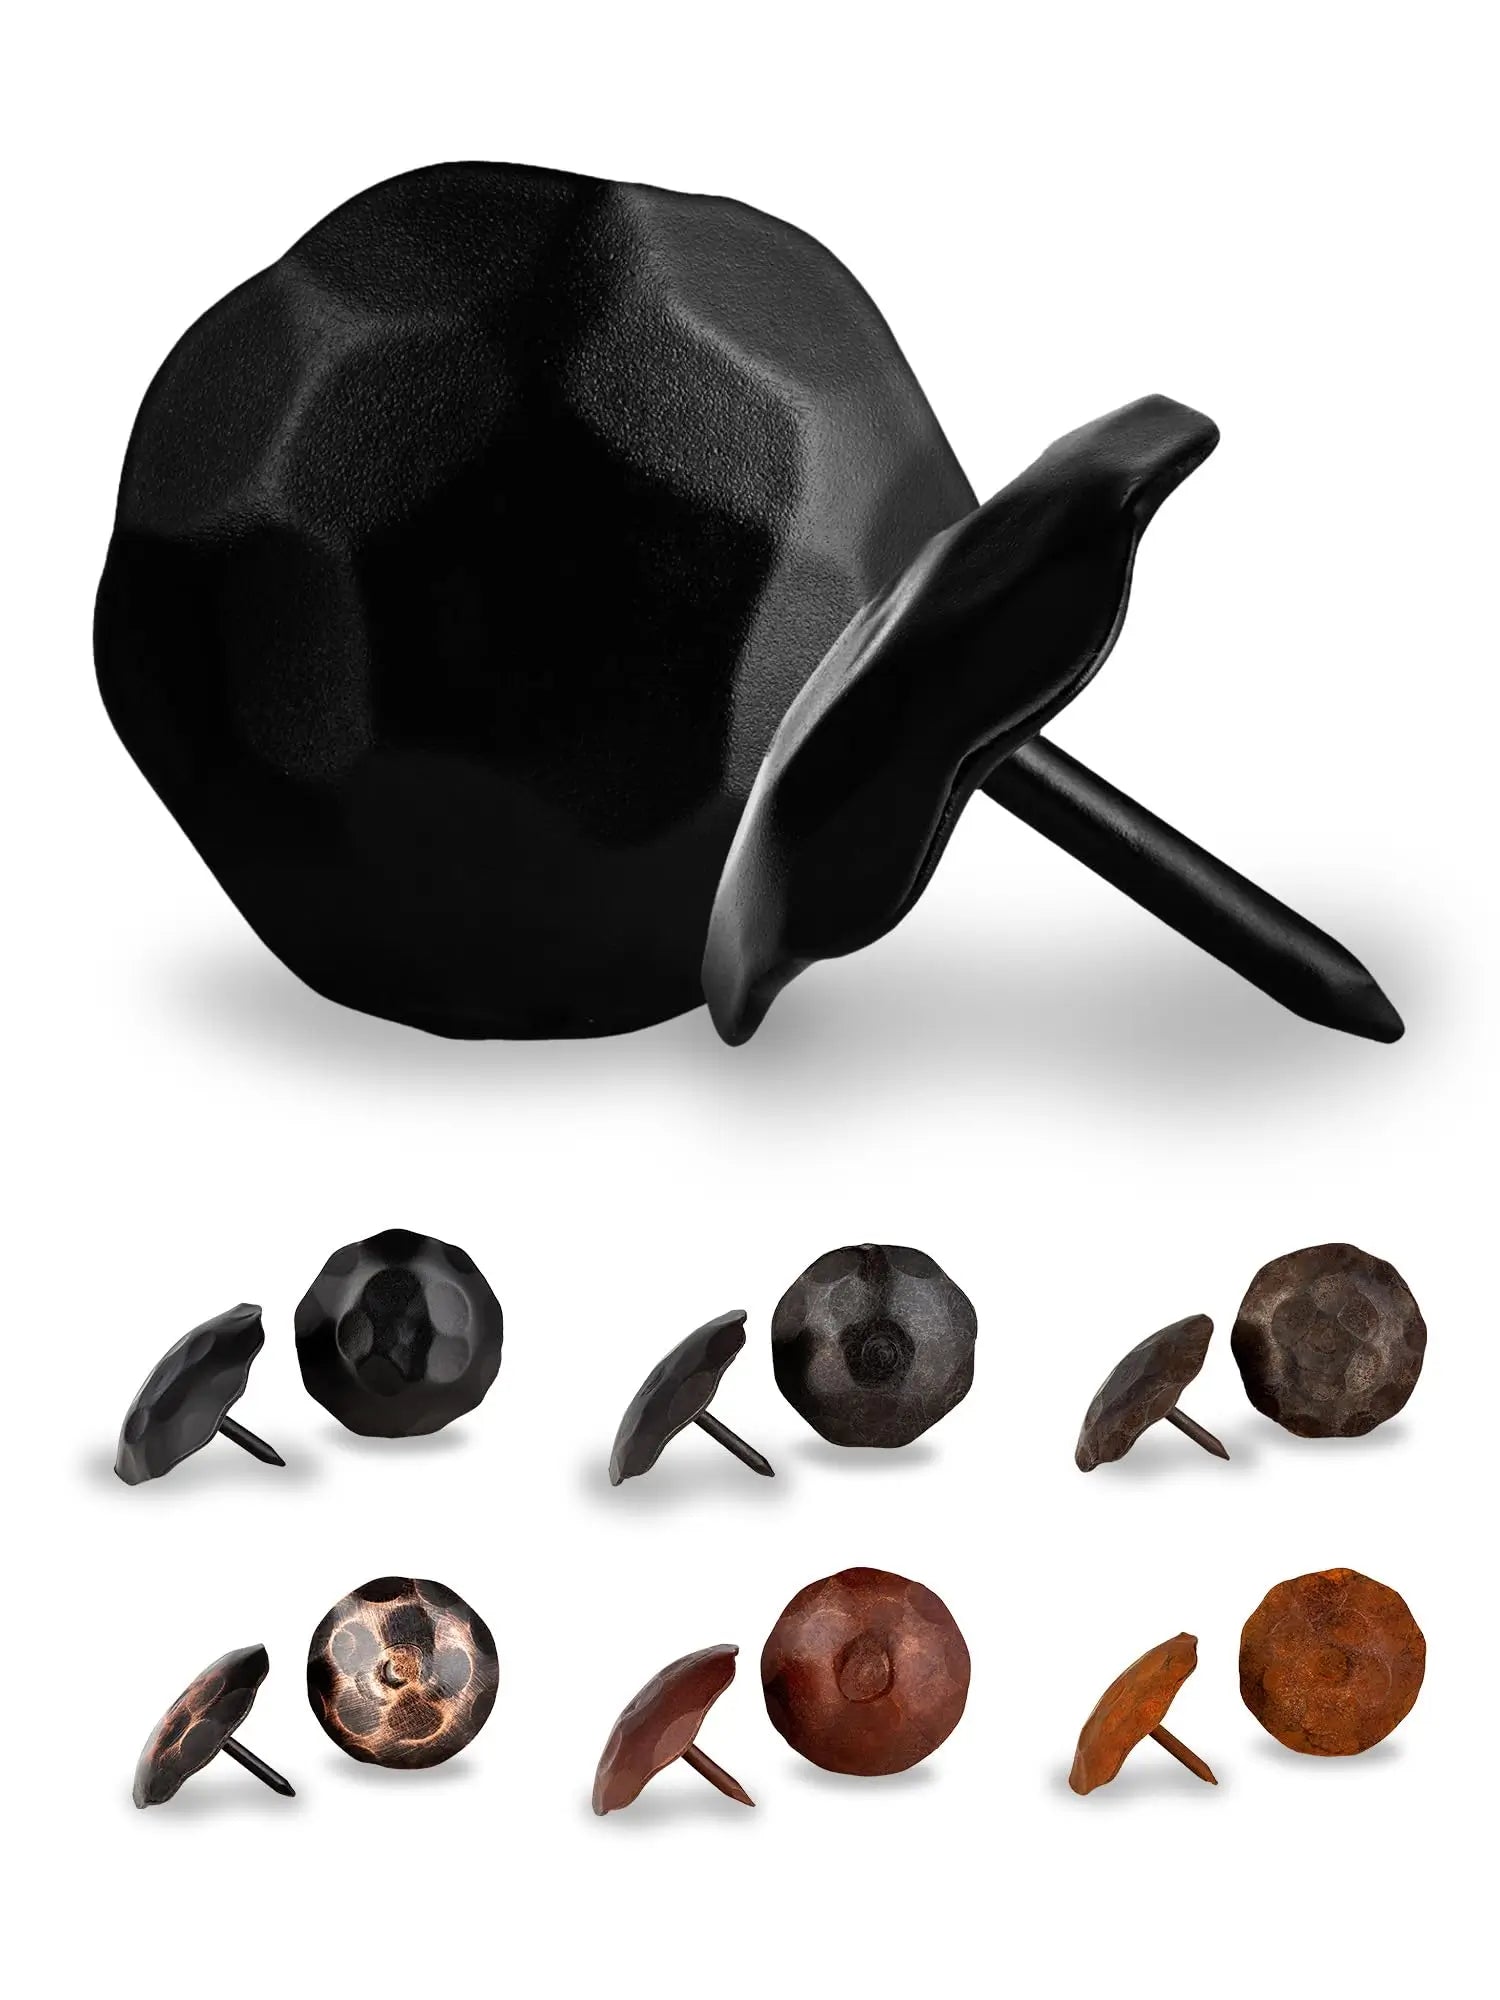
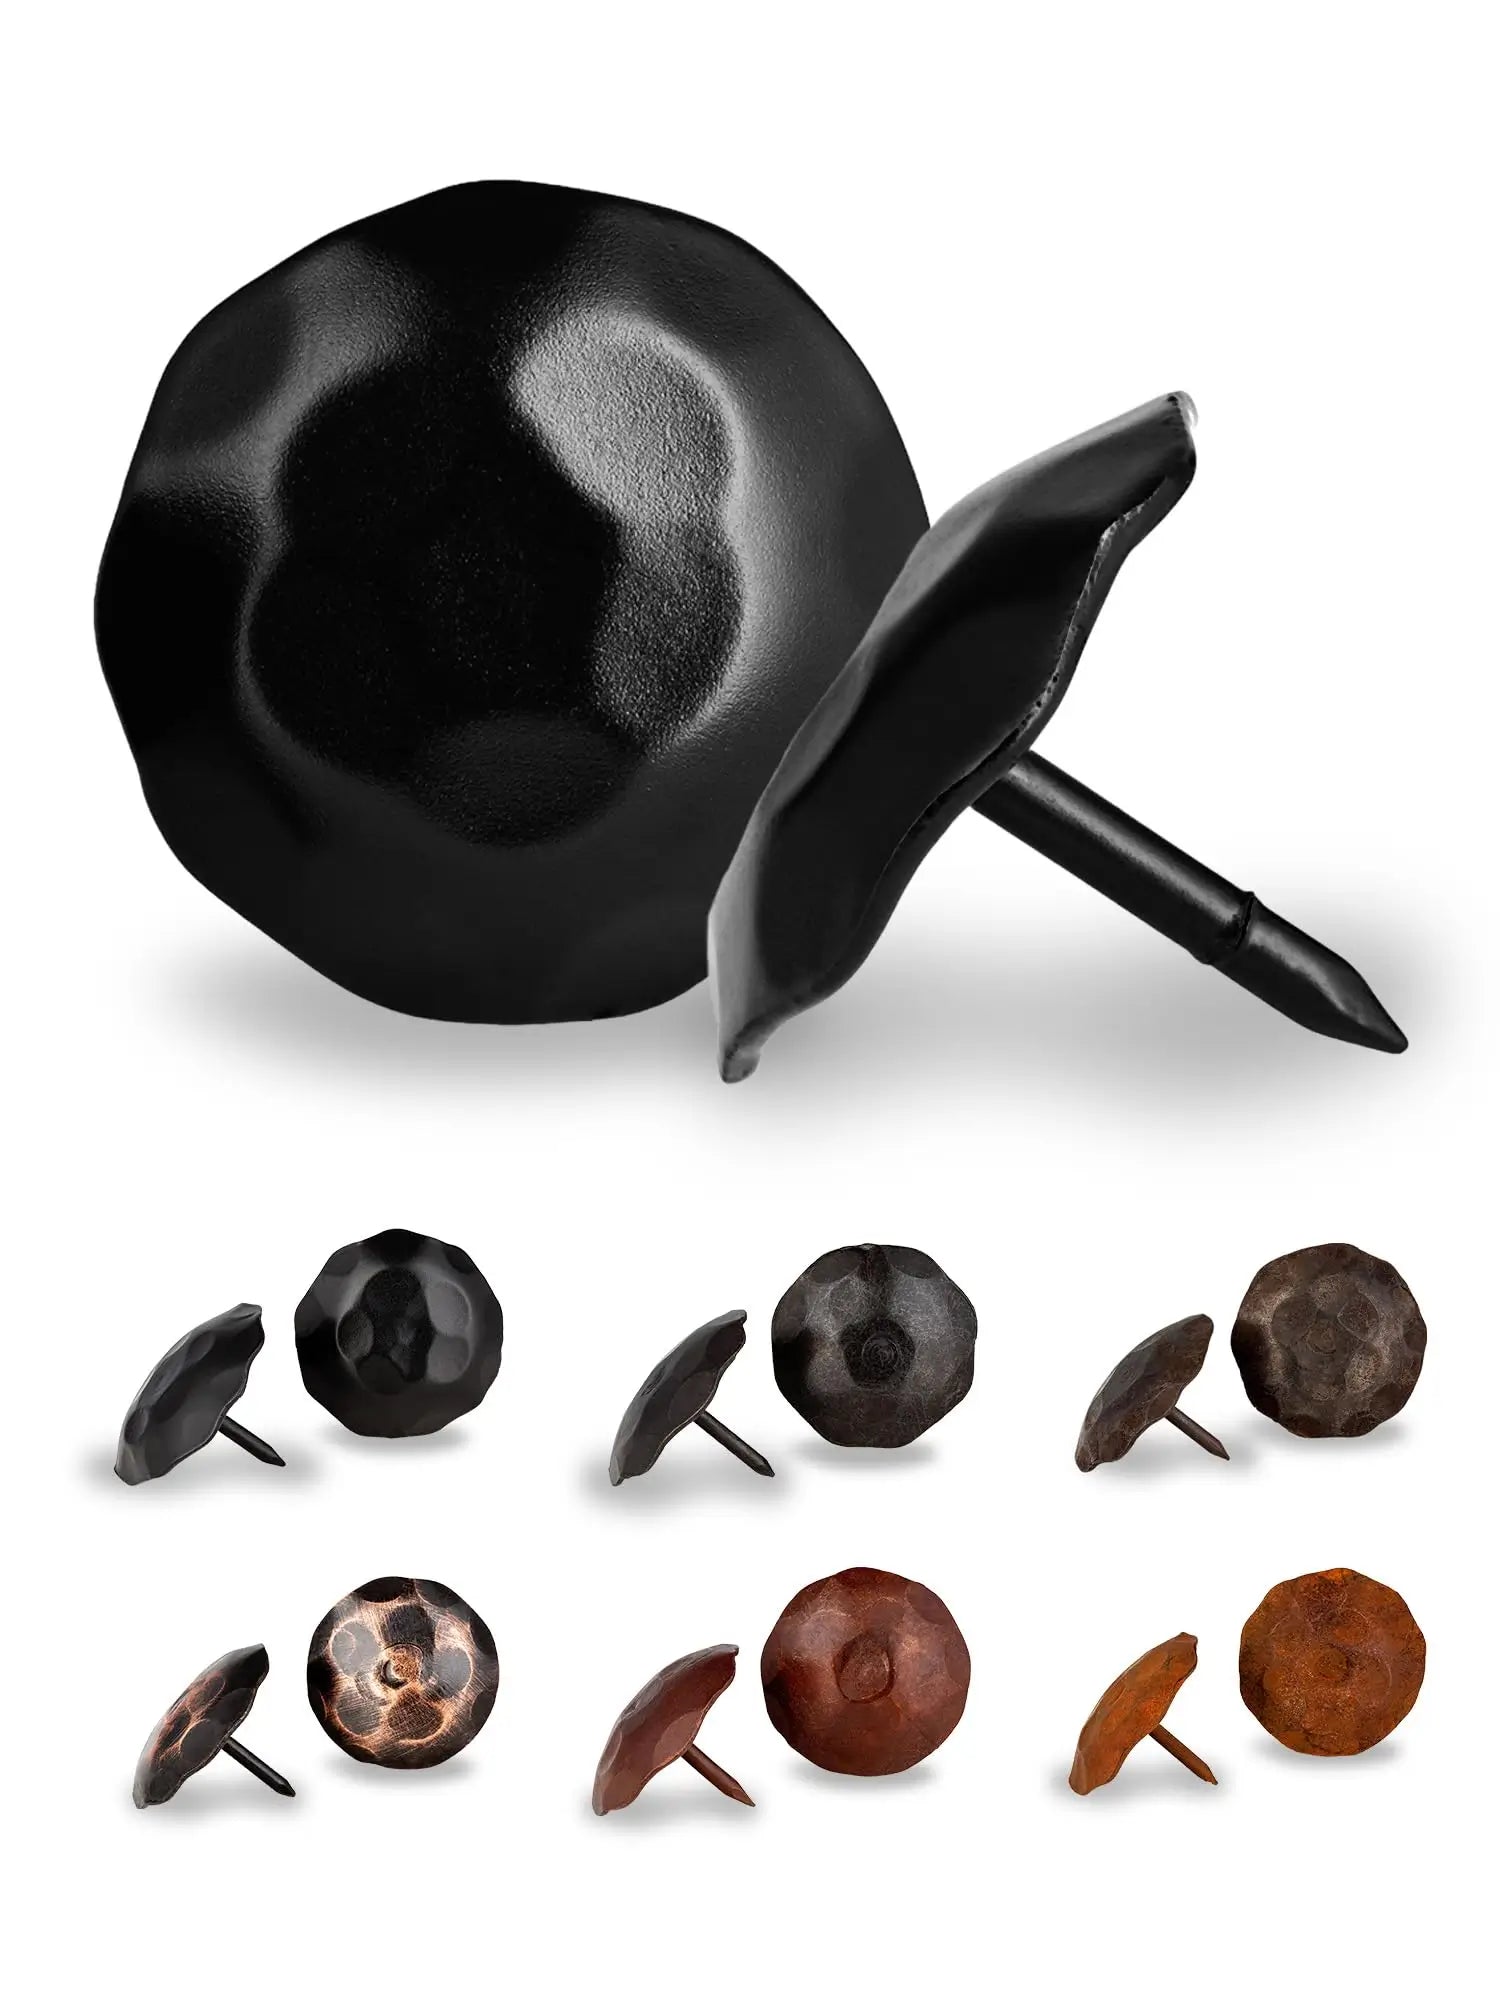
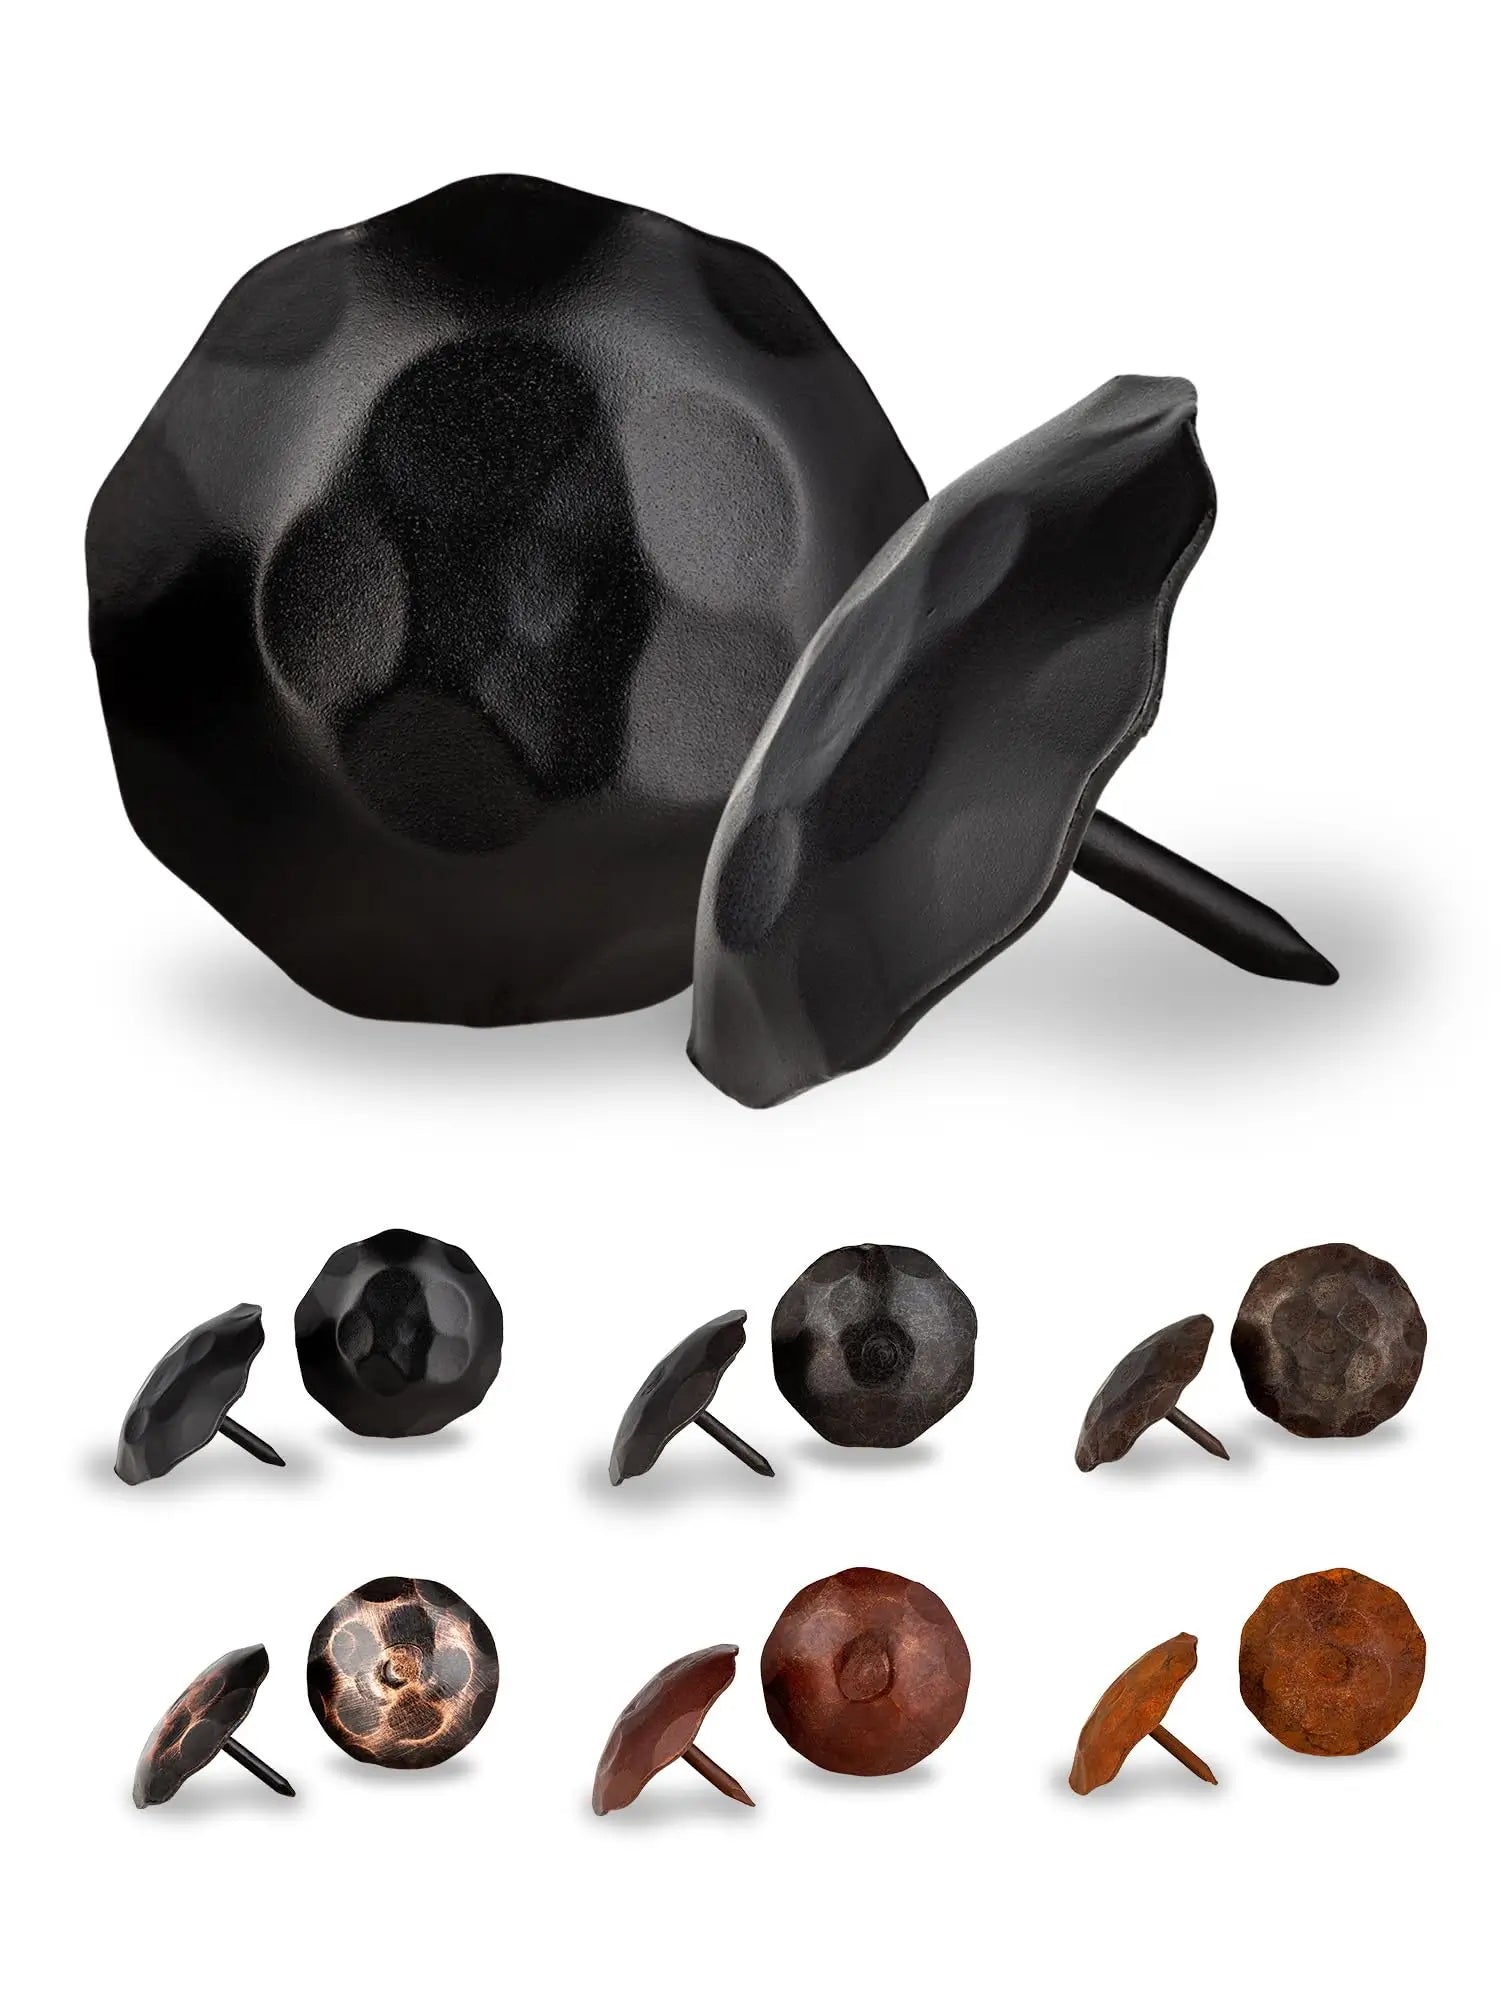
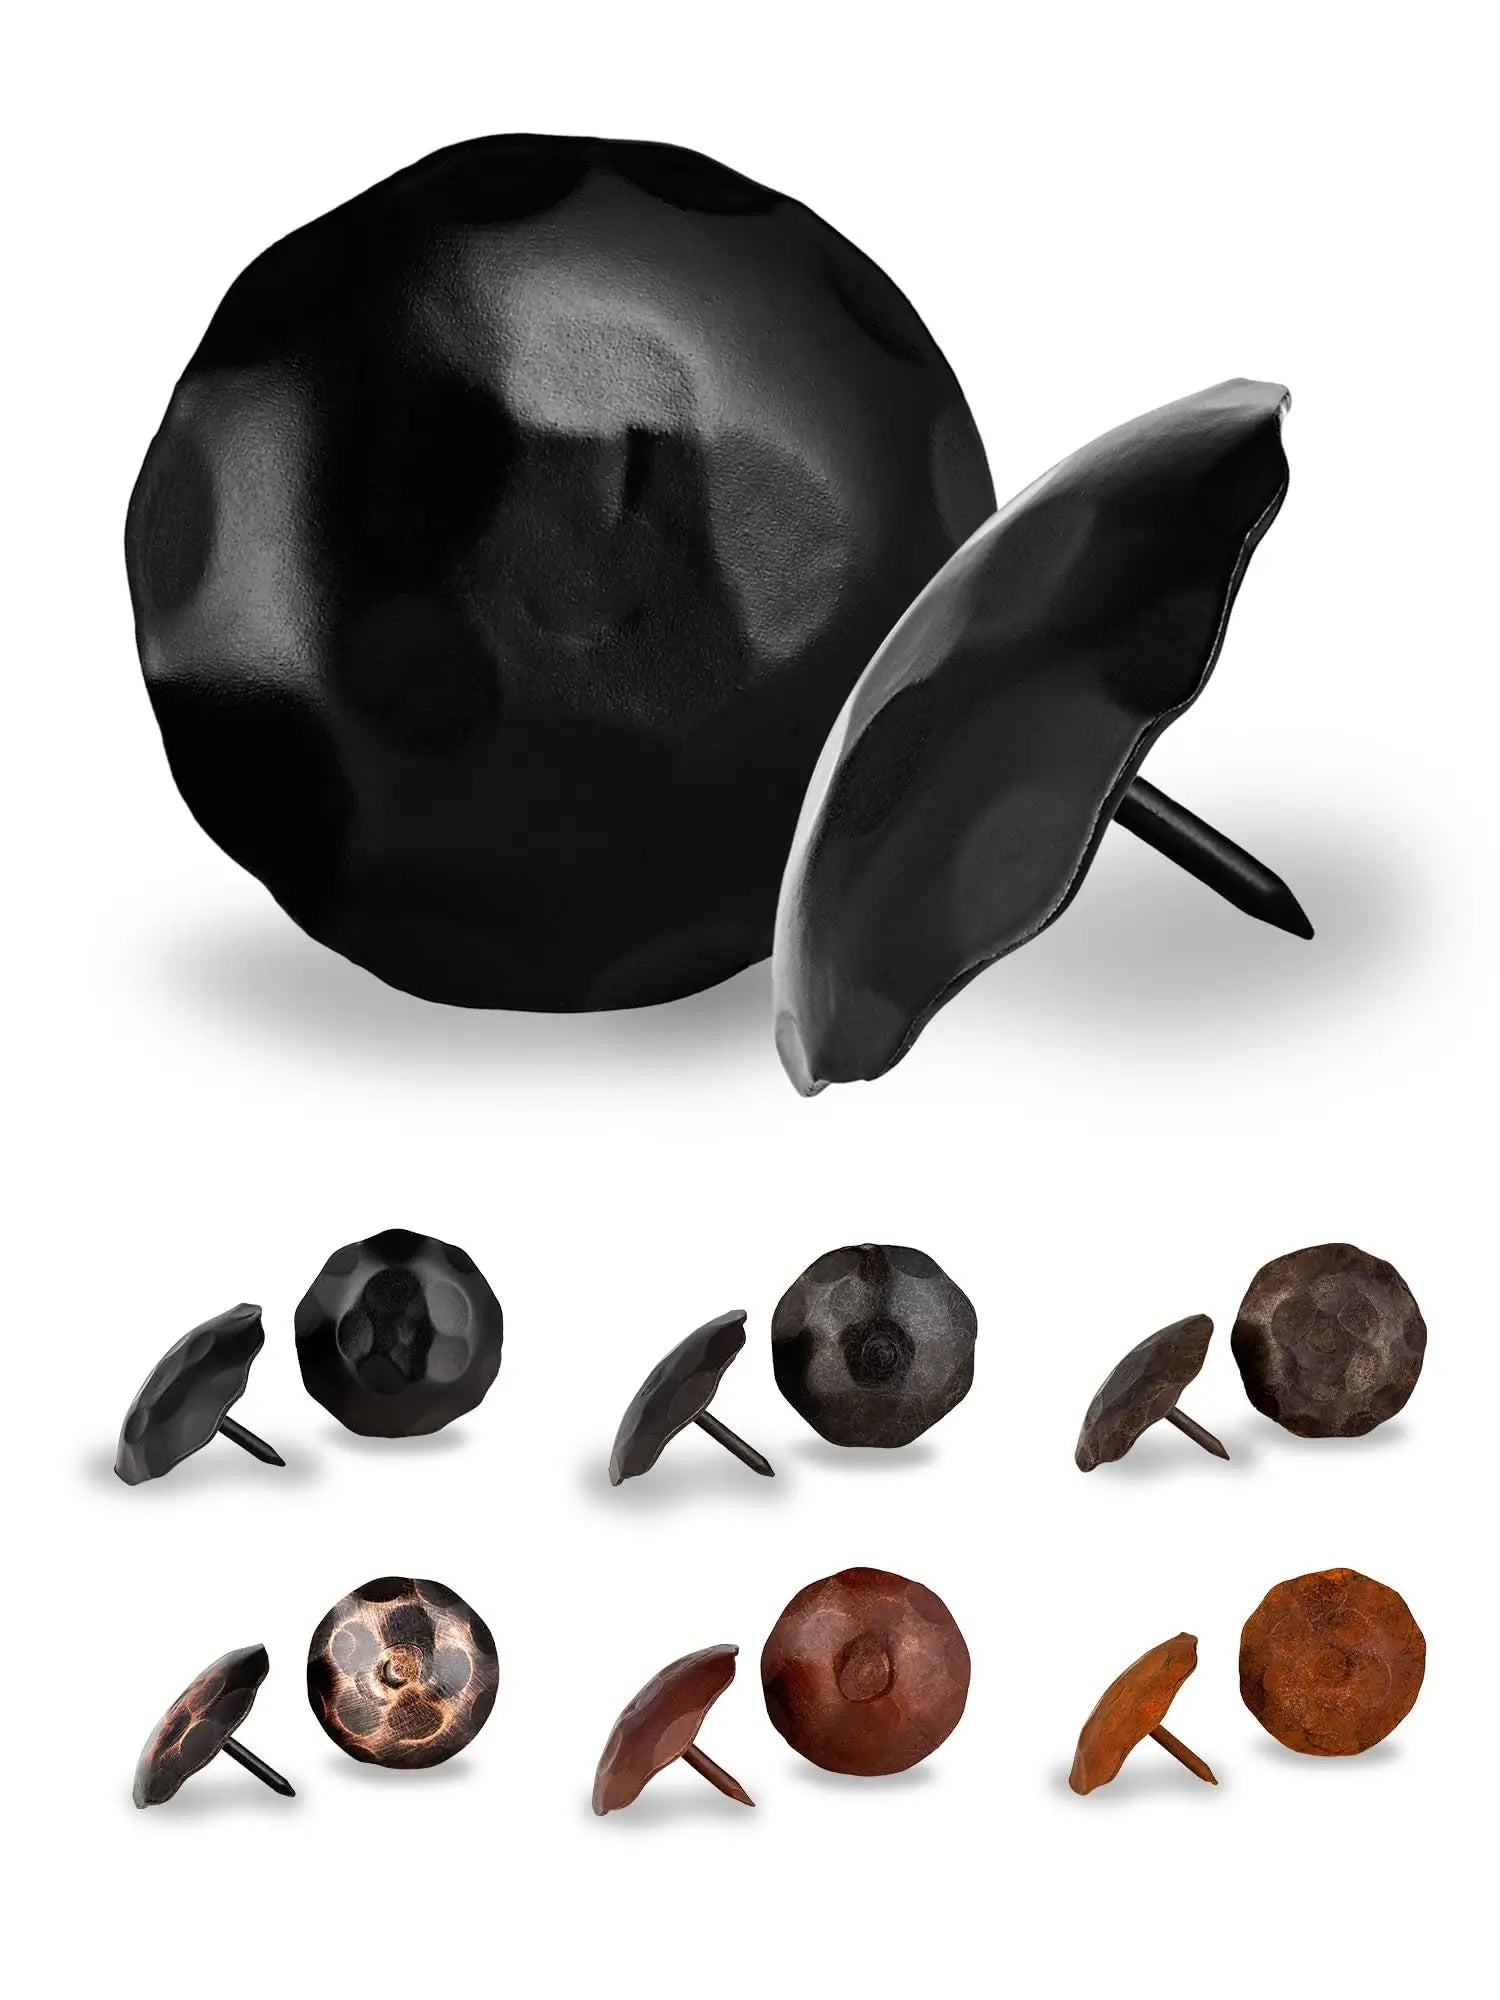


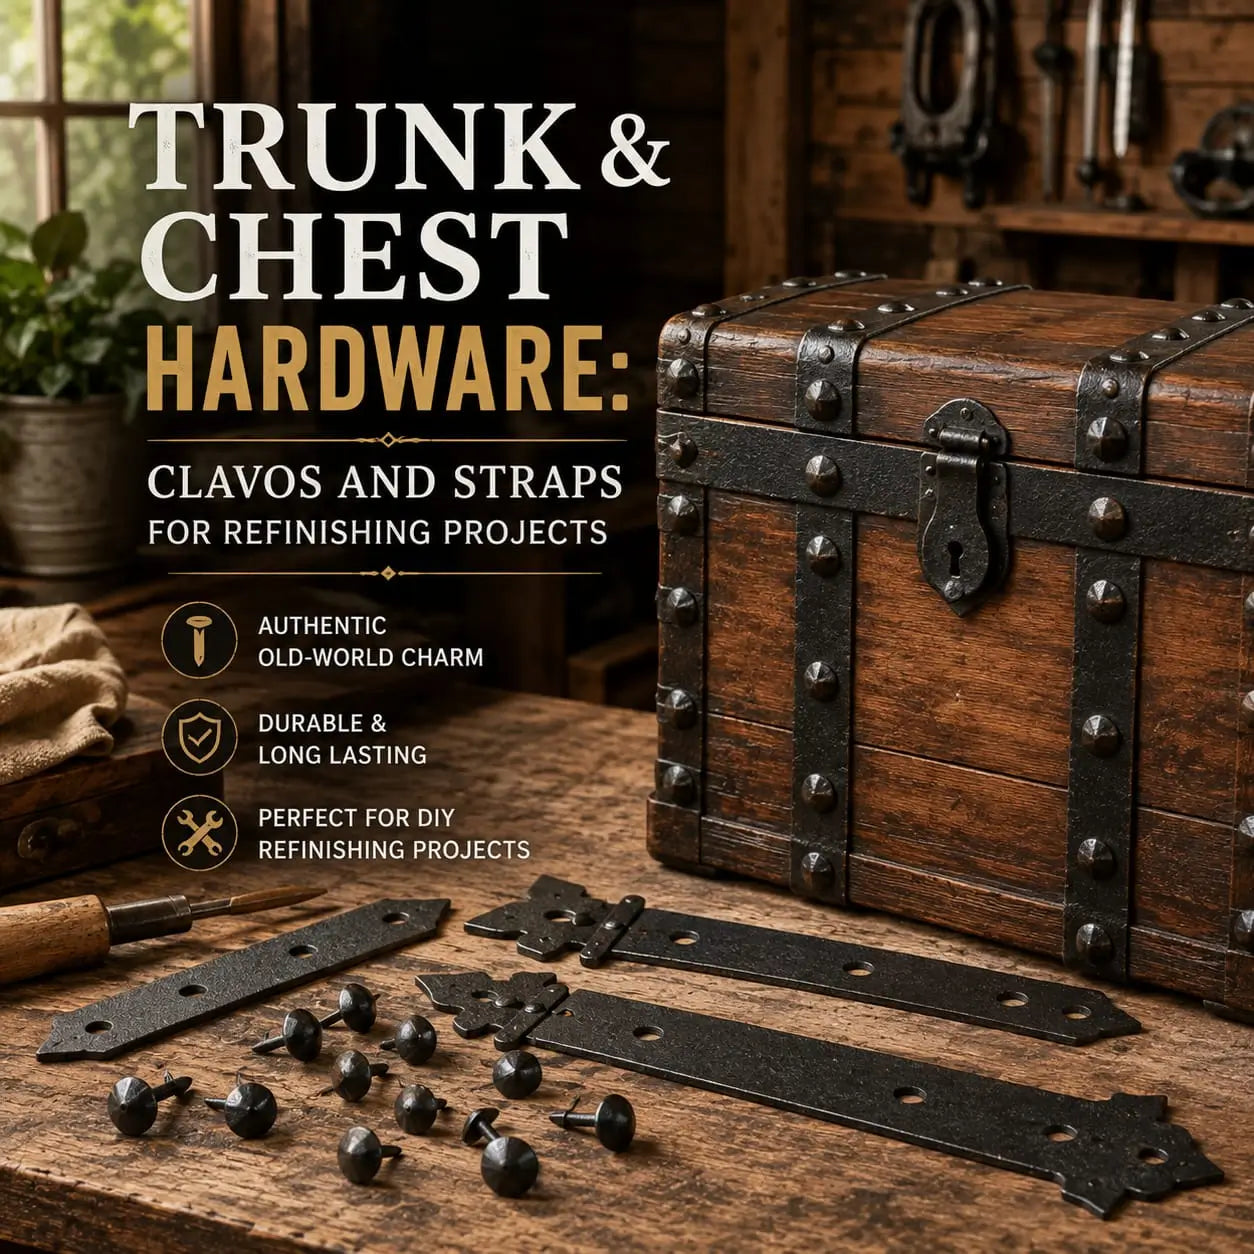
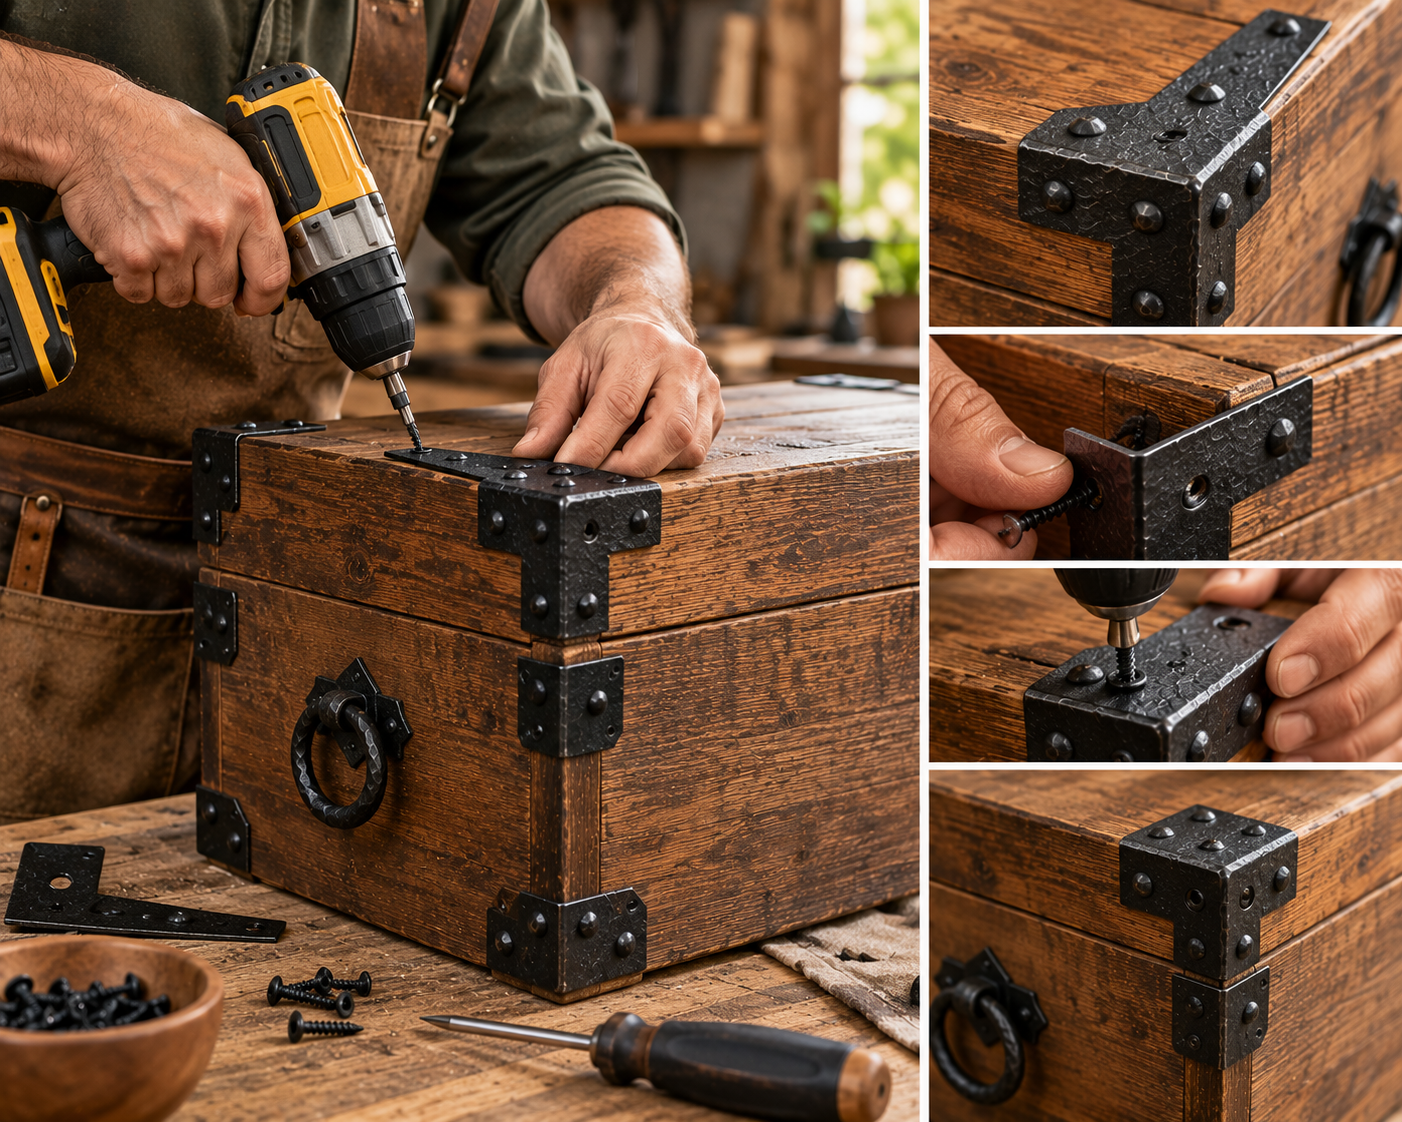
A trunk or chest refinish comes down to four hardware pieces: corner protectors to guard the edges, clavos for decorative texture, straps for structure and reinforcement, and a handle or two for actually moving it. Get those four right, in a size that matches the trunk and a finish that matches each other, and even a plain wooden box starts reading as an authentic, old-world piece rather than a DIY project. Trunk and chest refinishing is one of those projects where hardware does most of the visual work. The wood matters, but a plain box with the right ironwork looks finished; the same box with mismatched or missing hardware looks unfinished no matter how well the wood was sanded and stained.
L-shaped or triangular pieces that wrap the trunk's edges, protecting them from chipping and giving the piece its structural, "built to last" look. These are functional first, decorative second.
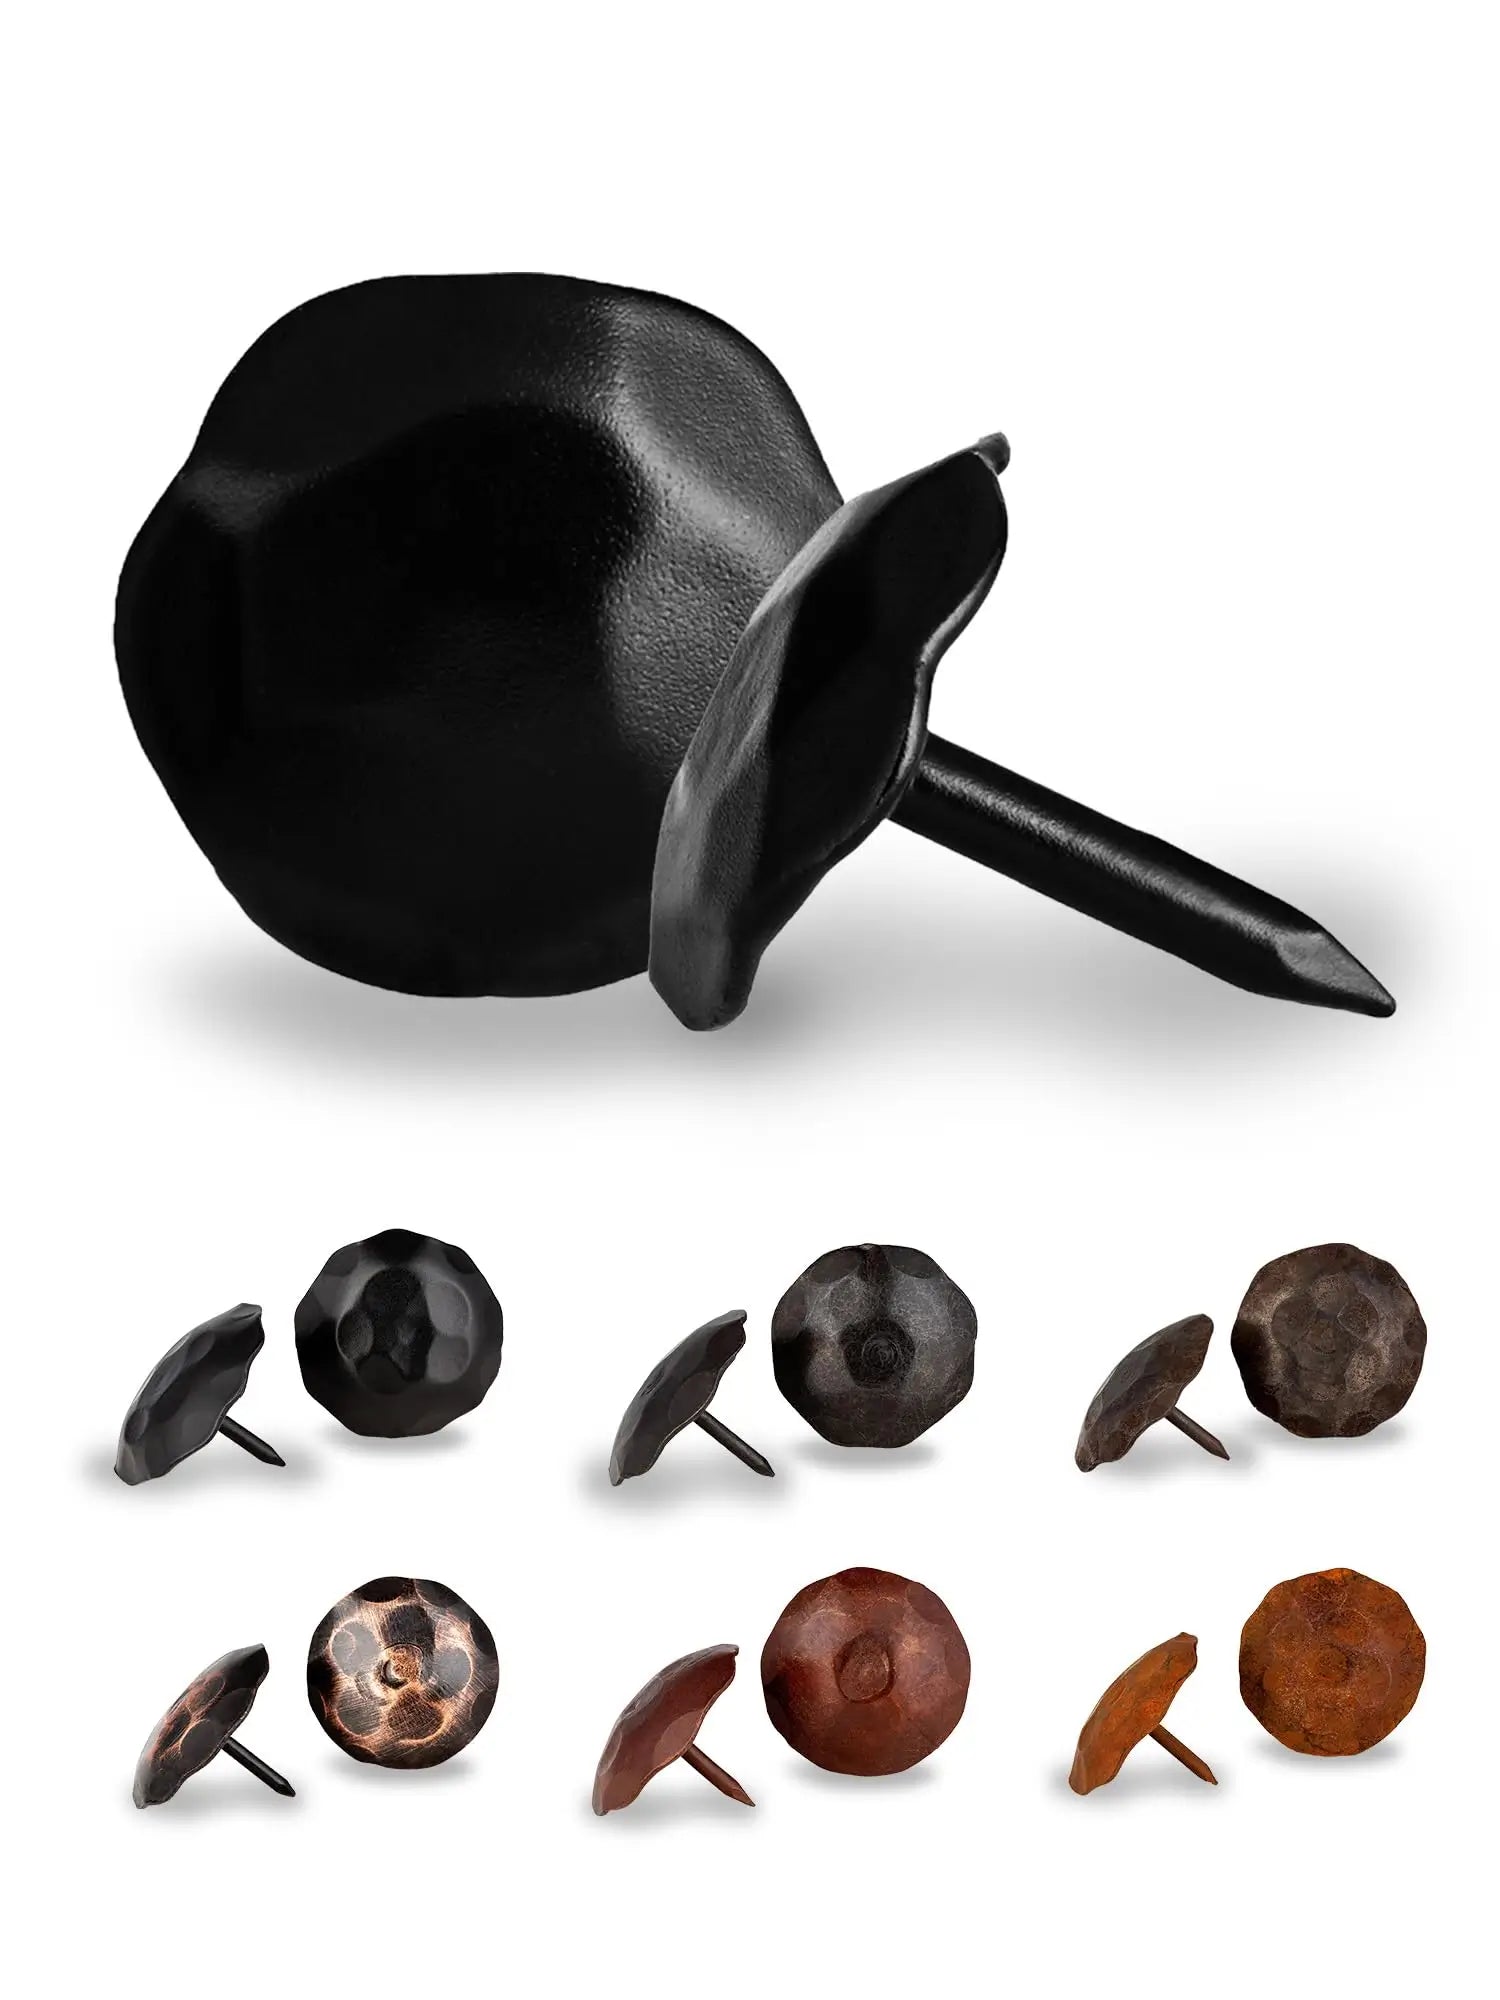
decorative nail heads used to add texture across the lid or sides, and to visually anchor straps and corners so the whole piece feels intentional rather than assembled from parts.
long metal bands, often running across the lid or down the front, that reinforce the wood and echo the look of an old shipping trunk or steamer chest.
mounted on the sides for lifting, or sometimes the front for a drawer-style chest. Beyond function, handles are one of the first details people notice, so they're worth matching carefully to the rest of the hardware.
Trunks and chests are usually smaller-scale projects, which means smaller clavos tend to look more proportional than the larger sizes used on doors and gates. A 0.75" or 1" clavo is the most common choice for lid borders and corner accents, since it lets you space pieces closer together for a dense, detailed pattern without overwhelming the surface. Larger trunks, or chests meant to read as heavy-duty steamer trunks, can move up to 1.25" or 1.5" without looking out of scale. A simple way to plan spacing: lay clavos out along the edge before committing to any adhesive or nails, adjusting the gap until the pattern divides evenly across the full length. Uneven spacing at the corners is one of the most common mistakes on this kind of project. It's also worth planning the lid separately from the sides. Lids take more visual attention since they're the first thing anyone sees, so a slightly denser clavo pattern on top with a lighter treatment on the sides usually reads better than applying the exact same spacing everywhere.
Corner protectors do real work, wood corners on a trunk take more abuse than almost any other part of the piece, especially if it's ever actually used for travel or storage moves. Beyond protection, they also visually anchor the whole design; a trunk with clavos and straps but no corner hardware tends to look unfinished, since the corners are exactly where the eye expects reinforcement on a piece like this. Match corner protector size to the thickness of the trunk's edge, not just its overall size. A corner piece that's too small relative to the wood thickness looks like a decorative afterthought rather than real structural hardware.
Different trunk projects call for different hardware treatments:
lean into heavier, rusted or black finishes, wider straps, and denser clavo patterns for a weathered, well-traveled look.
usually calls for a lighter touch: smaller clavos, narrower straps, and a cleaner finish like oil-rubbed bronze that reads as heirloom rather than rugged.
benefits from full hardware sets (corners, straps, and clavos together) to recreate the reinforced look original steamer trunks needed for actual travel.
lay out corners, straps, and clavos on the trunk without fastening anything, and adjust until the spacing and proportions look right.
they anchor the overall layout, and straps or clavo patterns are easier to align once the corners are fixed in place.
running them into or near the corner hardware creates a more cohesive, connected look than floating them independently.
fill in borders or patterns last, once the structural hardware is already placed and the remaining space is clear.
What size clavos work best on a small chest?
0.75" to 1" clavos are the most common choice for smaller trunks and chests, since they allow tighter spacing without overwhelming the surface.
Do I need corner protectors if the trunk isn't going to be moved much?
They're still worth adding for the look alone, corners are where the eye expects reinforcement on this style of piece, even on a trunk that's staying in one place as decor.
Can I mix finishes on trunk hardware?
It's generally safer to keep corners, straps, clavos, and handles in the same finish. A trunk is a small, contained surface, so finish mismatches are more noticeable than they would be spread across a larger piece of furniture.
What hardware gives a chest the most authentic pirate or treasure-chest look?
A combination of wide straps, black or rusted-finish corner protectors, and a dense clavo border tends to read as the most weathered, well-traveled look for this style of project.
Every corner protector, strap, and clavo we make is hand-forged solid iron, sized right for smaller-scale projects like trunks and chests. Browse our clavos collection and corner straps to get started.