Your Cart is Empty
Free Shipping on every order over $50!


Clavos is the Spanish name for nail. As a result, there are as many different types of clavos as there are nails. When we talk about clavos, however, the nails that we are referring to are the decorative types that you see in antique woodwork, furniture, Western-style homes, doors, fences, and more.
Many people make the connection between clavos and the Old West, and for good reason. Clavos have long been used to bring a sense of rugged beauty to rustic woodwork. Using the hand forged decorative nails, alongside many other forms of handmade wrought iron hardware can truly transform the woodwork in and around your home, whether that be a ranch, cabin, homestead, or a house in the city.
Read on to learn more about what clavos are, how they can be used, and how you can install them in your next project.

Clavos come in many different shapes, styles, and sizes, so choosing the right ones for your project is very important.
To start, you must look at the size of the head. It is important to get clavos that give you the look that you want without taking attention to the natural beauty of the surfaces that you will be attaching the decorative nails to.
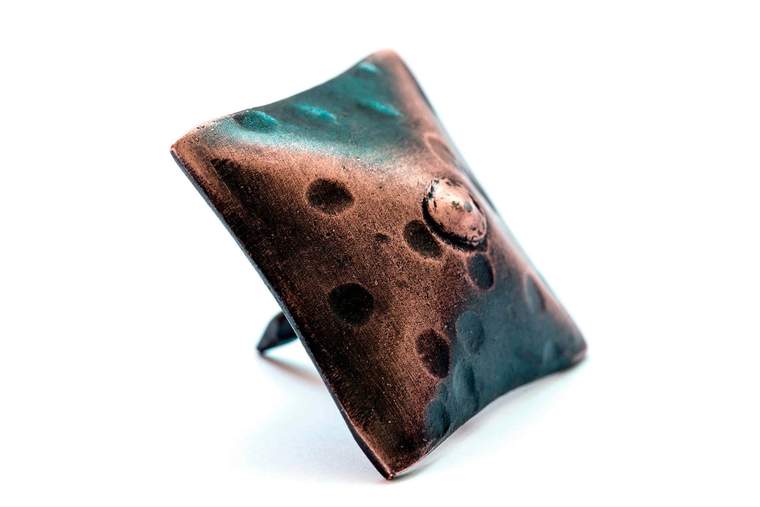
Another thing to consider is the type of design the clavos feature. There are hundreds of different textures and shapes to choose from. Some are square with raised pyramidal designs, others are rounded with divots covering the surface, and still others have insignias and other unique designs pressed into them. Always get the right design for the look that you are going for.
The color is also an important aspect in your clavos selection. Decorative nails range from bright silver to black, and virtually every shade in between. Like the size and particular style of the clavos you want to include in your next project, the color can make a huge impact on how the finished product appears.
Here are some of the more popular clavos for you to choose from. Keep in mind that choosing the perfect set of clavos or combination of styles means to combine the shape, texture, and finish that you want to see in your project.


There are many common shapes that clavos come in, as well as a few that are unique to the artisans who create them. Of course, choosing the right shape will make a big difference in the project that you are working on. Here are some of the shapes that you will see.

As with shapes that are common in the world of clavos, so too are there some popular textures and design elements. The details and textures that decorative nails feature, however, are unique to each nail.
Just as important as the shape, size, and detail of a decorative nail is the finish that is applied to it. The type of finish that you decide on will have a big impact on the overall look of your clavos application. Some finished are matte black while some are shinier, some turn up the rustic dial by going with a rusted look while still others take on a multicolored sheen.


When it comes to all the potential uses for clavos, the list is almost endless. The timeless look that decorative nails add to projects of many kinds make them a very desirable addition. Couple that with the fact that there are so many different kinds of clavos to choose from and you have a very versatile design feature that you can use just about everywhere.
Here are a few of the common uses for clavos, as well as a few that are a little less common:

Using clavos to decorate external features is a very popular choice. Whether it is a gate, a farmhouse door, a barn door, shutters, or any other rustic woodwork that exists on the exterior sections of a property, the right clavos can add a lot of personality and style. In fact, using clavos to decorate the woodwork on your property can quickly add an Old Western feel that goes great with hand forged wrought iron hardware.

As with the rustic or vintage woodwork on the exterior portions of a property, clavos can improve the appearance of interior features as well. Whether it is the furniture, the cabinetry, the doors, windows, chests, or any other features within the home, clavos can add that Western feel that you are going for.
Apart from adding some rustic appeal to your home and property, clavos are also great for DIY projects, arts, and crafts. The old-timey look and feel of handmade clavos makes them perfect for projects of all kinds. Some of our favorite uses include decorating picture frames, creating designs along the edges and surfaces of dressers and cabinets, and accenting your DIY woodworking projects.

When you are ready to get started with your clavos project, there are a few things to consider.
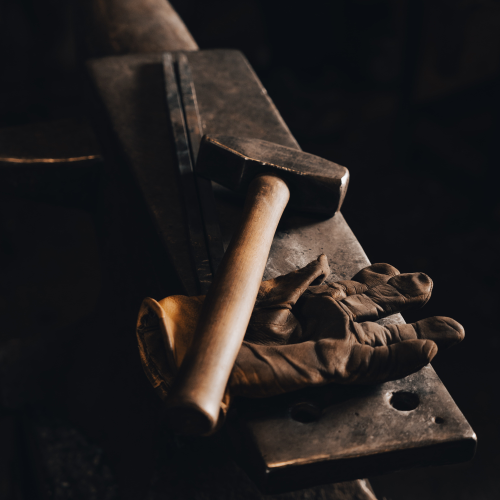
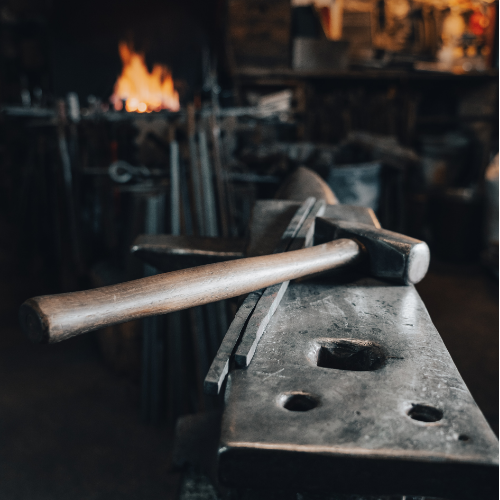
The tools that you need for installing clavos are straightforward. As clavos are essentially just decorative nails or tacks, you can use a wide variety of tools to hammer them into the surface that you would like to decorate. What you should not use, however, is an actual metal hammer. Our recommendation is that you use a rubber or wooden hammer so that you do not cause any damage to the surface of the nail head.
Despite the relative simplicity involved with installing clavos there are still a few things to keep in mind. The first thing that you should check is the type of clavos that you have. The tool that you use will depend on the type and style of your decorative nails.
As you have already seen, there are a large number of styles and types available when it comes to available clavos. Some are long while others are short. Some have straight nail bodies while others are styled after screws. The head sizes and ability to withstand force (like what you would apply with a hammer) can also vary greatly.
Apart from a wooden or rubber hammer to tap the clavos into place, you will also need Q-tips (or something similar), a drill, silicone sealant, a measuring tape, a square, and a level.
Depending on the project that you have in mind, you’ll need to select the right kind of clavos for the job. Some are heavy duty with long nails built to fasten securely for years and others are reminiscent of fancy thumb tacks. You’ll find faster success by getting the right clavos for your particular project’s needs.
Start by looking at the available styles and decide on the look that you are going for. Then, you can start looking at the several variations within that particular style. It will not take you long to find the perfect match. Unless, of course, you are like us and want them all!
No matter what type of project you are doing, there will be an optimal number of clavos required. For some projects, it is common to use a lot of clavos as they are often used to create line work and other types of designs. Examples include, decorating upholstery, antique trunks and chests, and adding an artistic touch to your old western woodwork.
Sometimes, however, adding a select few decorative clavos will make the biggest impact.
Installing Clavos is not hard but it does take some time to accomplish a professional look. As with all crafts, the art of carpentry and restoration takes a bit of time and experience to master. That said, you can still attain a professional result even if it is your first time installing clavos. Follow these steps for guidance:
One of the most important things that you can do when installing clavos is to plan where you would like the clavos to go, how many you would like to use, and how closely they should be installed in relation to each other. To help with this vital step many people use dark circles cut from paper and stick them to the surface as a visual guide. From there, it is possible to experiment until the perfect balance and design is created. It is much easier to adjust and redesign mock clavos than it is to change your plans with the real thing.
Once you decide on the perfect design and style, you can either take a picture, write down the number of clavos assigned to particular surface areas, or make light pencil marks on the surface that you will install the decorative studs onto. After recording your plan, remove all of your guides to create a clear workspace.
Measuring and alignment are crucial to getting a professional look when installing anything, and that holds true for clavos as well. Clavos are bold and distinct. For that reason, installing clavos that are evenly spaced and perfectly aligned will make your rustic woodwork look fantastic. Installing misaligned clavos, on the other hand, will be noticeable and can potentially create the opposite effect from what you are going for.
It is advisable to make your measurements using a square or something similar. Squares are reliable tools for clavos installation thanks to their ability to stay true to the edge of the working surface. Whichever tool you decide on to mark the entry for your pilot holes, be sure that the tool can help you create a perfect line for your pilot holes.
Once the pilot hole sites are measured and marked, you should then make sure that your clavos are not too long for your wooden surface. You will drill into the surface of the wood to create pilot holes for the clavos. In most cases, you do not want the holes that you drill for the clavos to go all the way through the panel.
Measure the depth or thickness of your wooden panel, door, frame, or other. Then, measure the length of the clavos nail body. If you discover that the clavos will, in fact, punch through the other side of the installation site, simply trim a bit of length off the tip of the decorative nail.
It is also a good idea during this step to mark your drill bit as a guide. You do not need to drill any deeper that the sharp end of your clavos, so after measuring your clavos you can wrap a piece of tape around your drill bit to serve a depth guide.
The drill bit should be slightly larger in diameter than the sharp end of the decorative nail. You will be applying silicone before inserting the clavos (more on this later) and the sealant needs some room to work well.
With the correct and marked drill bit in place, it is time to drill your pilot holes. Make the pilot holes slowly while ensuring the drill is perpendicular to the surface area at all times. It is no fun to end up with pilot holes that ‘lean’ in different directions. You holes should be uniform, straight, and evenly spaced.
Once finished with the pilot holes, it is time to apply the silicone.
To fill the pivot holes, there are many different types of silicone sealant available. Big Stretch, from Sashco, is a popular choice due to its durability and waterproofing capabilities. No matter which sealant that you decide to go with, just be sure that it is waterproof, strong, and has a reputation for extended life.
Filling the holes is a simple process. All that is required is that you fill each hole to its surface. Avoid applying too much sealant as it will become messy when you insert the clavos. One thing that we like to do is work in sets of 5-10 holes at a time. Doing so avoids the potential problem of your sealant drying up before you get the chance to insert the clavos.
To insert the clavos, press each one into its respective hole and lightly tap on the head of the decorative nail with your rubber mallet or wooden hammer. Once fully placed you can then adjust the head of the clavos to the perfect position.


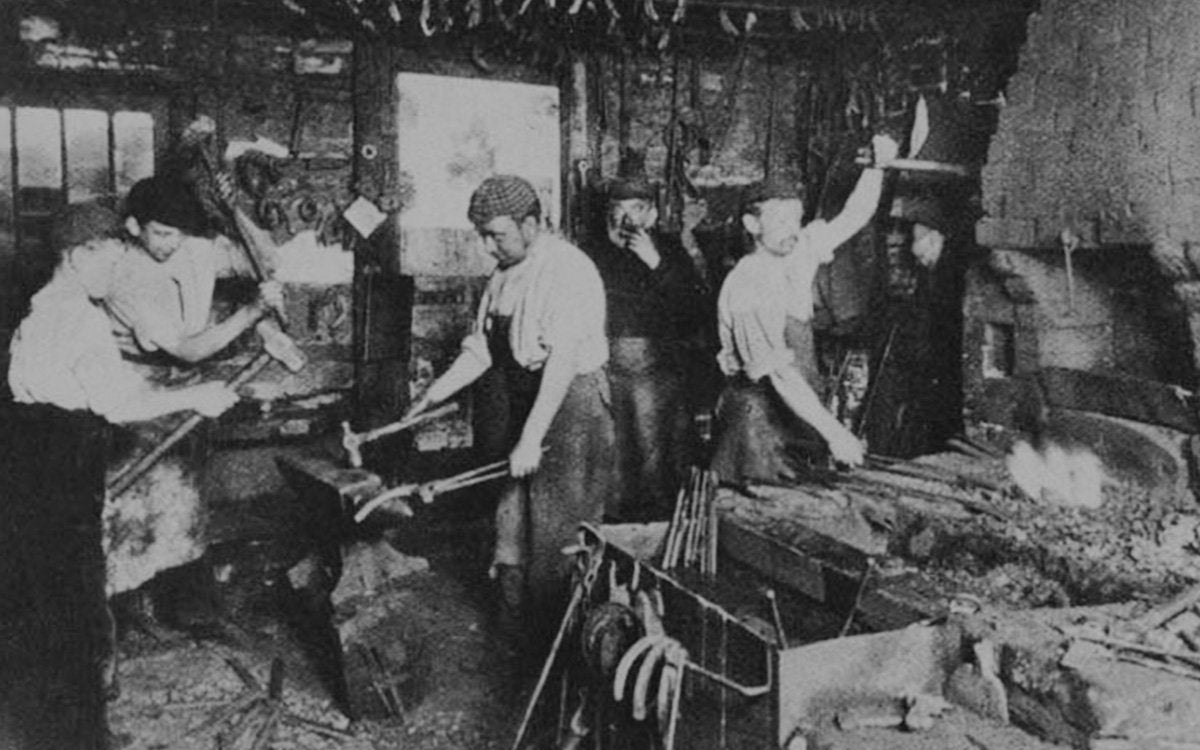
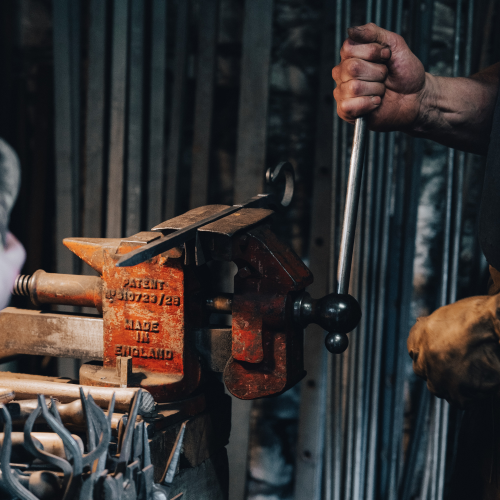
The process of finding artisans in Northern Mexico and developing a solid team of traditional blacksmiths took years to complete, but thanks to Dave’s perseverance and eye for quality, Borderland Rustic Hardware now supplies some of the most authentic metalworks available in the entire Southwest region.
Old World Hardware For The Modern DIYer.
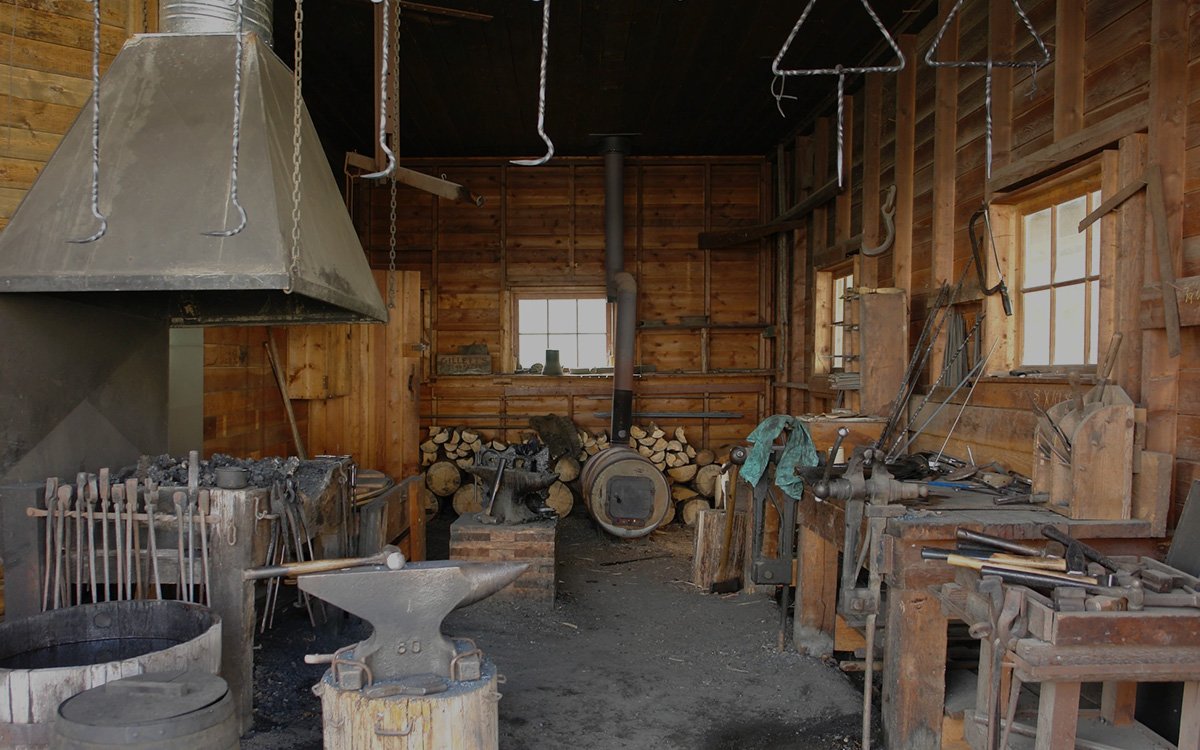
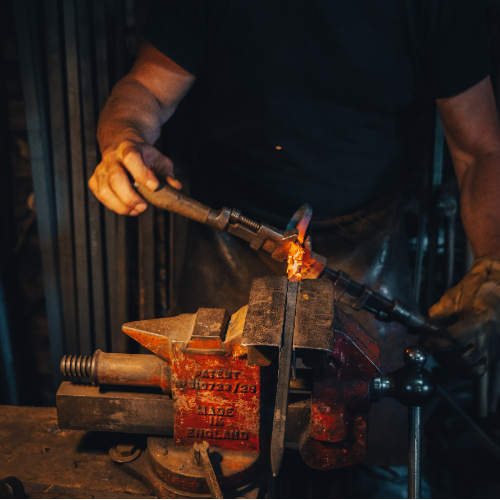
Our black smiths are experts in their craft and create any type of hardware or decorative piece that you may require. The artisans who produce our metalwork create pieces that fit the precise requirements of our customers, but it is easy to see that each piece is created individually and by hand.